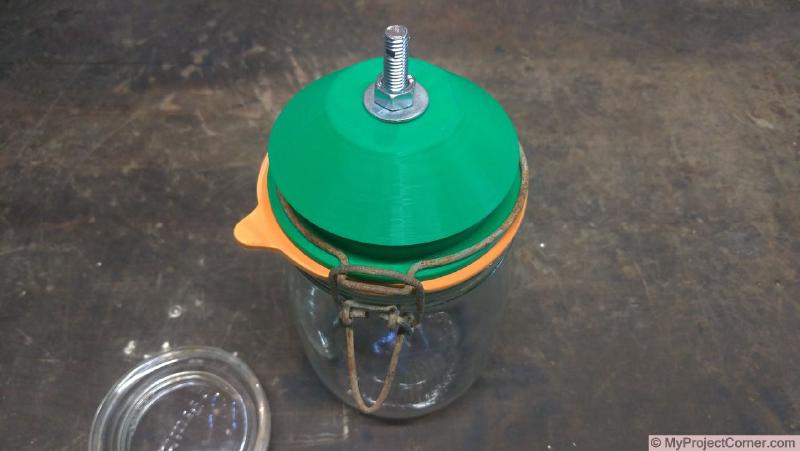
Assembled 3d printed storage jar fly trap
Here’s my fly trap made from a storage jar. Using a standard ‘Le Parfait’ style storage jar and a 3d printed lid I have replicated a fly trap design I had seen on YouTube. Living in the countryside, keeping our own animals and having a working cow farm next door means that there is no shortage of flies. Every year we go into battle with the flies and are always trying to find ways to get rid of them.
Parts List
- 1 or 1 1/2 liter storage jar.
- 3d Printed parts (see below).
- M8 x 60 nut and bolt (or coach bolt).
- Bait (preferably something smelly).
- Piece of wire if it is to be hung up.
Stage 1
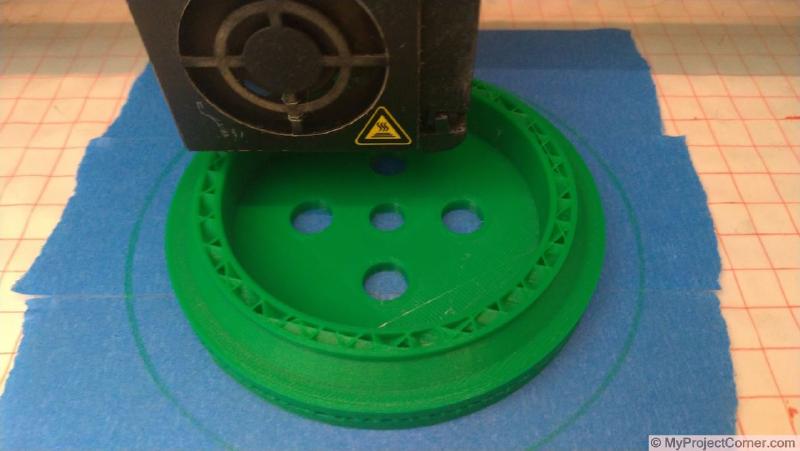
Designing and printing the components
3d Printed Lid Components
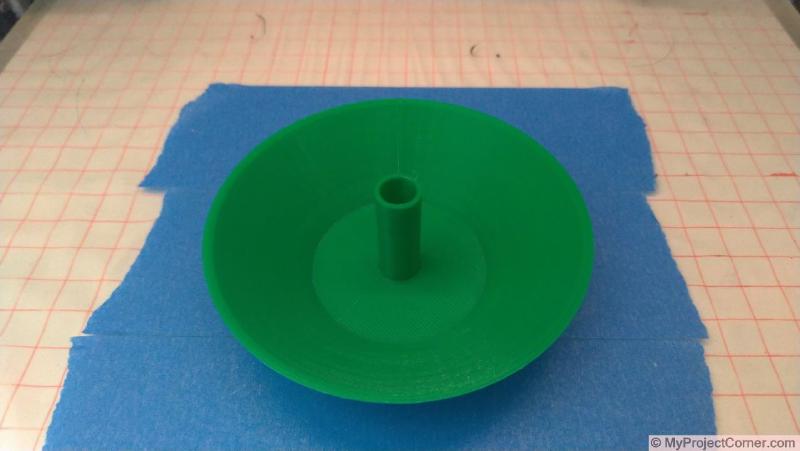
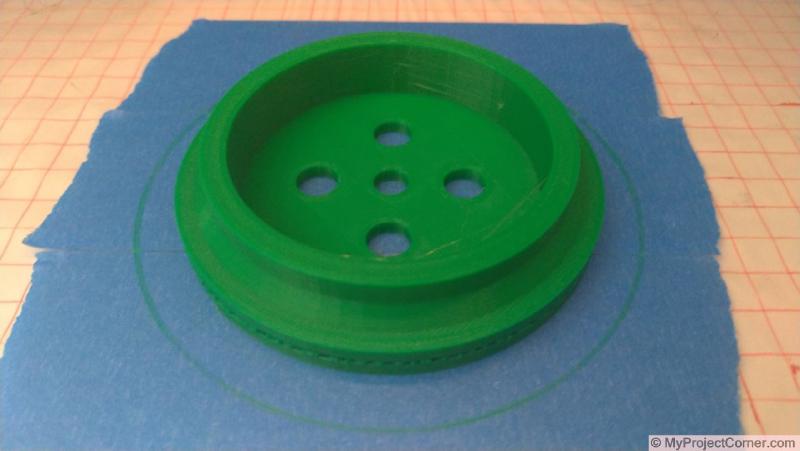
The design was modeled using Tinkercad and is printed in two parts. The files can be downloaded from Thingiverse
The model can be edited or downloaded on Tinkercad
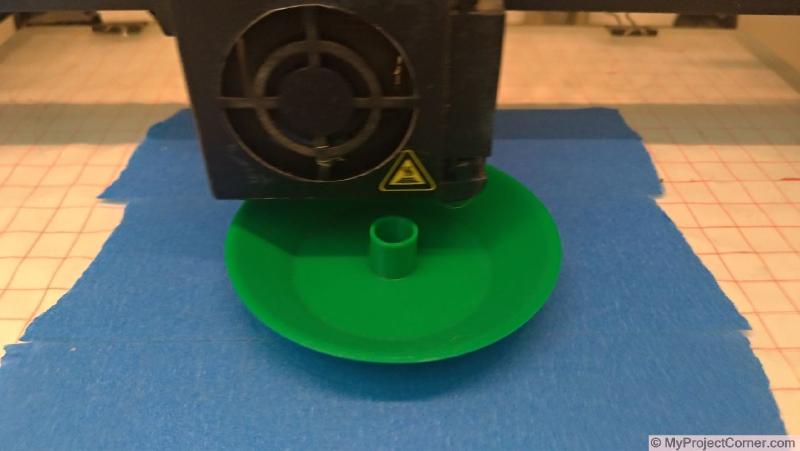
I printed in Green PLA, for no other reason than I like green and PLA is easy to print with. Using Cura as the slicing software and the standard settings for generic PLA. On my CR10-s 3d printer total print time for both parts was about five and a half hours.
When printing the Lid add support to printer settings because of the large overhang.
Stage 2
Assembling the storage jar fly trap
Assembling The Parts
Taking the M8 x 60 nut and bolt assemble the 3d printed parts as per the photos. Include washer if you like, though not necessary.
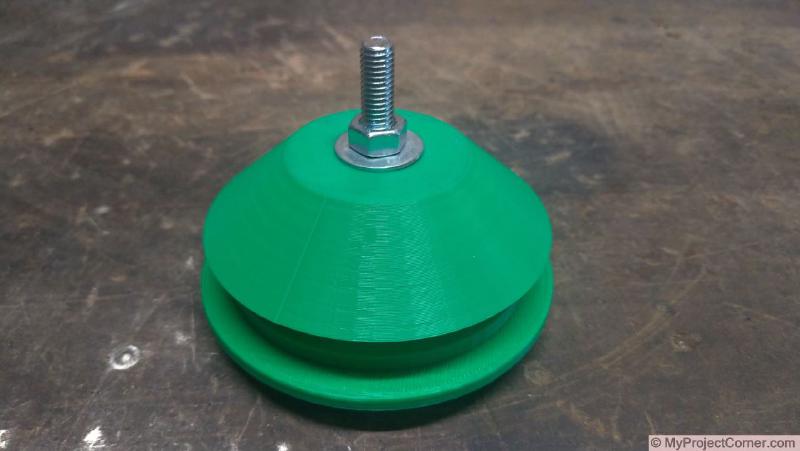
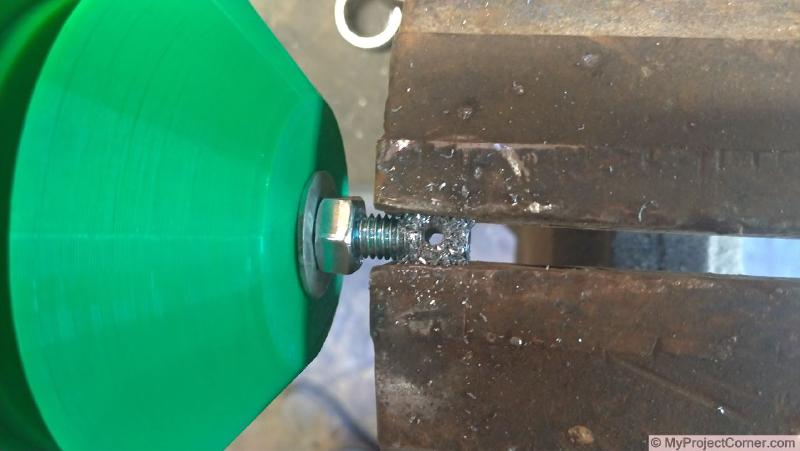
If the fly trap is to be suspended then drill a 3 to 4 mm hole through the threaded end of the bolt after assembly.
Dismantle the glass lid from the storage jar and replace with the 3d printed one, I use the original rubber seal so that the odour attracts the flies to the the entrance holes and not the outside of the jar.

As much as we love living in the countryside, it does have certain downsides, flies are one of them. As soon as the weather starts to warm up along come the flies, in their hundreds. Of all the methods of combating flies that we have tried the best are still sticky fly strips and the fly swat.
I’m hoping this storage jar fly trap can reduce the quantity of flies we have to deal with.
Stage 3
Baiting the fly trap
Adding the Bait to the Fly Trap
Because of the smell and hygiene issues I would only use these outside to catch the flies before they get to the house.
Open the jar and add a few bits of meat or fish, the smellier the better.
Add water to fill the jar to around a third full, replace the lid and hang or stand.
The first one of these fly traps I hung in the tree in our courtyard and used some leftover cooked chicken as bait.
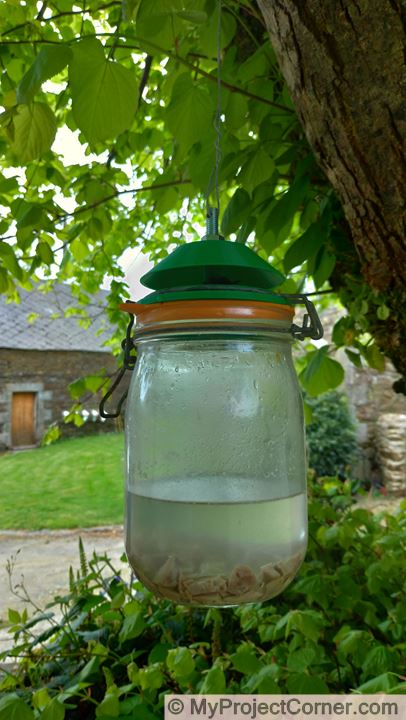
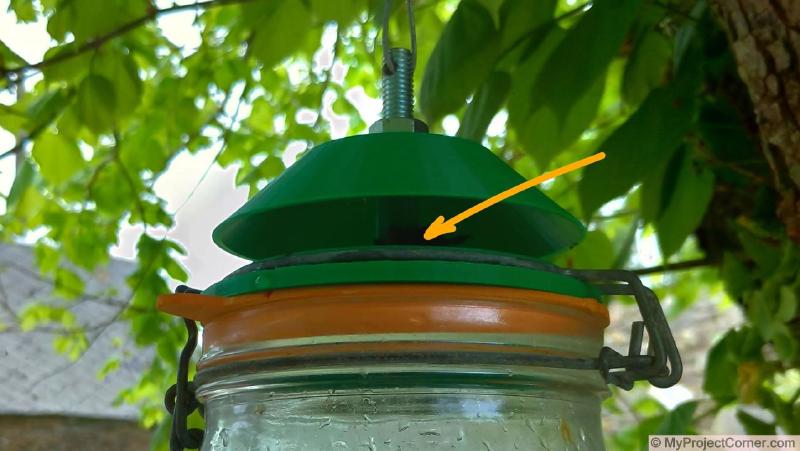
The addition of a small amount of chicken excrement or similar on the stem under the cover seems to add to the attraction.
Using the Storage Jar Fly Trap Indoors
I have tried this fly trap indoors with a sugar, jam and water mix. But the results were not great. The sticky fly strips work much better (although not pretty, and you get the occasional sticky fly falling off)
The Storage Jar Fly Trap In Operation
Does it work?
The idea behind the design is that the flies are attracted into the jar by the bait. They get trapped because the cover shields the holes from the light and the flies, once inside, cannot see the holes to get out.
After 3 weeks it looks like this
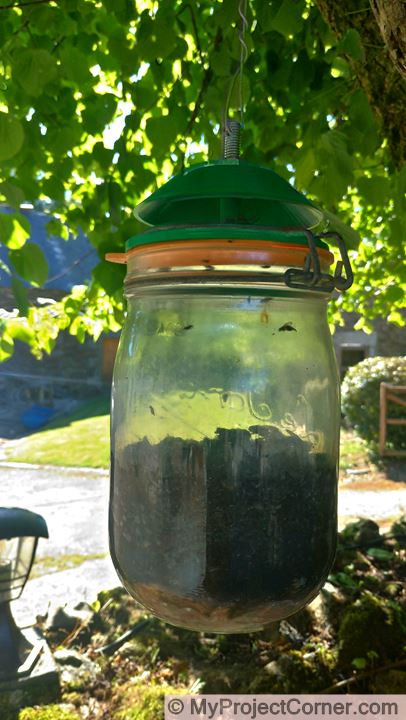
The idea behind the design is that the flies are attracted into the jar by the bait. They get trapped because the cover shields the holes from the light and the flies, once inside, cannot see the holes to get out.
Well it definitely catches flies, lots of them! And any fly that it gets is one less that can come in the house and that’s got to be good. The odour it gives off is not that noticeable, unless you get quite close (or your a dog!).
It’s a shame that when set up with a sugar solution indoors it doesn’t work that well.
Fly trap hung up in my courtyard
A Short Video of the fly trap filling up
The End of Summer
The three fly traps I have been using
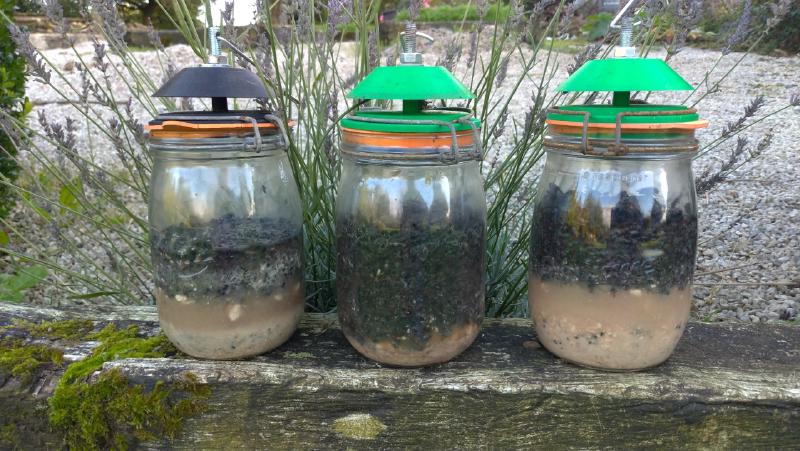
Time to empty and clean the storage jars and pack away until next year!

