Arduino Temperature and Timer Unit
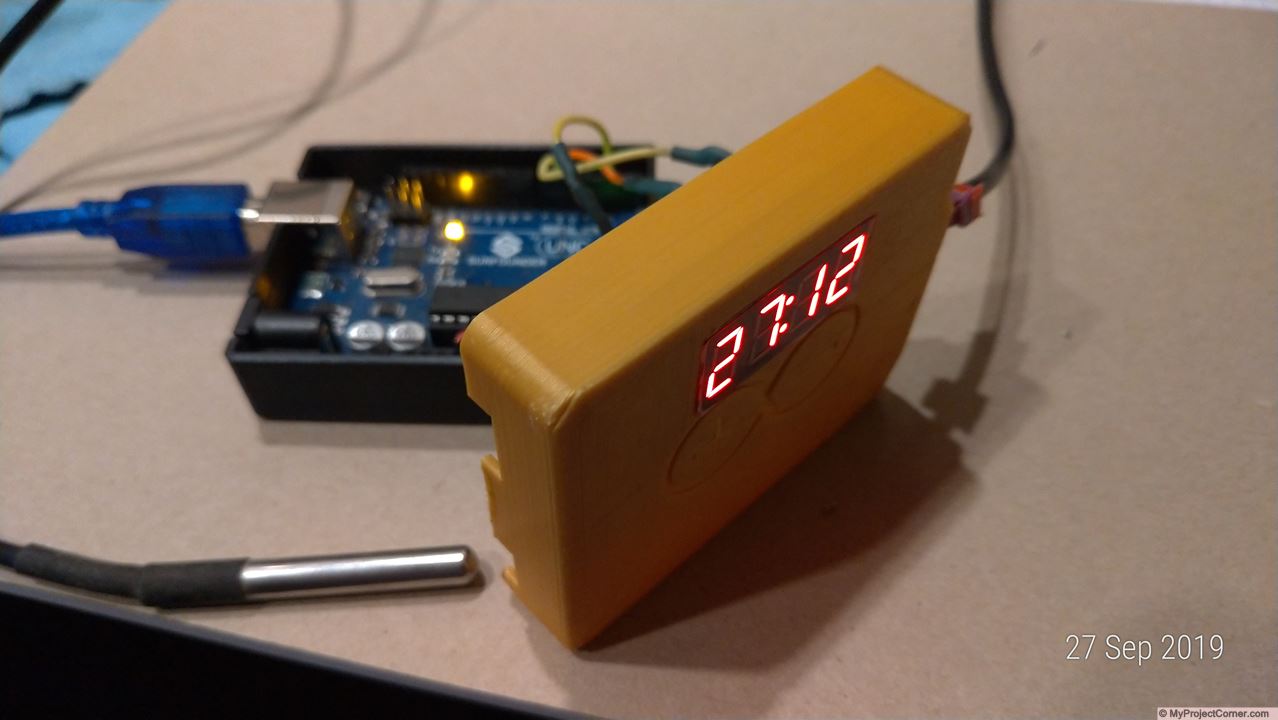
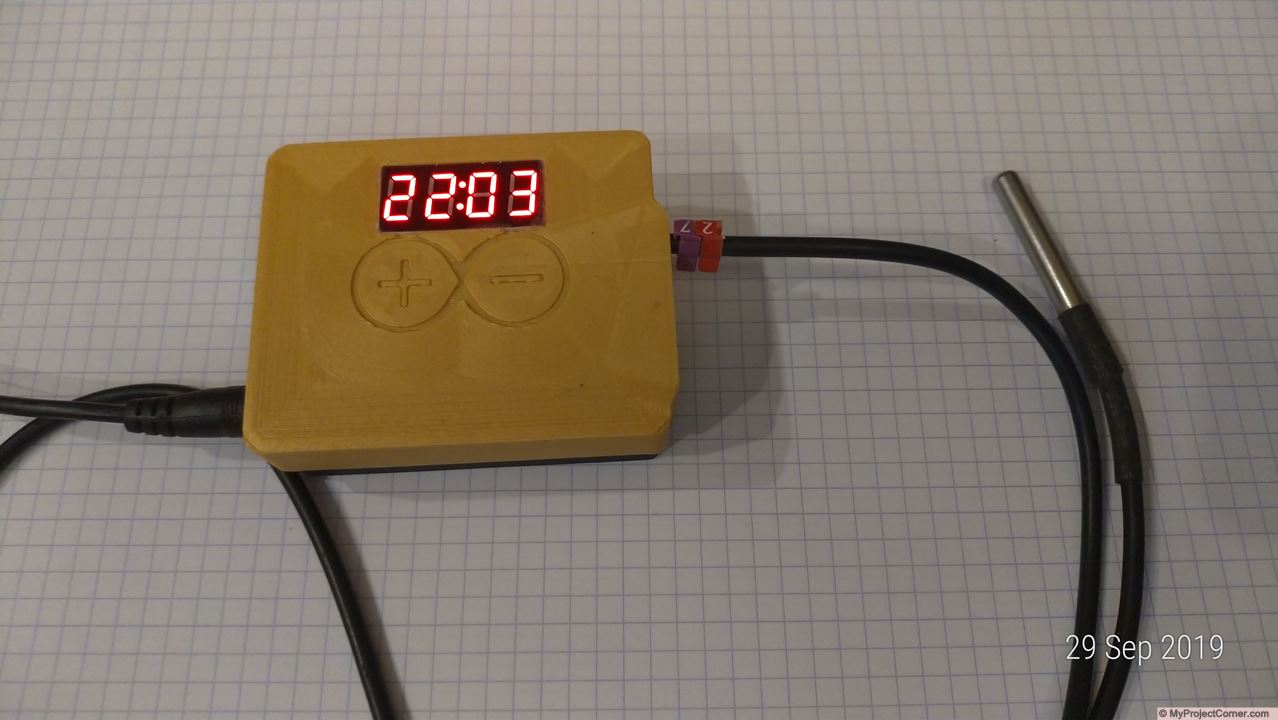
I made this Arduino temperature and timer unit to help with the scalding of chickens prior to plucking in my chicken plucker. It incorporates a waterproof sensor to monitor the water temperature and a countdown to for the immersion time. Both the temperature and the countdown are displayed on the 4 digit display.
Components Required
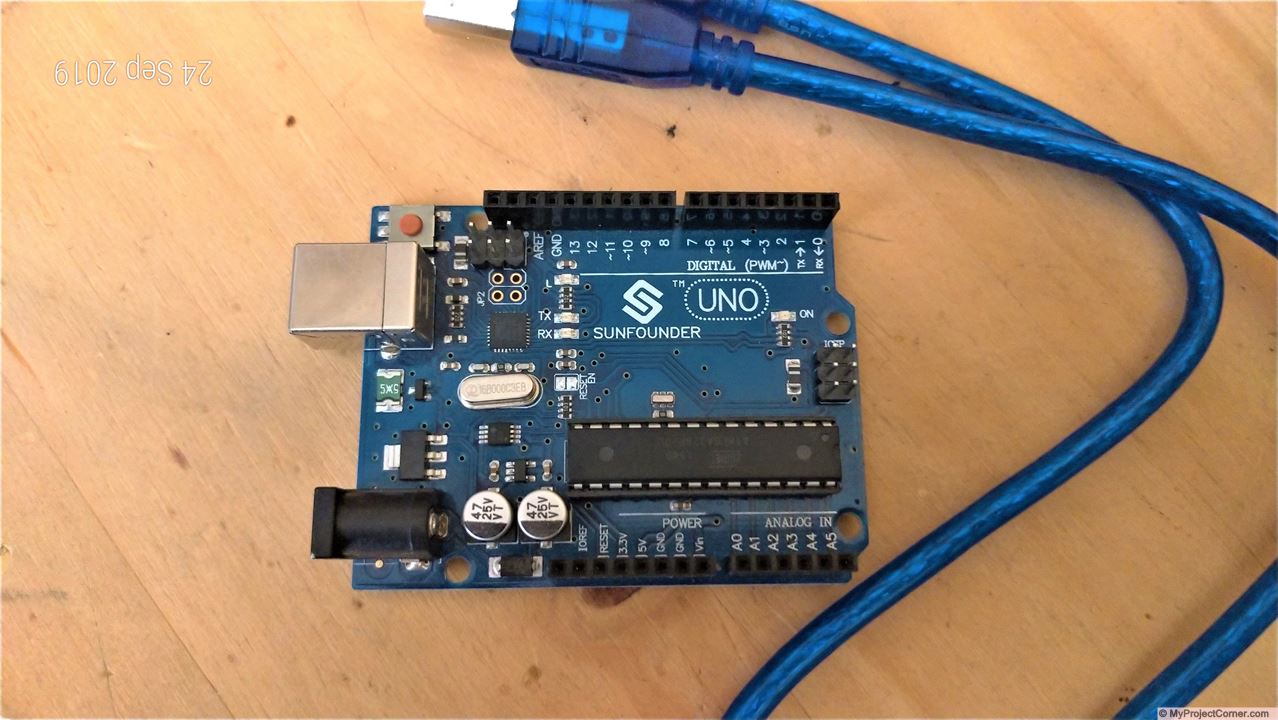
- Arduino Uno (or generic)
- DS18D20 waterproof temperature sensor with 1m cable
- TM1637 4 digit 7 segment display
- 3D printed box – See on Thingiverse
- 4.7kΩ resistor
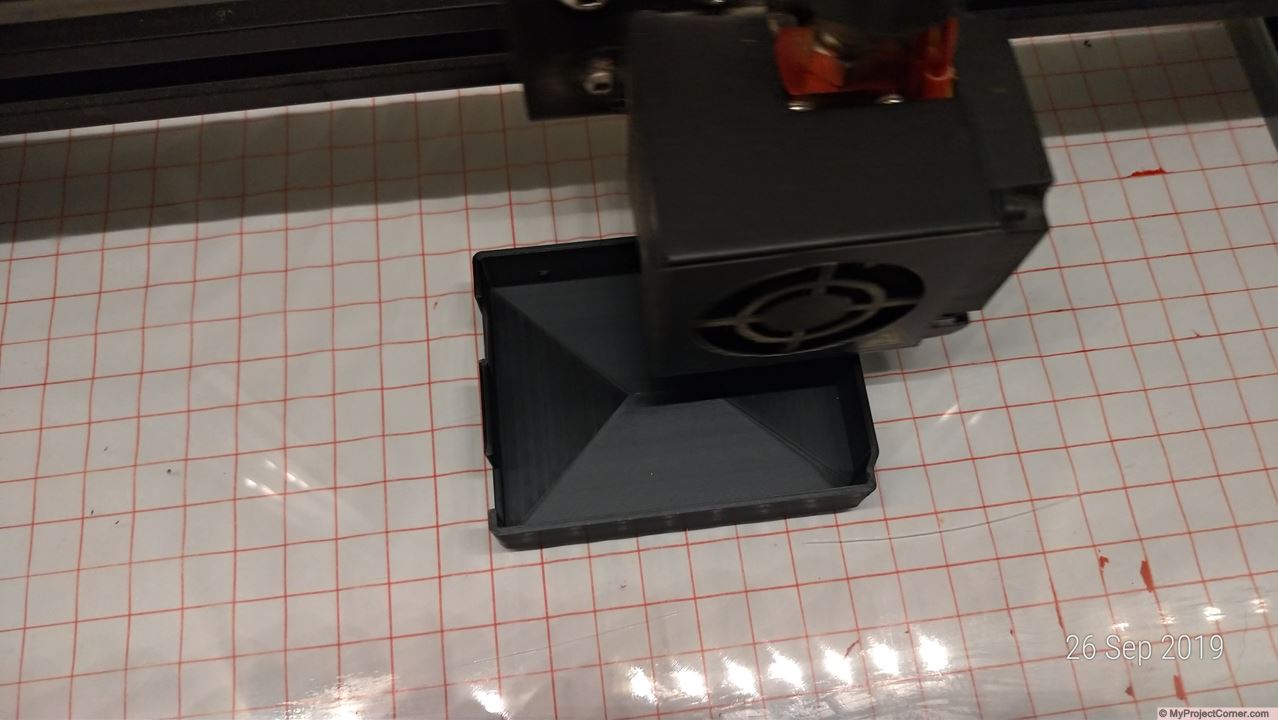
The 3d printed case
Remixing the design
I based my design on an existing 3d printed Arduino Uno case available Here, which I modified in SketchUp.
The Addition of a cut-out for the 4 digit display, a hole for the sensor wire and increasing the height of the cover to allow more clearance. Here’s the final design on Thingiverse
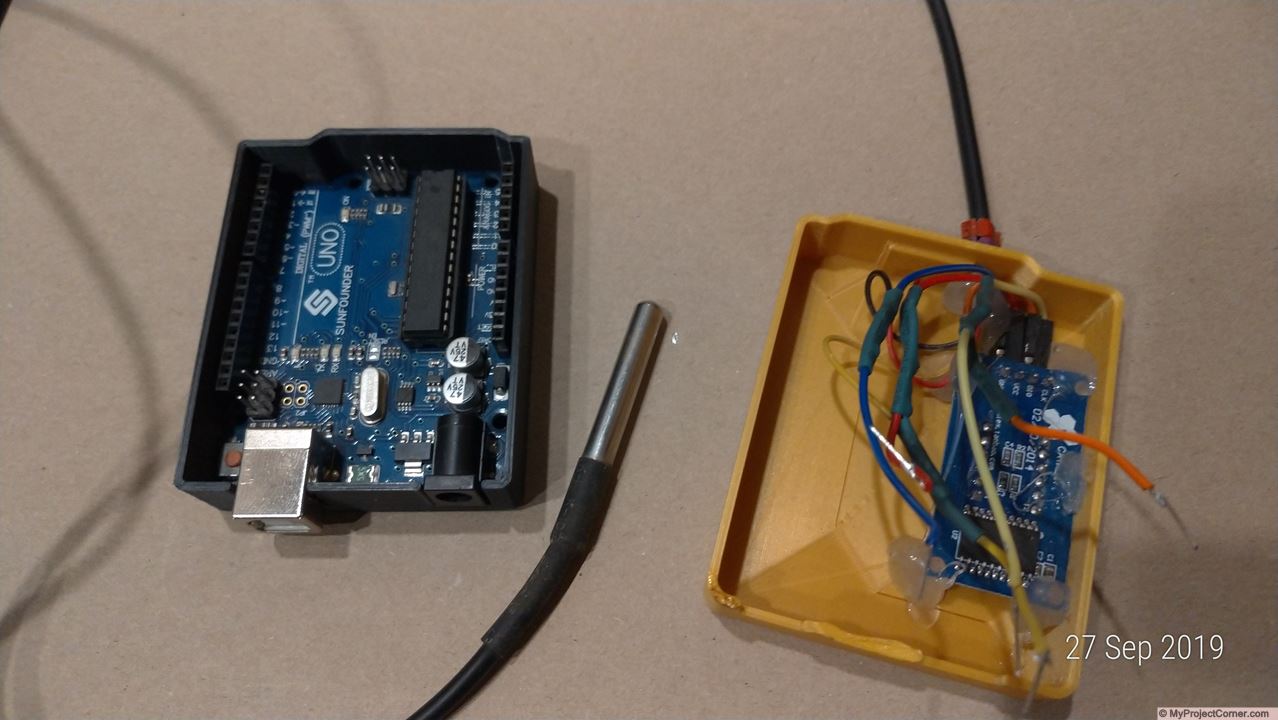
Wiring it up
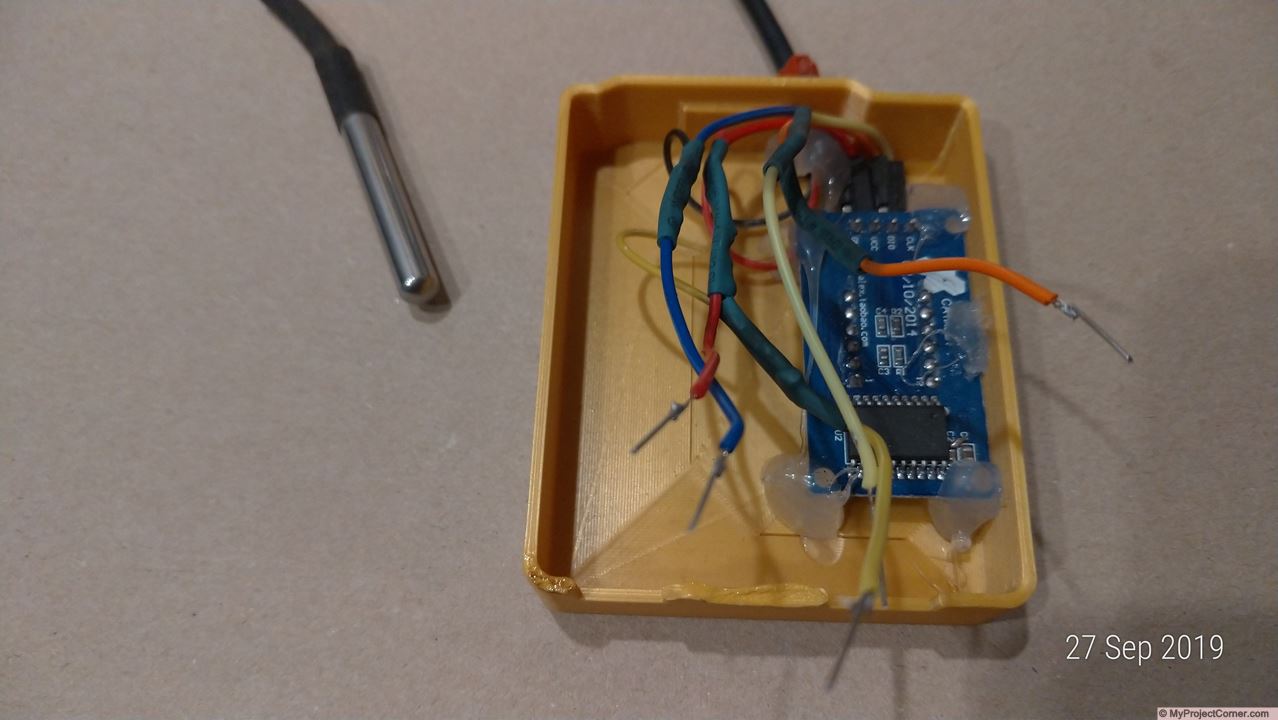
The Connections
Using shortened dupont connecting wires, the power and ground for the temperature sensor and display were soldered to a single supply wire, and the data line for the sensor was soldered to the power supply via the resistor. The CLK and DIO wires were just shortened. All connections were shrink wrapped to avoid any short circuits. Finally I soldered a short pin to each wire for connecting to the UNO and attached the display using my hot glue gun.
I used a Sunfounder generic Arduino Uno board which I had from a previous project.
The other items apart from the were purchased from Amazon.
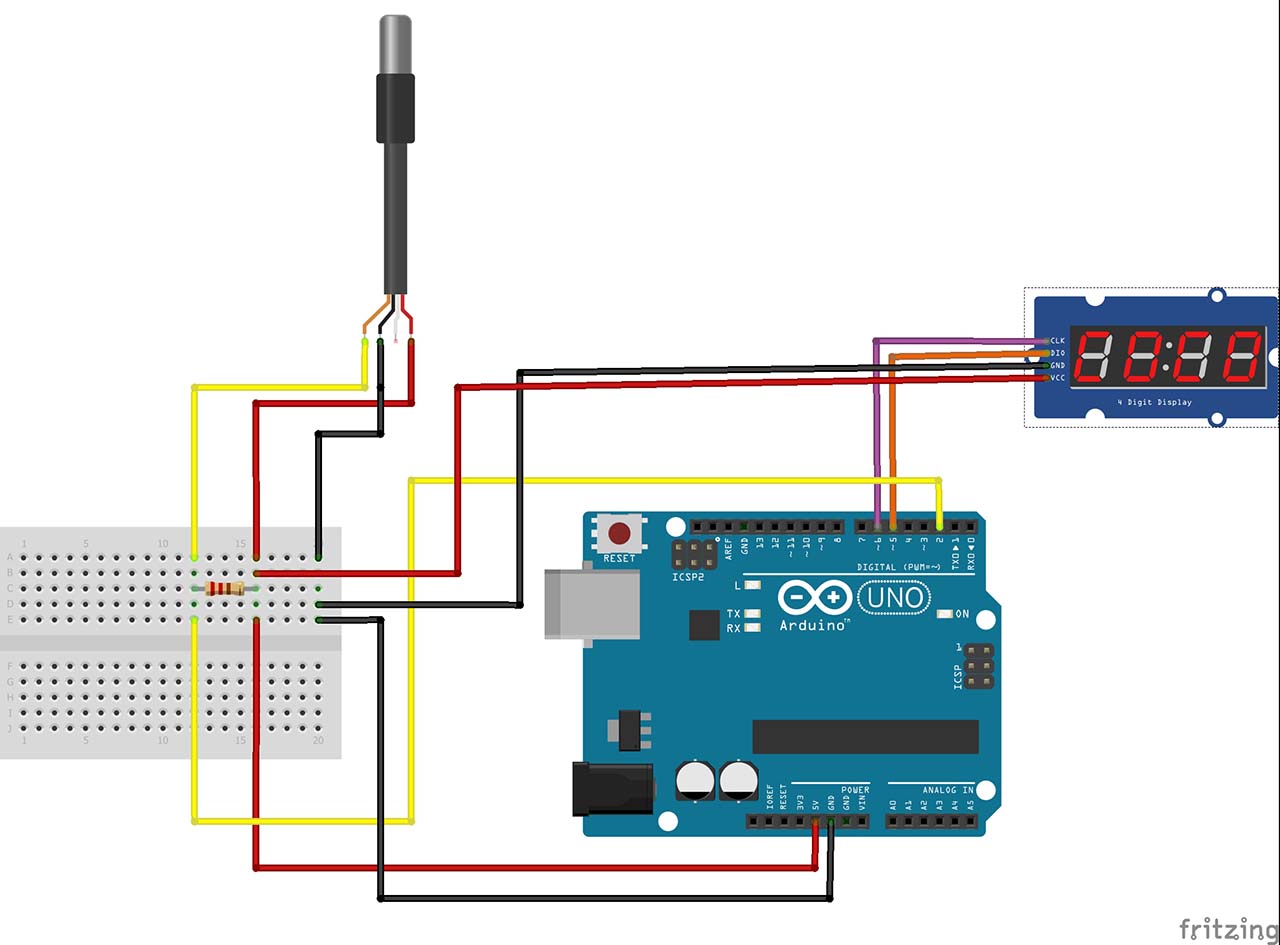
Connections to Arduino Uno
- Power to 5v Pin
- Ground to ground Pin
- Data wire to Pin 2
- Display CLK to Pin 6
- Display DIO to Pin 5
Uploading the code
Setup the UNO
Copy the Arduino sketch below and using the Arduino IDE upload to the Uno.
Three additional libraries are required
- OneWire
- DallasTemperature
- TM1637
These can be easily installed using manage libraries in the Arduino IDE
#include <OneWire.h>
#include <DallasTemperature.h>
#include "TM1637.h"
#define CLK 6 //Pins for TM1637
#define DIO 5 //Pins for TM1637
TM1637 tm1637(CLK,DIO);

// Data wire is plugged into Digital Pin 2
#define ONE_WIRE_BUS 2

// Setup a oneWire instance to communicate with any OneWire devices
OneWire oneWire(ONE_WIRE_BUS);

// Pass our oneWire reference to Dallas Temperature.
DallasTemperature DS18B20(&oneWire);
char temperatureCString[7];
char temperatureFString[7];

// Set timer duration
int second = 30;

void setup() {

  Serial.begin(115200);
  DS18B20.begin();
  tm1637.init();
  tm1637.set(BRIGHTEST);
  // BRIGHT_TYPICAL = 2,BRIGHT_DARKEST = 0,BRIGHTEST = 7;
  delay(500);
}

void getTemperature() {
  float tempC;
  float tempF;
  do {
    DS18B20.requestTemperatures();
    tempC = DS18B20.getTempCByIndex(0);
    dtostrf(tempC, 2, 0, temperatureCString);
    tempF = DS18B20.getTempFByIndex(0);
    dtostrf(tempF, 3, 2, temperatureFString);
    Serial.println(temperatureCString);
    delay(100);
  } while (tempC == 85.0 || tempC == (-127.0));
}

void loop() {
  getTemperature();
  int result = atoi(temperatureCString);
  int num1 = (result / 10) % 10;
  int num2 = result % 10;
  int num3 = second % 10;
  int num4 = (second / 10) % 10;
  tm1637.display(0,num1);
  tm1637.display(1,num2);
  tm1637.display(2,num4);
  tm1637.display(3,num3);
  tm1637.point(POINT_ON);
  if (second > 0) {
    second--;
  }else
  second = 30;
  Serial.println("Temperature has been sent");
  delay(200);
  }
This short piece of code prints the temperature to the first 2 digits of the display and a 30 second countdown timer to the last 2 digits.
I have found that 30 seconds is about right to do the job, but can be easily adjusted up to a minute by changing the second variable.
This little box is a great help when we are butchering chickens.
Keeping the water at the perfect temperature has never been so easy and a precise timer (instead of counting in our heads) is great!