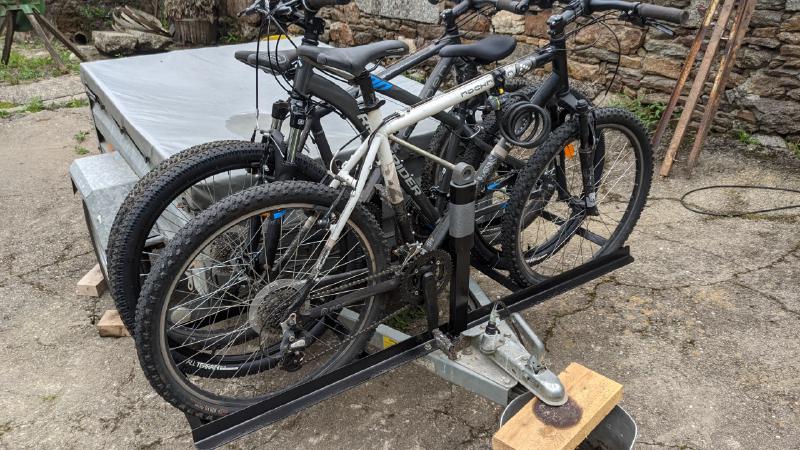
The finished trailer bike rack
This is how I built a homemade bike rack/carrier that attaches to my car trailer. As can be seen in the photo above, the rack holds 3 adult mountain bikes. We were planning a summer camping holiday in Grenoble, over a 1000 Km from where we live in Brittany. So, I needed a safe and secure way to take the bikes along with us.
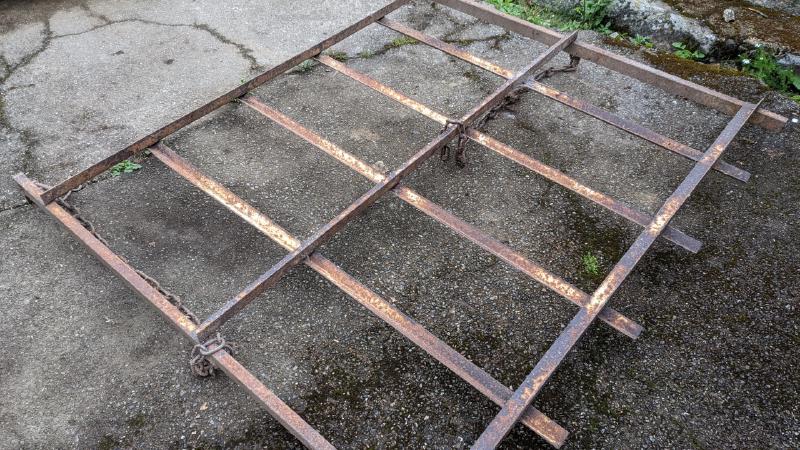
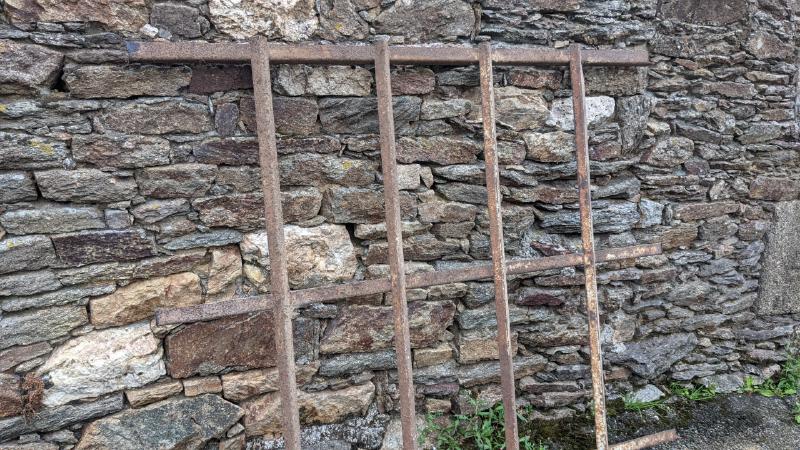
After going shopping for to find some suitable steel sections to make the bike rack out of, I realized that to make what I wanted was going to cost around 200€ just in raw materials. I had a re-think and remembered that when I bought my tractor trailer 15 years ago, it had come with 2 steel trellises for transporting hay bales.
The Base For The Build
I dug this one out of the back of my shed and started to cut it apart with an angle grinder.
The hay rack was constructed of 50 x 50 x 3mm angle iron and 60 x 30 x 2mm steel tube. Once I had cut the hay rack into separate steel sections, I started to build the bike carrier.
Starting To Build
I didn’t really have a plan of what I wanted to make, just some ideas in my head.
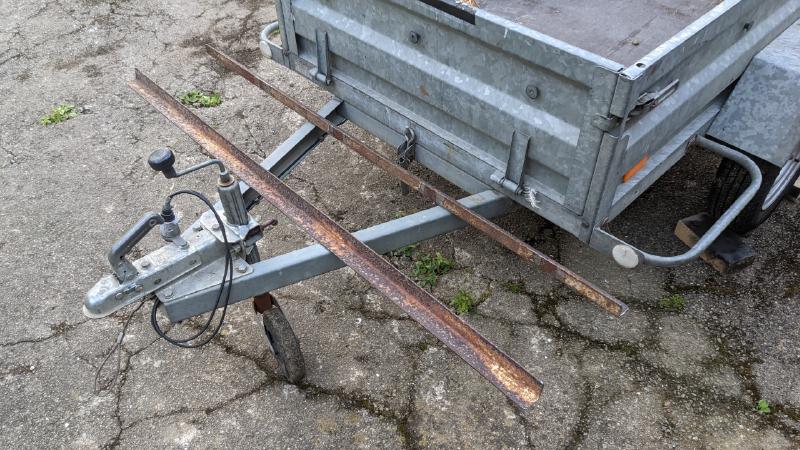
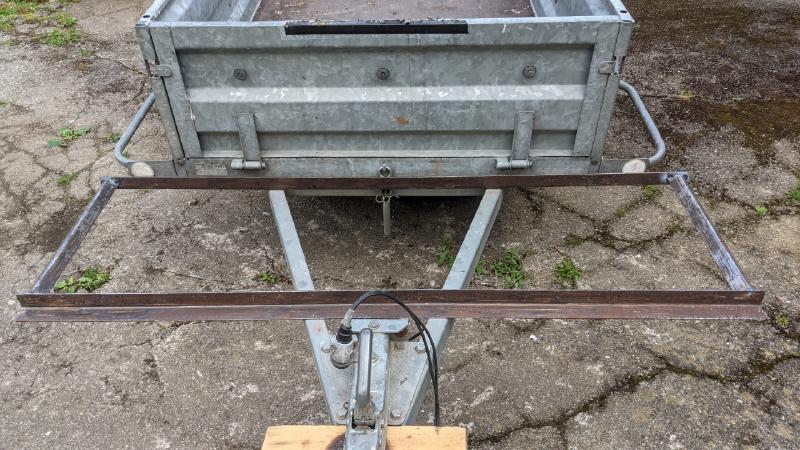
Firstly, I cut two lengths of the 50 angle to the full width of my trailer, these would be eventually bolted to the trailer and form the main support for the bikes.
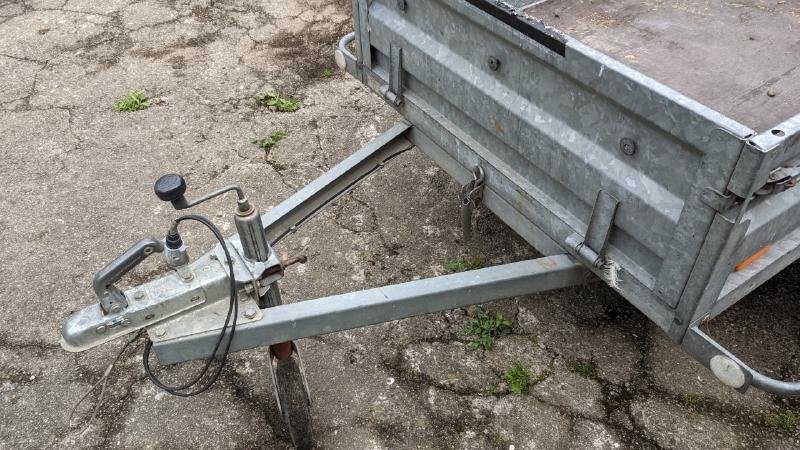
I measured the minimum with of the three bikes that were to be carried on the rack and realised that I wouldn’t have enough space between the trailer box and the jockey wheel.
So, I removed the jockey wheel. I like having the jockey wheel, as it really helps in attaching/detaching and manoeuvring the trailer. But I needed the space, so it had to go!
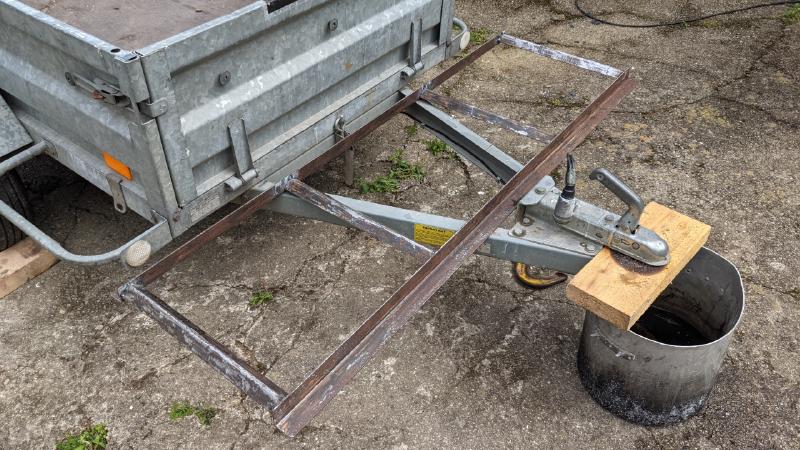
Then cutting two shorter lengths and welding at each end to form the frame of the bike rack.
All three of our mountain bikes have a very similar wheelbase measurement, so I didn’t need to have any adjustment in the bike rack framework.
Two more crossmembers were then cut and welded to finish the base framework.
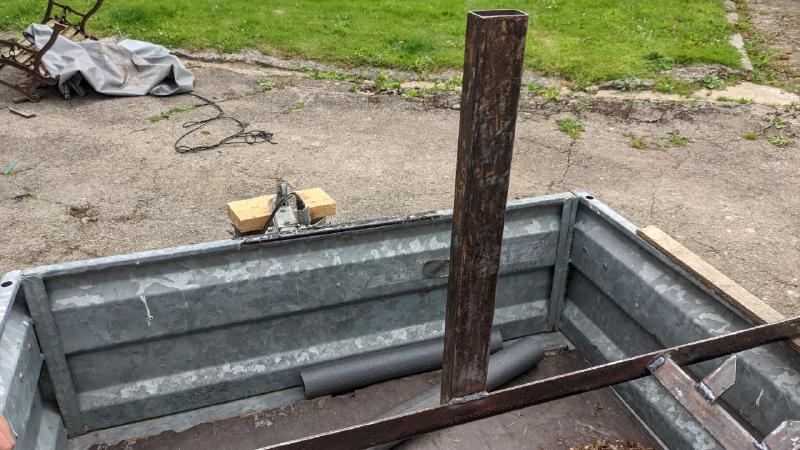
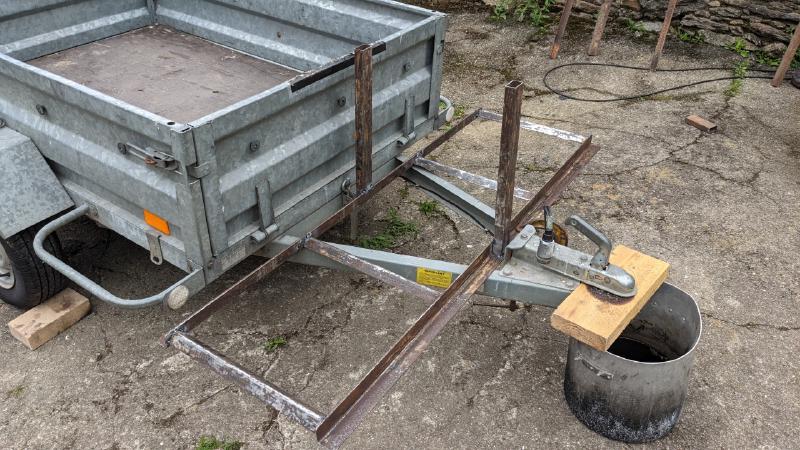
Then using the rectangular steel tube, I cut and welded two vertical supports to the base.
These will support the bikes upright and also be used to attach the frames to.
The Trial Run
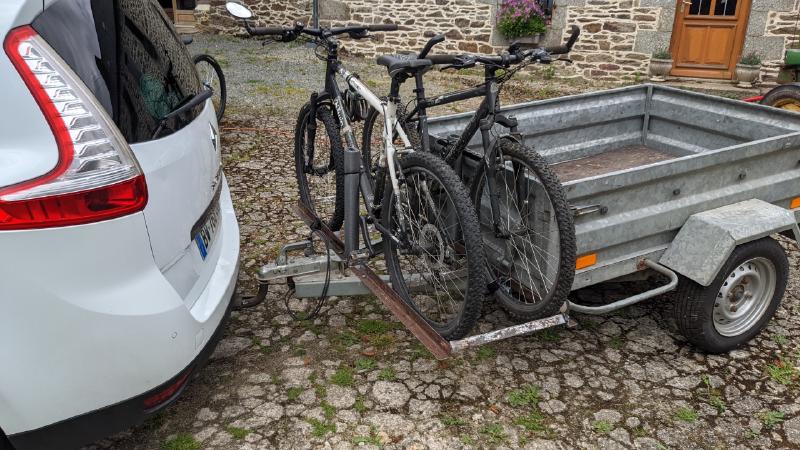
2 bikes mounted
With the bike carrier in place I drilled 4 holes to secure it to the car trailer with 4 M10 bolts and washers.
After a test run mounting the bikes on the frame I found that the wheels needed some support to stop them from sliding across the frame.
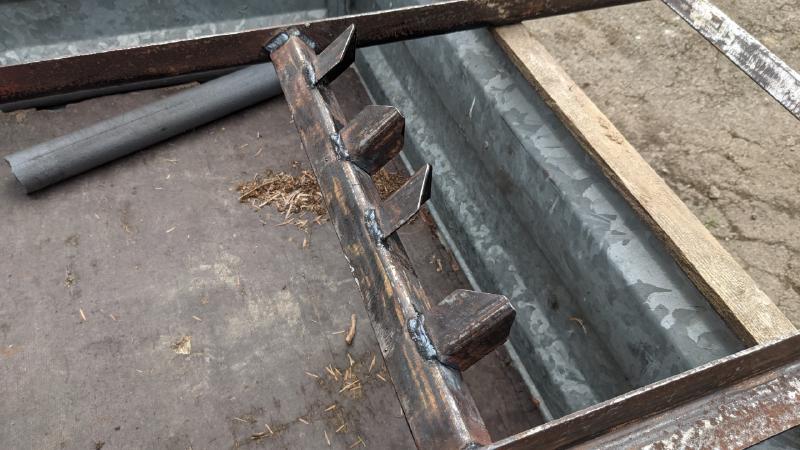
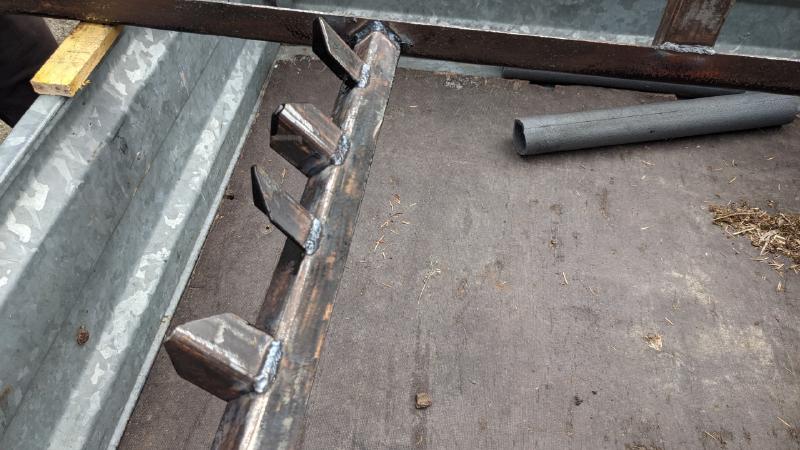
I cut short pieces of steel angle and cut one end at 45°.These were then welded to the inn wheel support on both sides (as shown below).
That’s the end of the build, just a matter of a couple of coats of black paint and it’s ready to go.
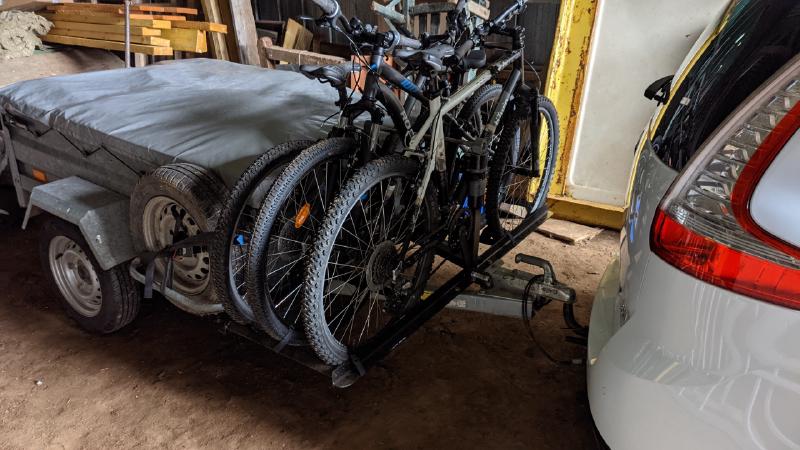
Ready to travel
After our 2000km summer holiday round trip, I’m really pleased with how the trailer bike rack performed. It was very stable and secure!

