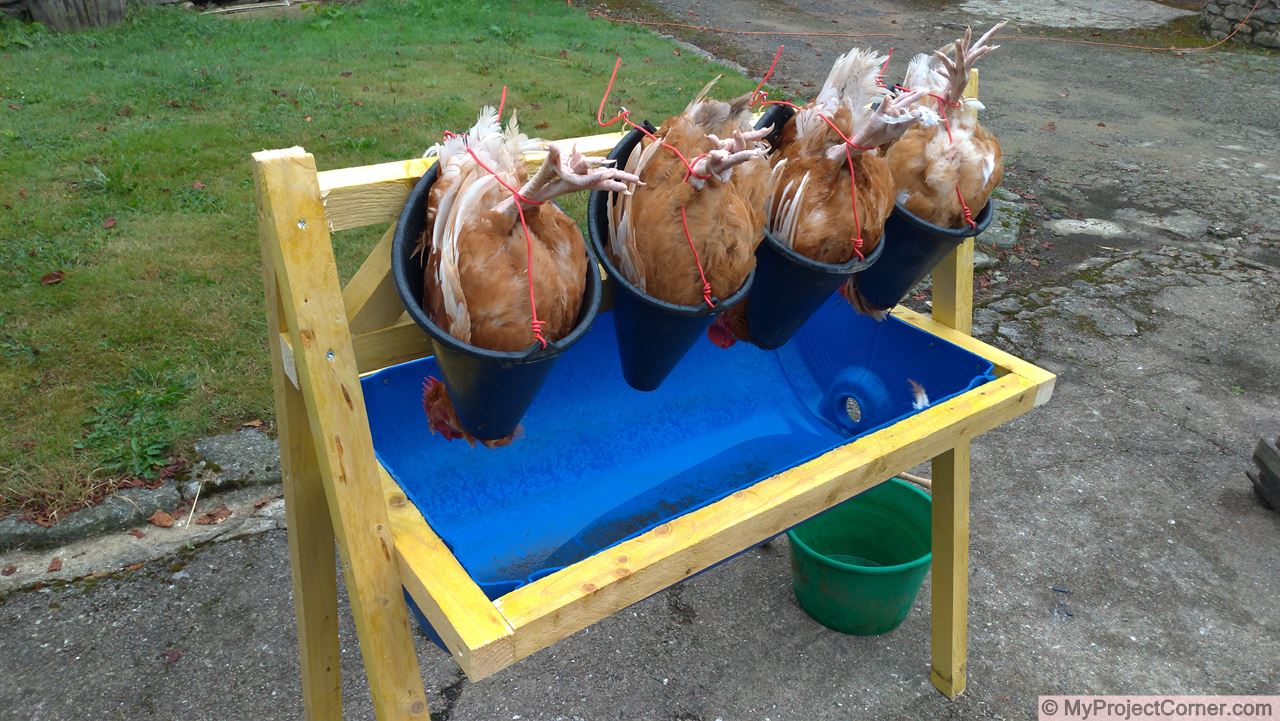
Chicken Slaughter Station
Here’s my chicken slaughtering station, after building a chicken plucker a couple of years ago that speeded up the plucking process, I now need a more efficient way of dispatching the chickens before scalding and plucking.
Materials Needed
- Half a 220 litre Plastic barrel.
- 5cm x 5cm wood.
- 4 plastic buckets.
- Wood screws.
Making the chicken funnel from a bucket
The first job is to make the chicken slaughter cones that will hold the chickens while they are being slaughtered. I have previously made these out of empty plasterboard filler tubs, but found that after a couple of years the plastic became brittle and they broke.
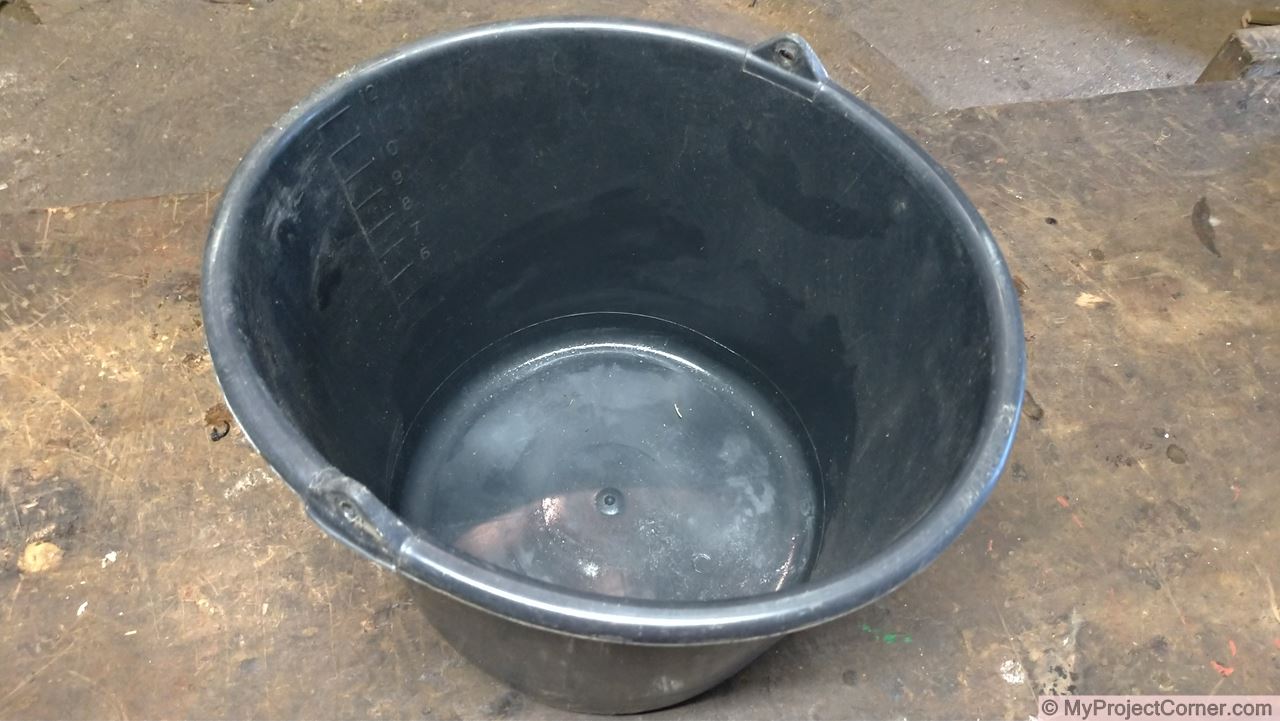
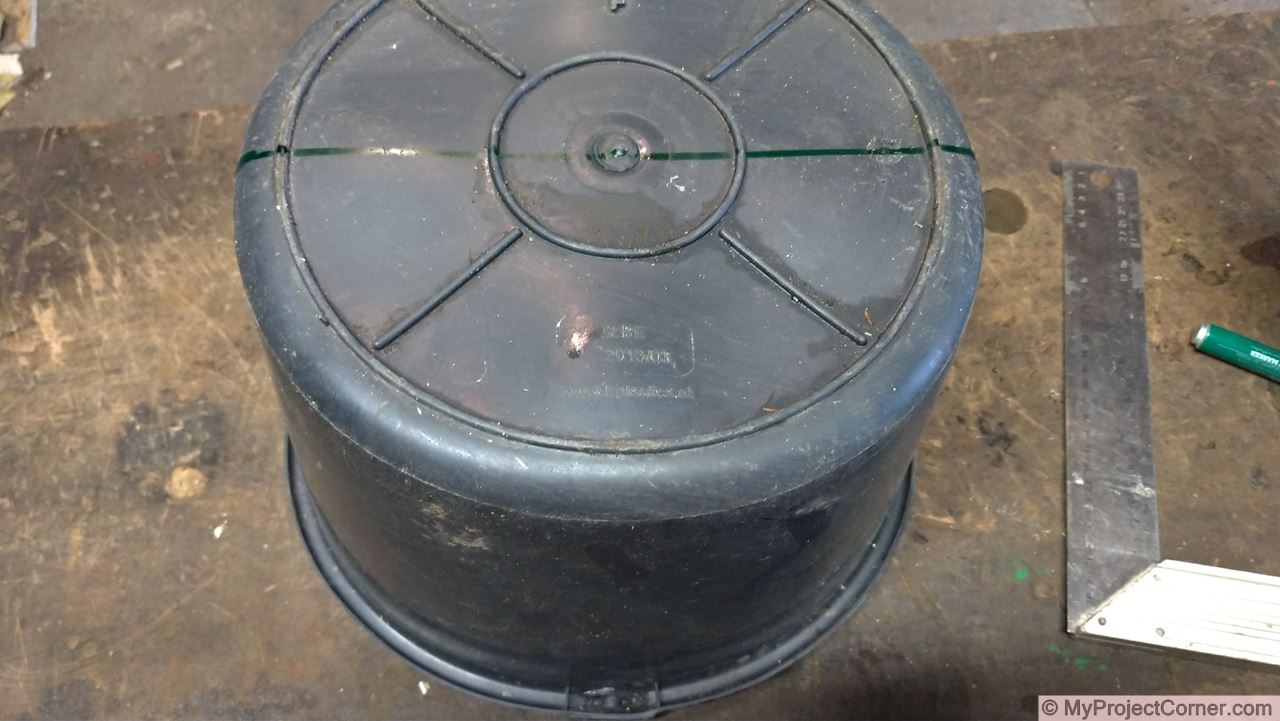
This time I have chosen to make the funnels out of some cheap 12 litre buckets that I purchased in the local farm shop. These buckets are thin-walled and are pretty flexible which will make them easy to work with.
Preparing the bucket
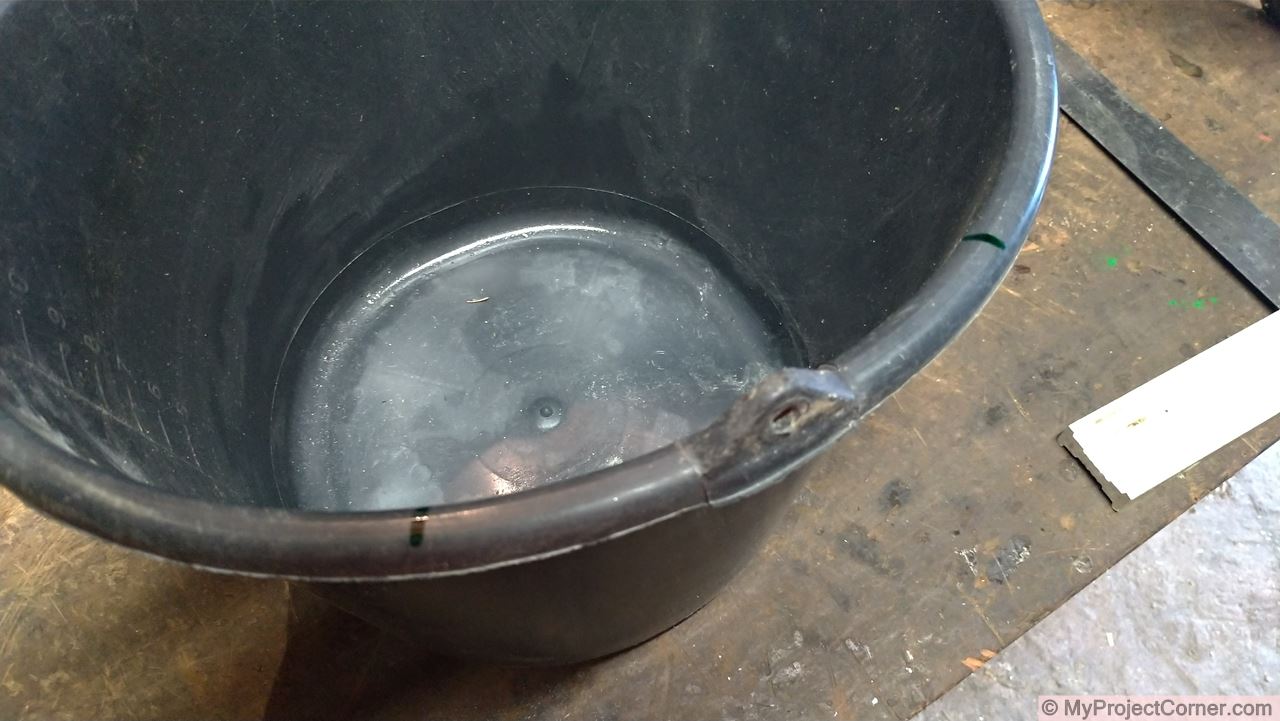
First you want to remove the metal handle.
And then mark out with a marker pen as shown below.
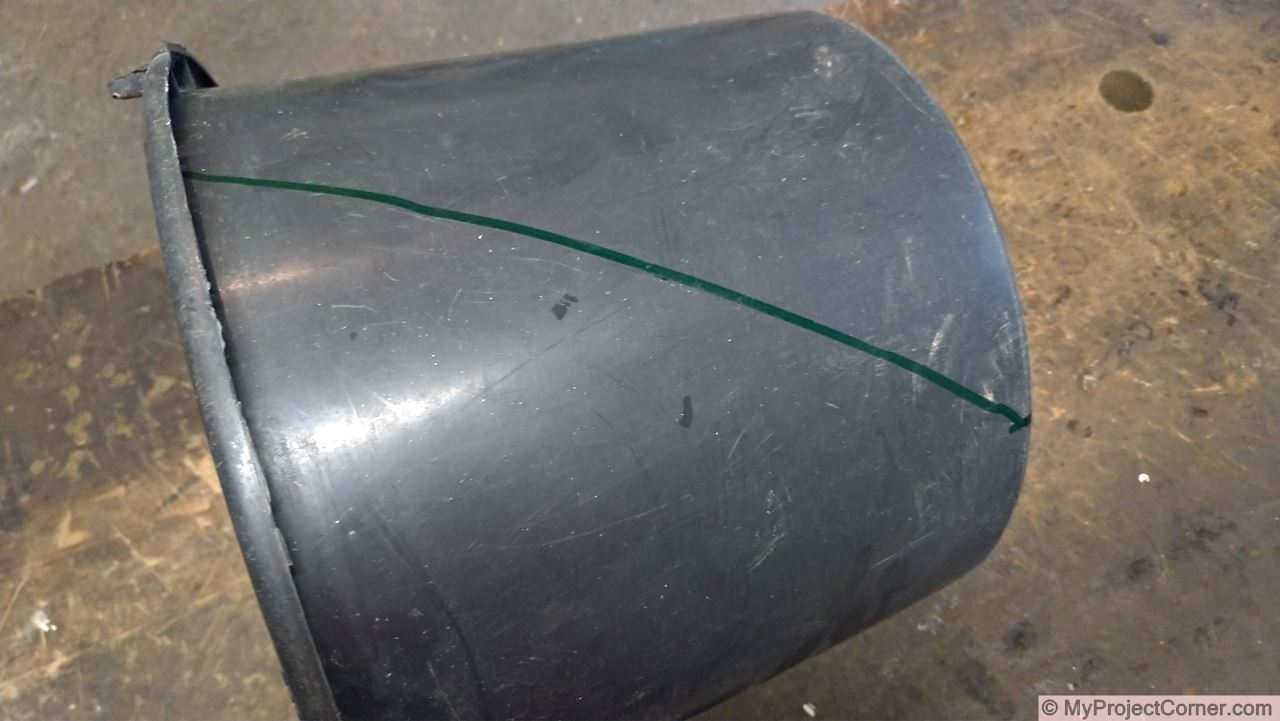
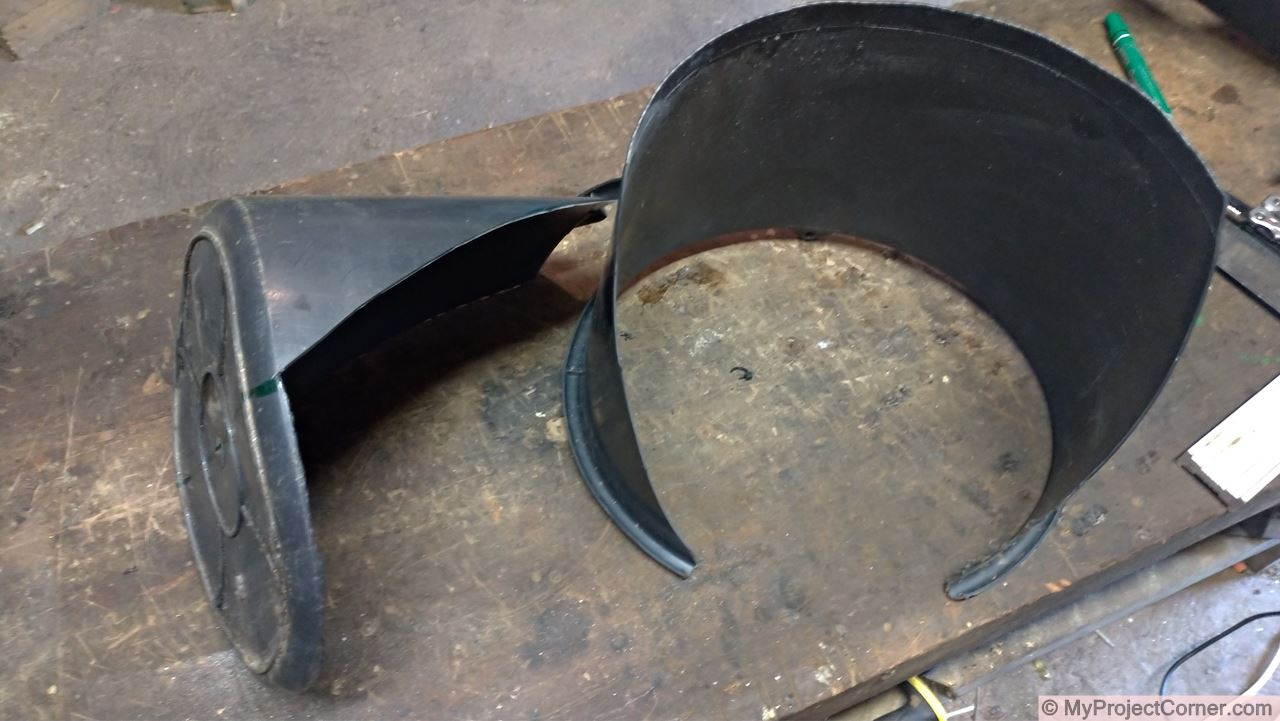
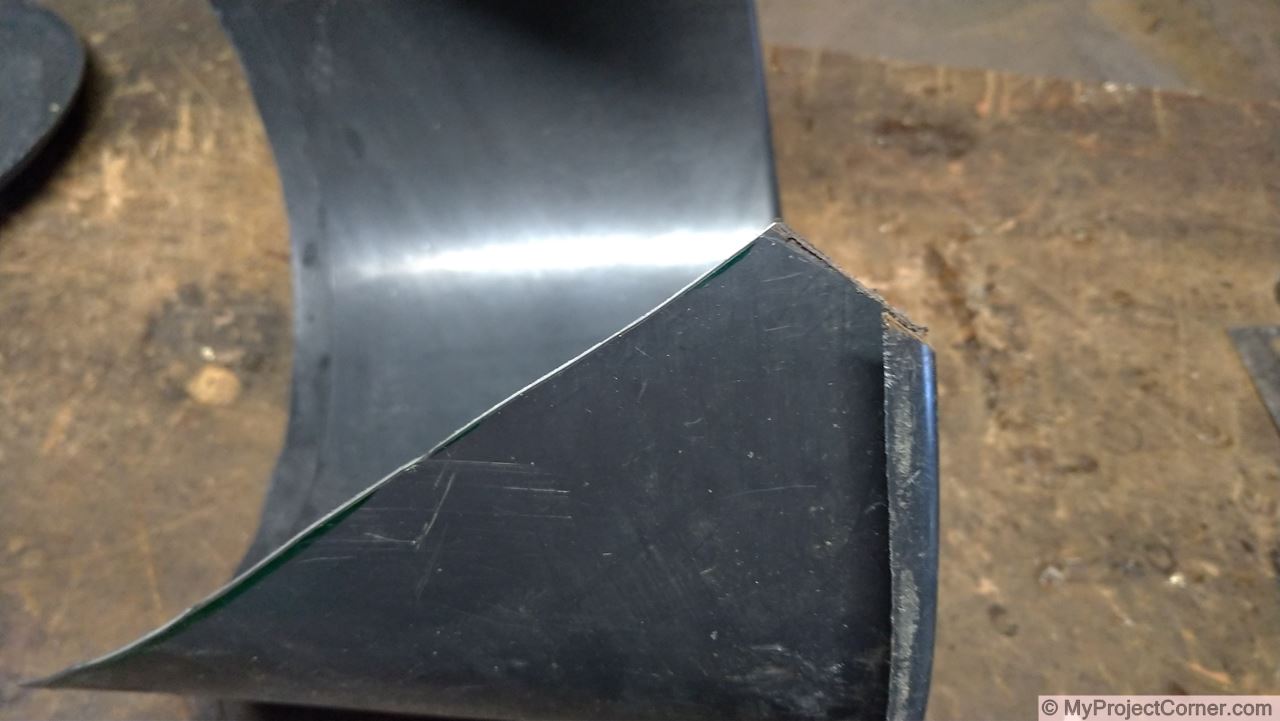
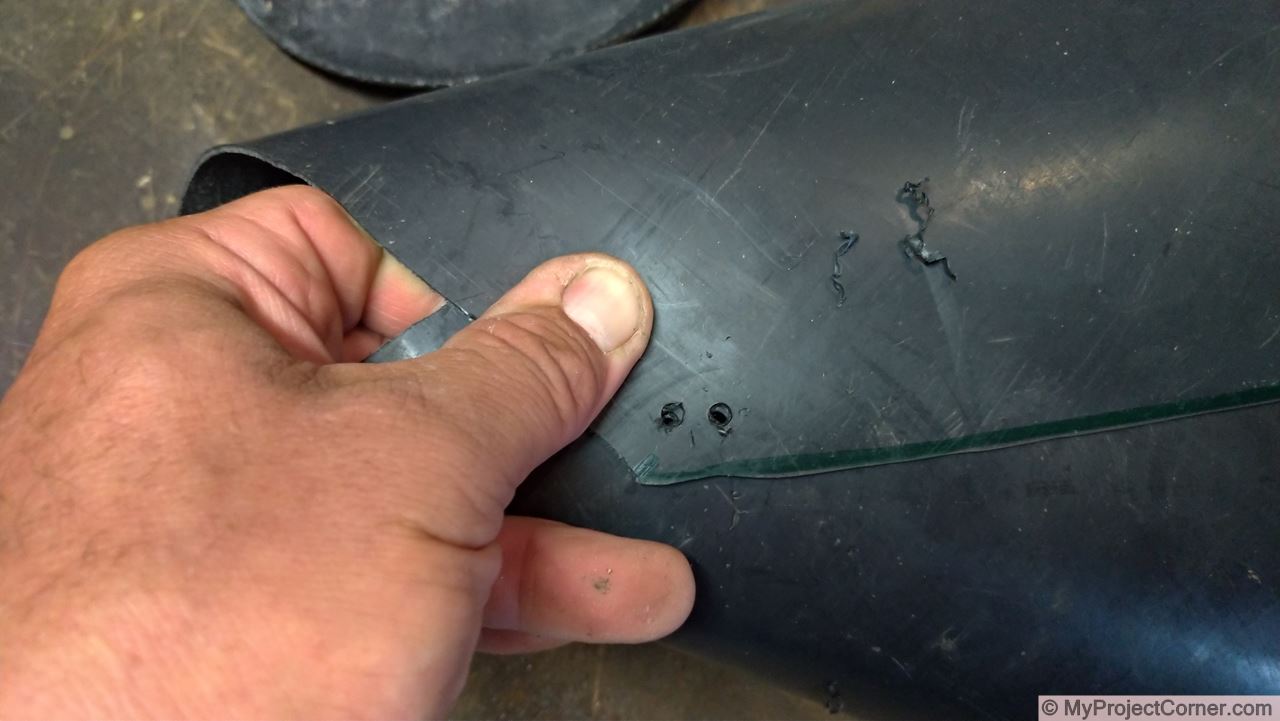
Shaping into a cone
Roll the cut bucket and overlap by about 5cm.
Drill two 4mm holes (or to suit the size of cable ties you are going to use), 10mm apart.

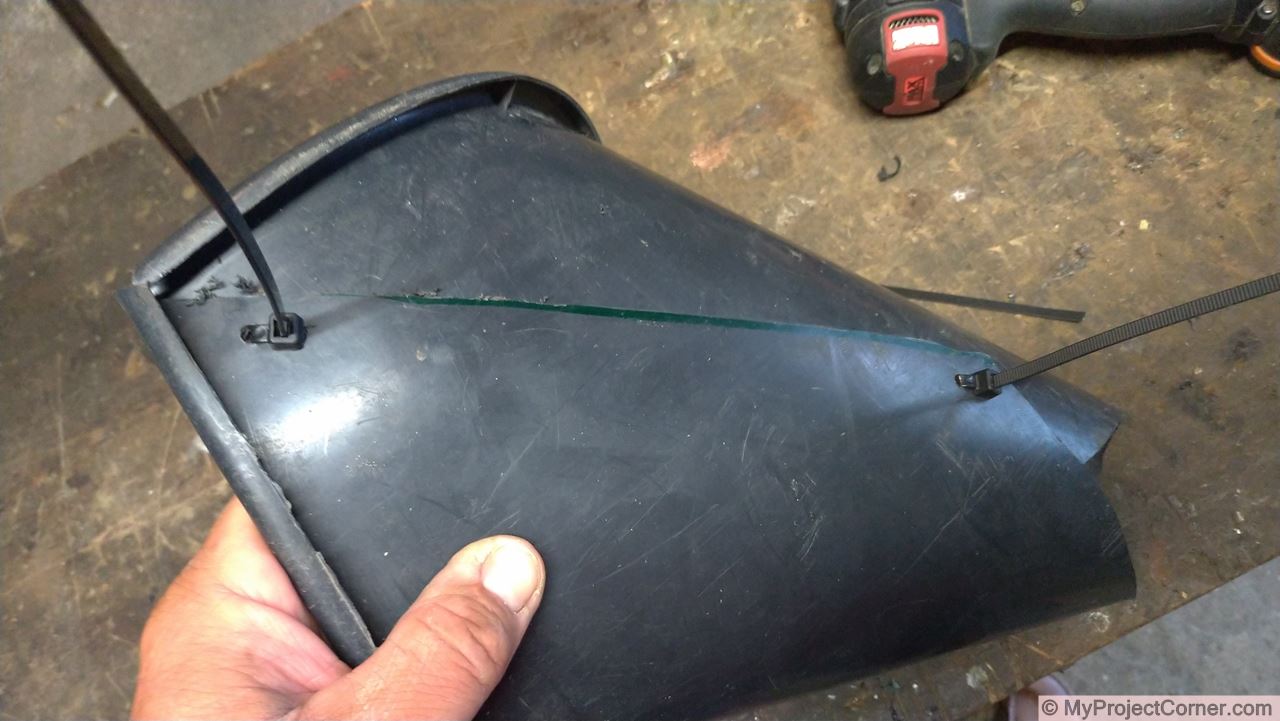
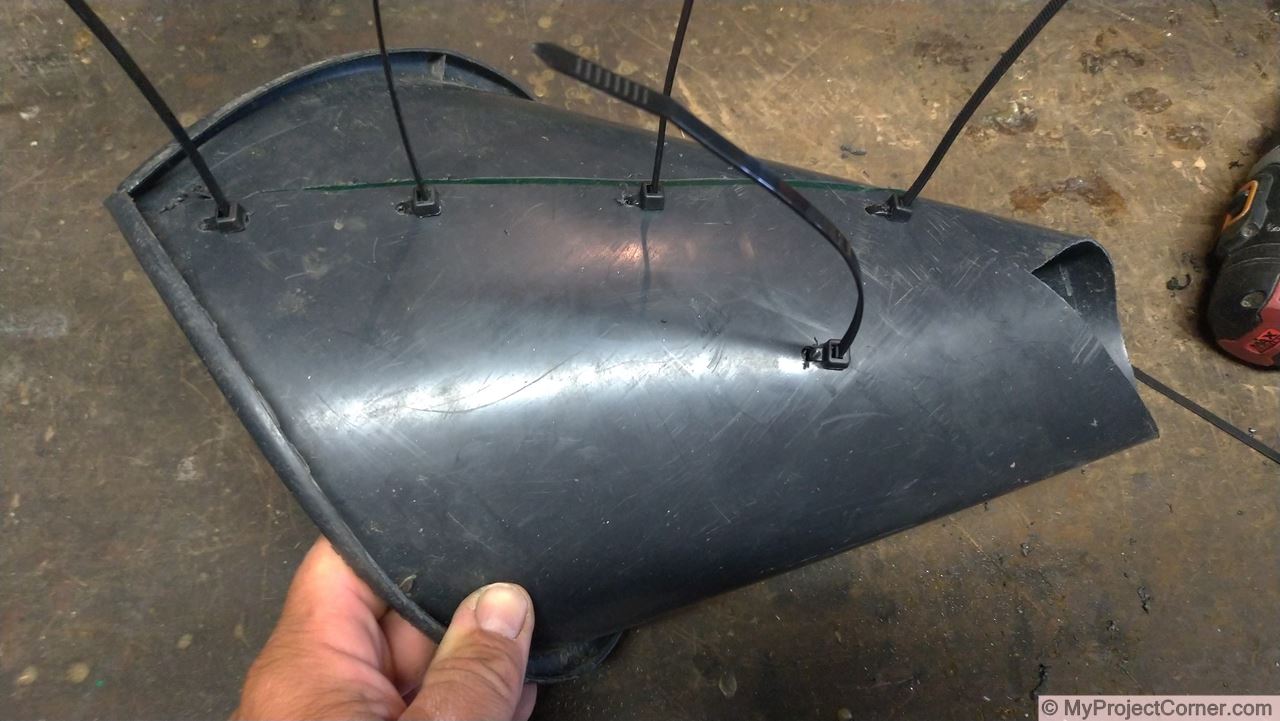
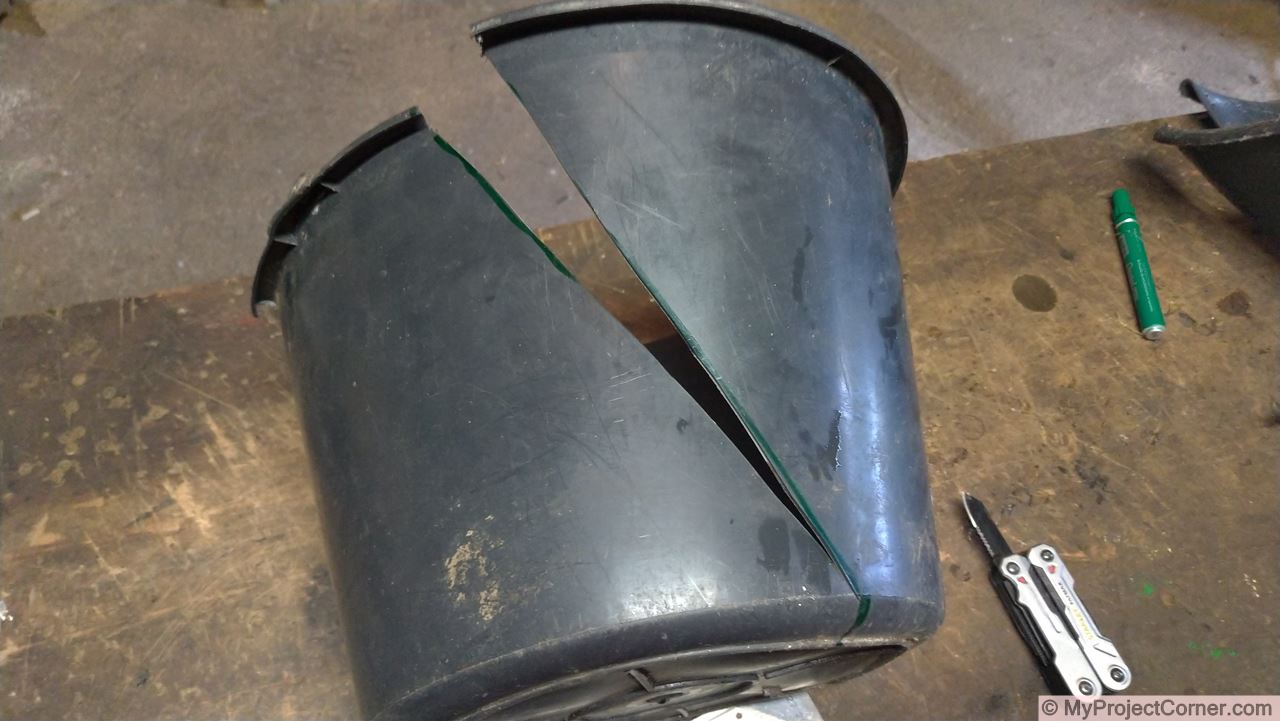
I used a tenon saw and a craft knife to cut the bucket into shape.
Cut off the excess cable ties, repeat 4 times and onto building the framework to hold them.
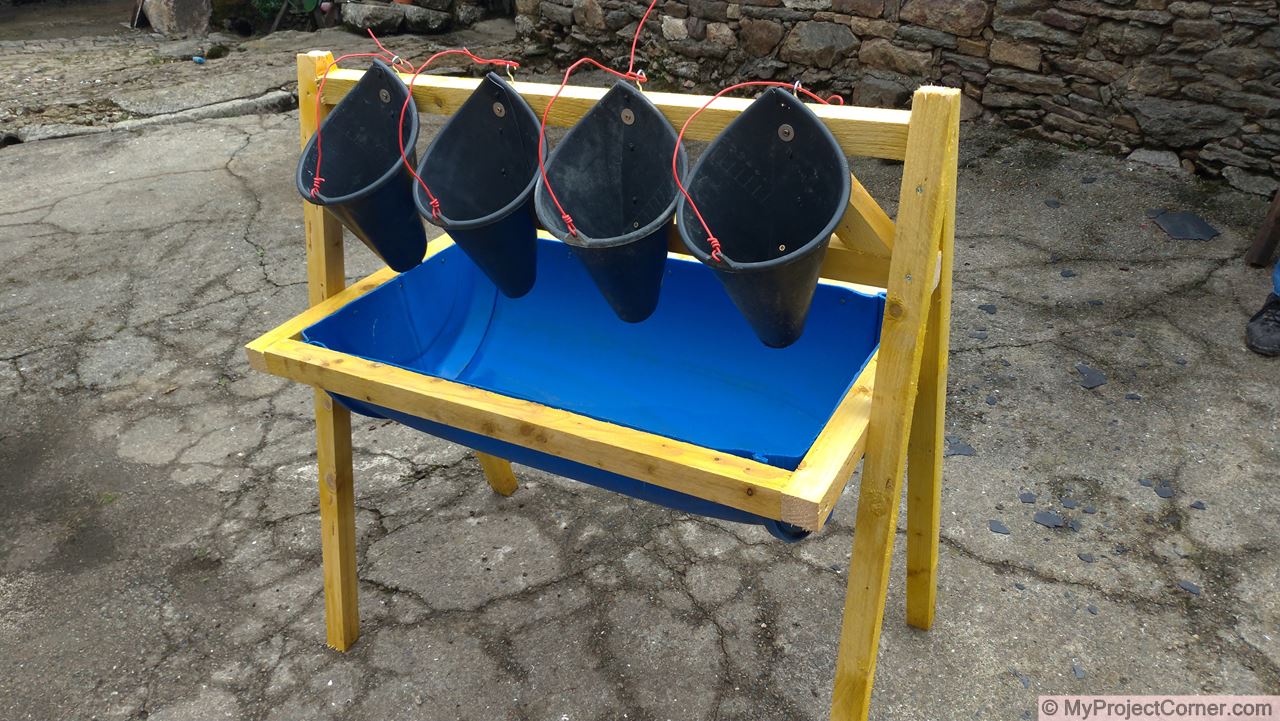
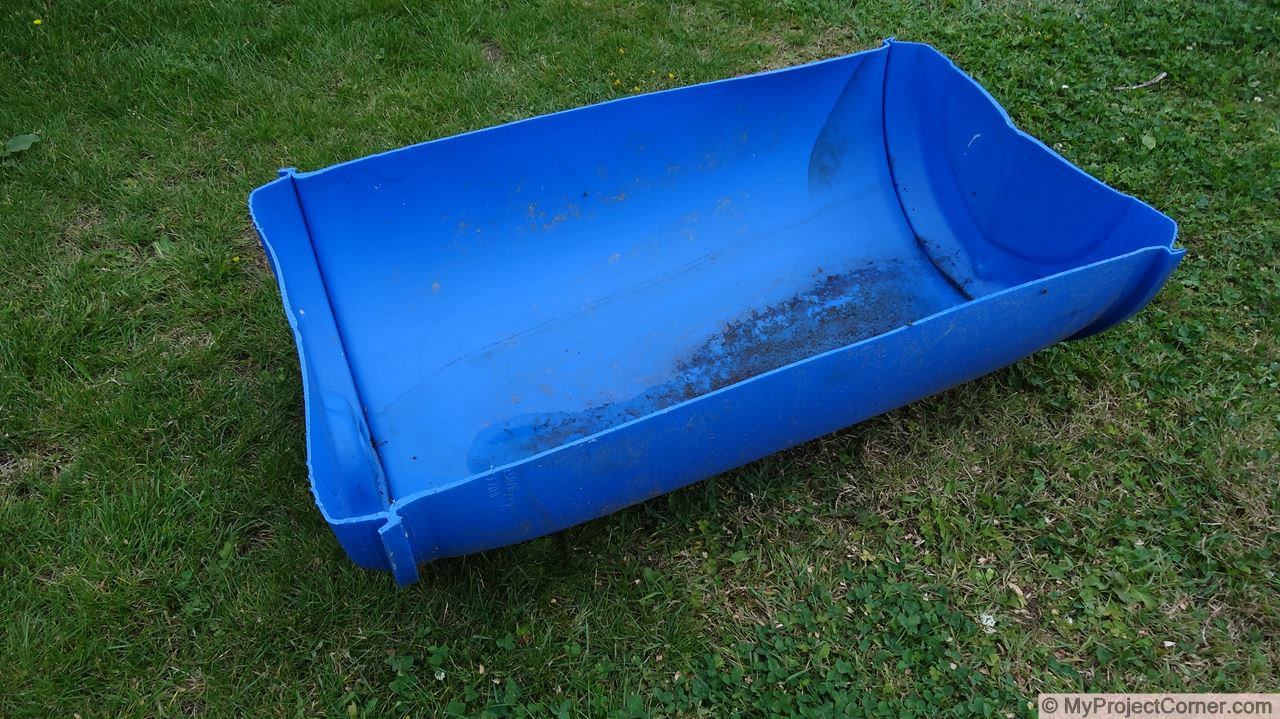
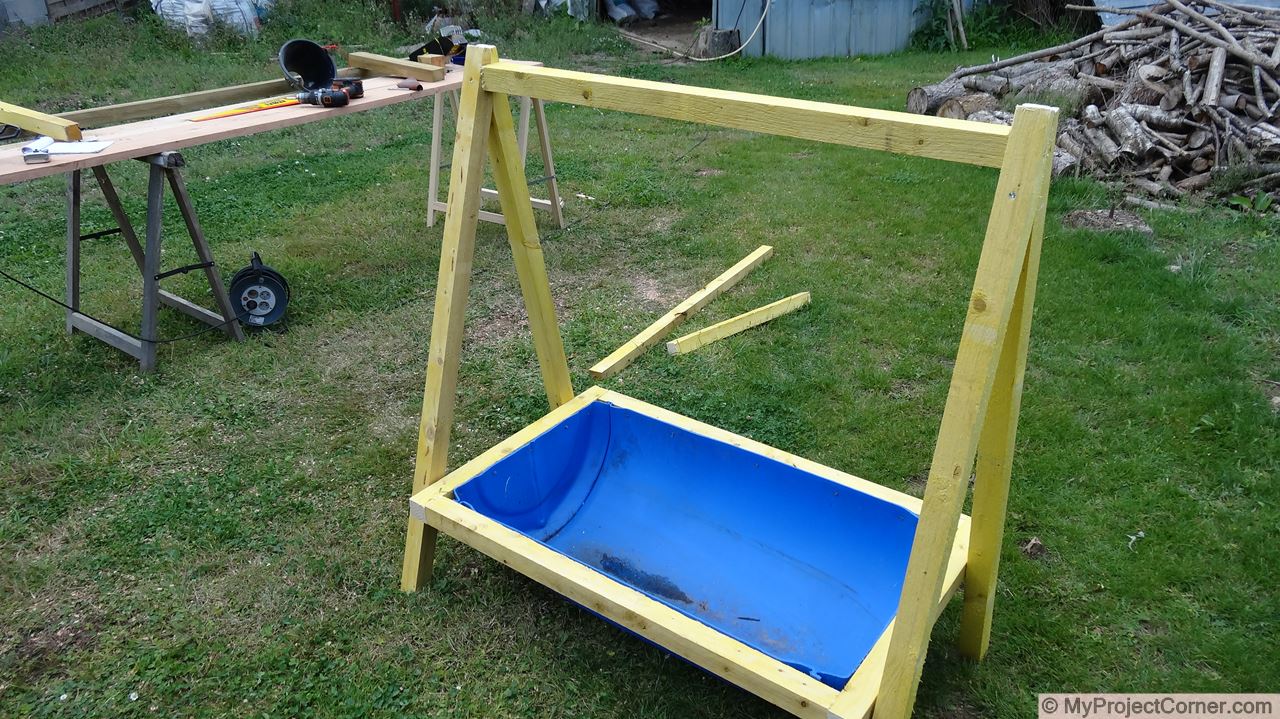
A wooden framework and barrel receptacle for blood
Starting with a barrel half
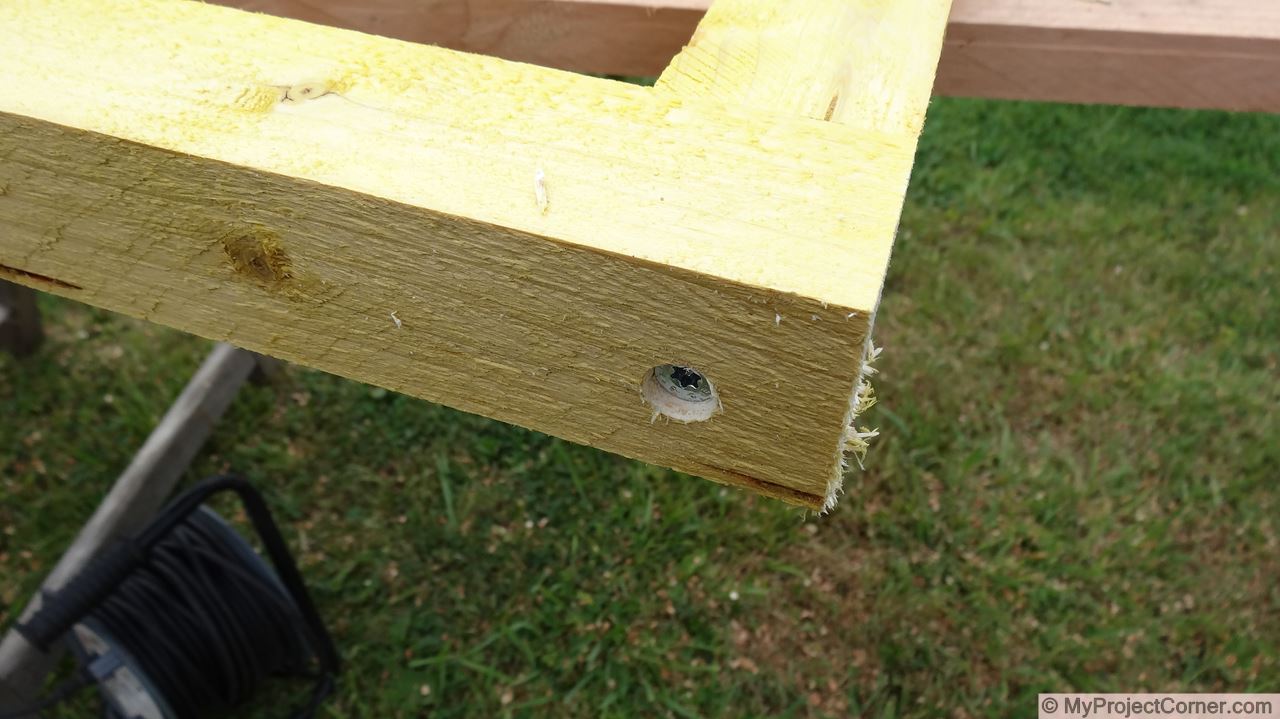
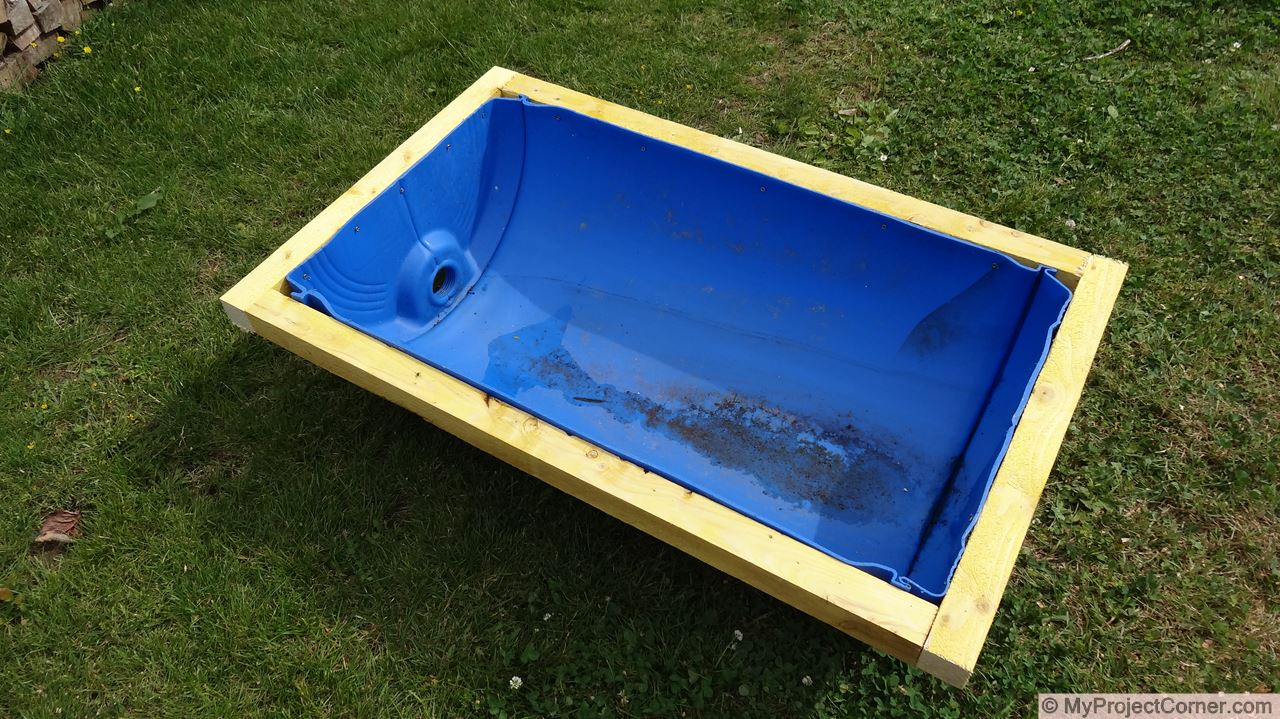
Make up a wooden frame to fit the outside of the half barrel and screw together at the corners. This stage is similar to my Recycled Barrel Planter build.
Screw the barrel to the frame around the inside as shown.
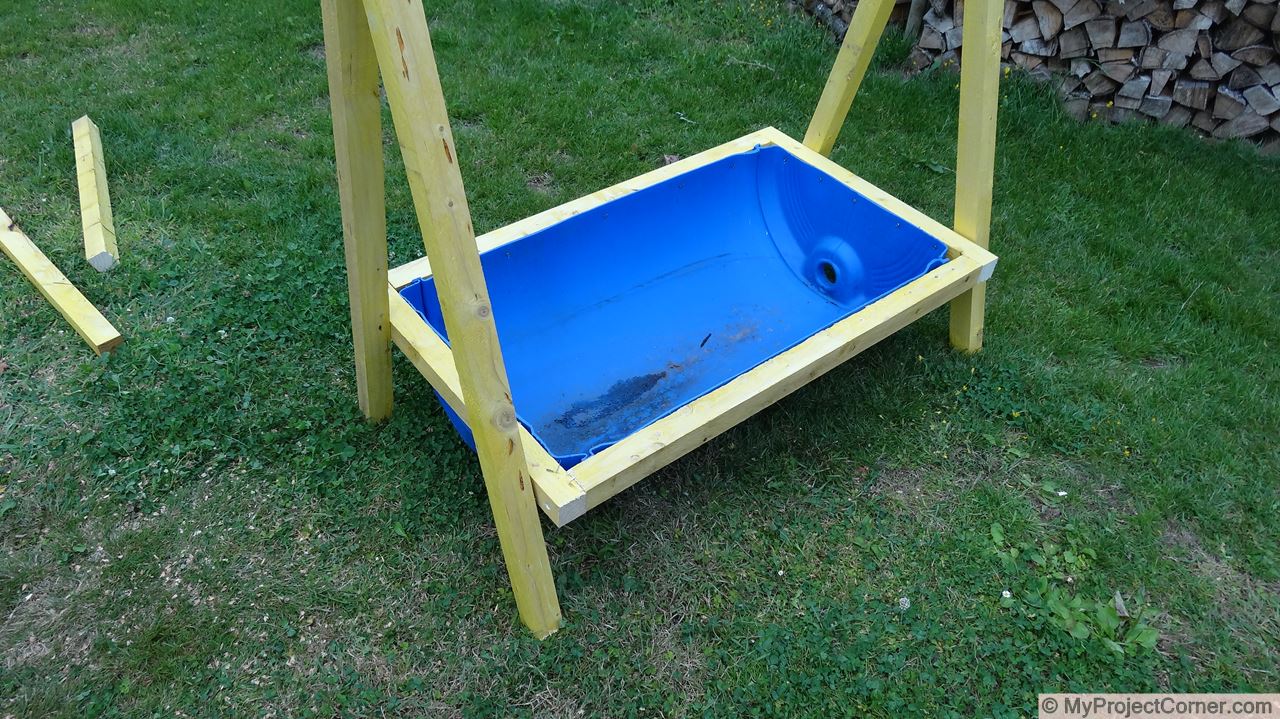
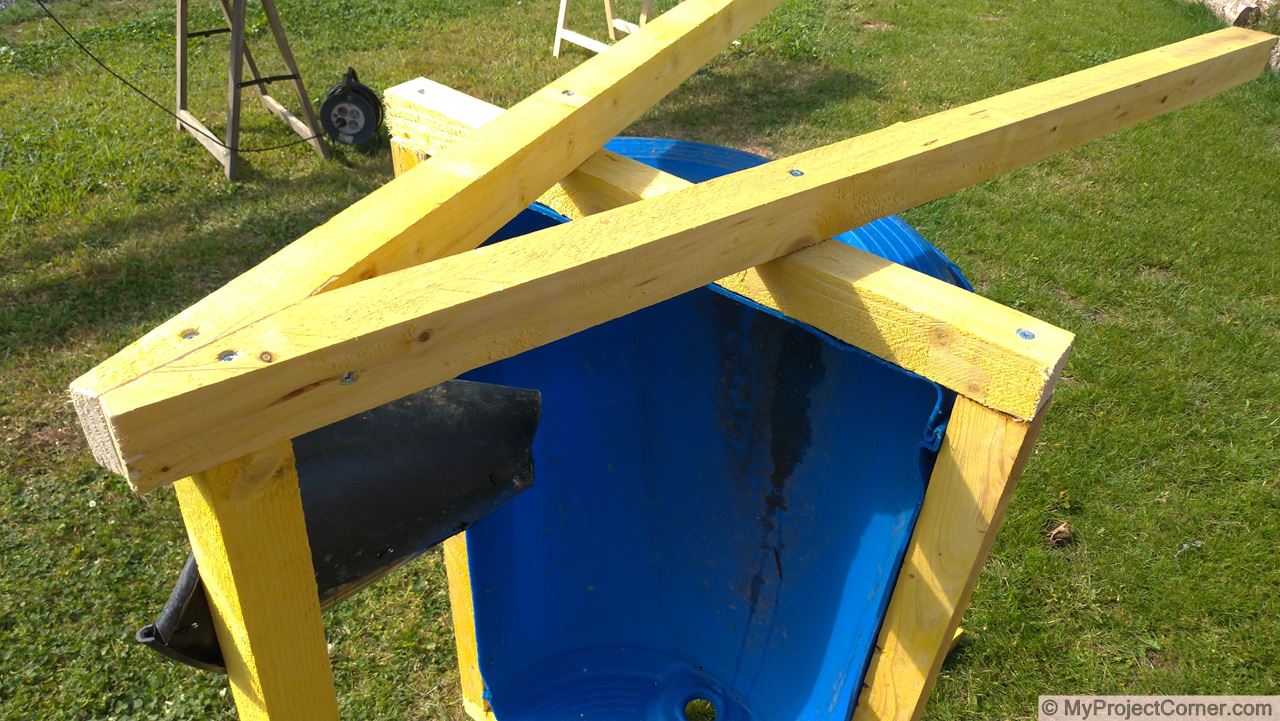
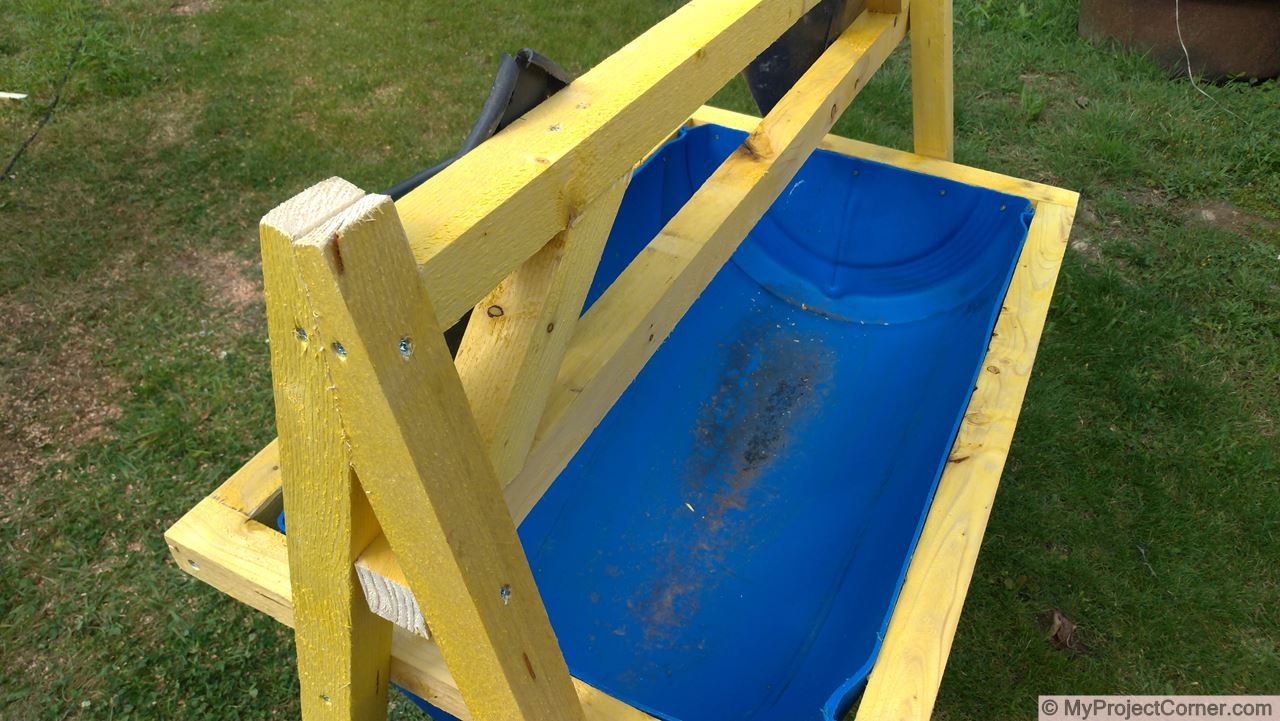
Building the ‘A’ frames
Make up 2 wooden ‘A’ frames and attach the top cross member.
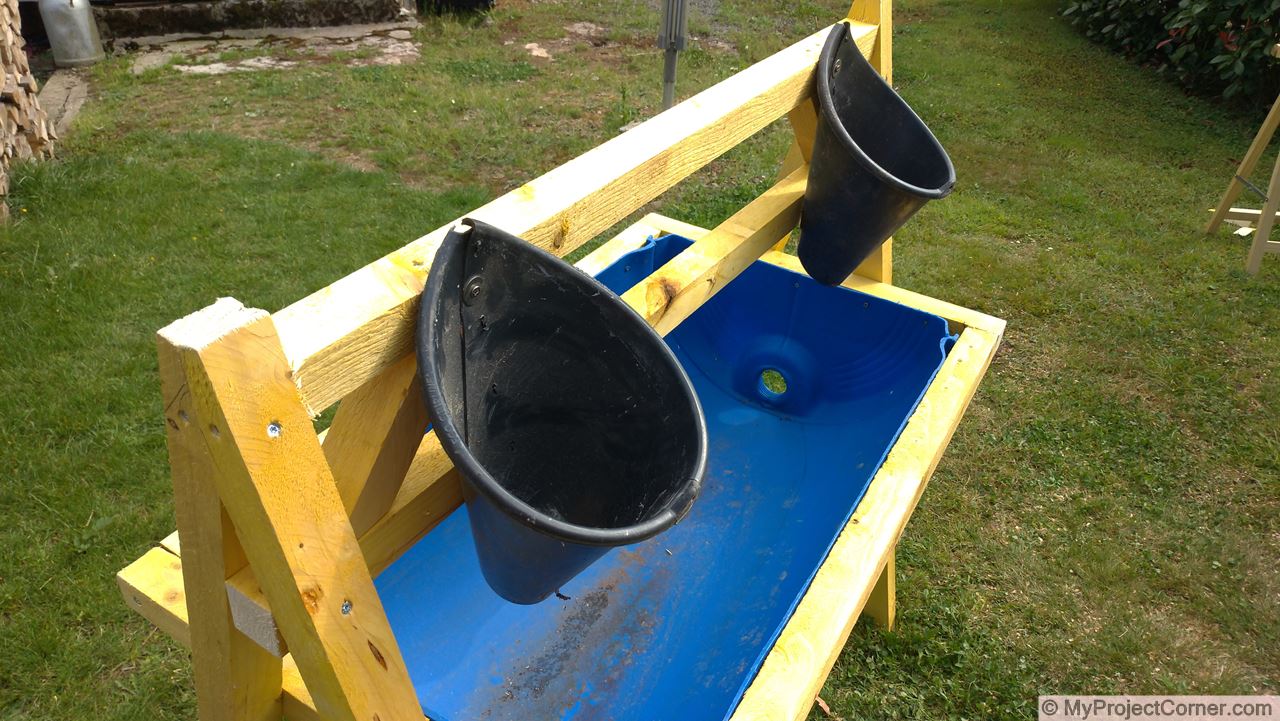
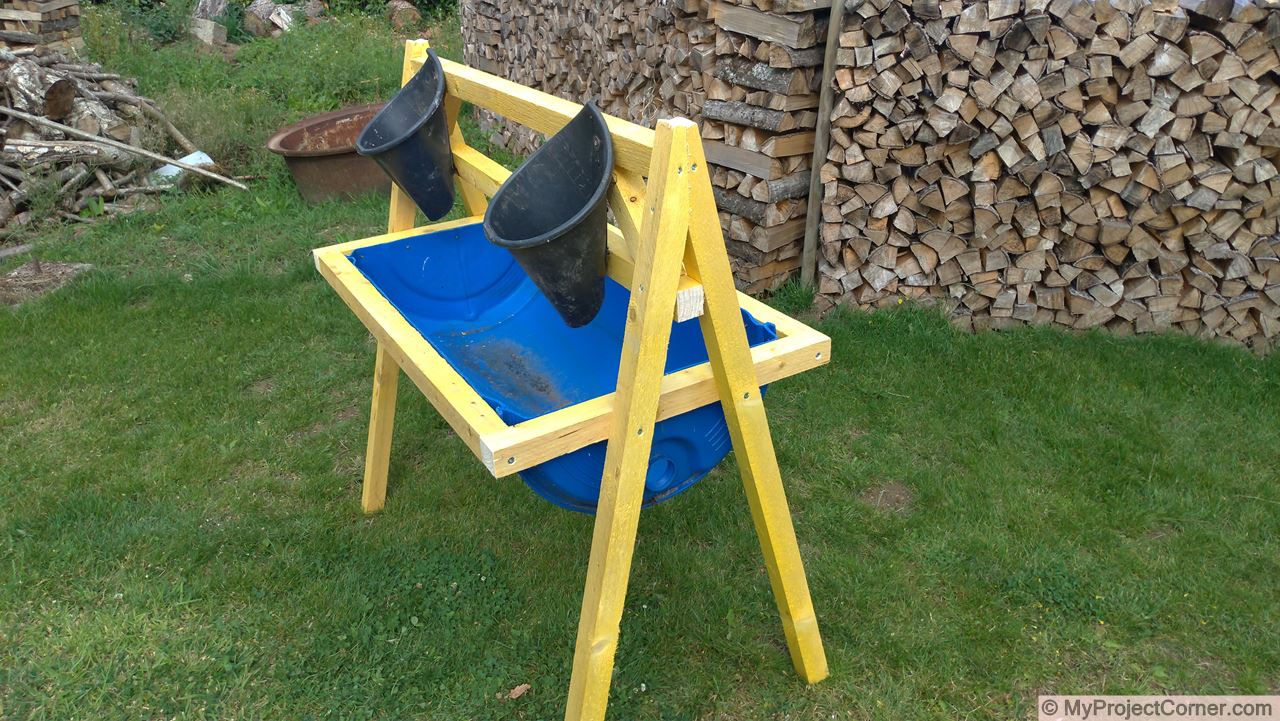
Once the 4 chicken cones had been attached to the finished frame I added a piece of wire and a hook to each station to secure the legs of the chicken.