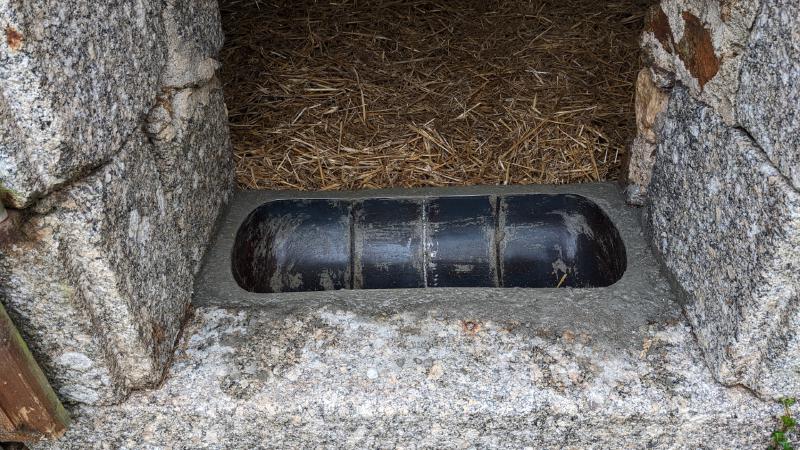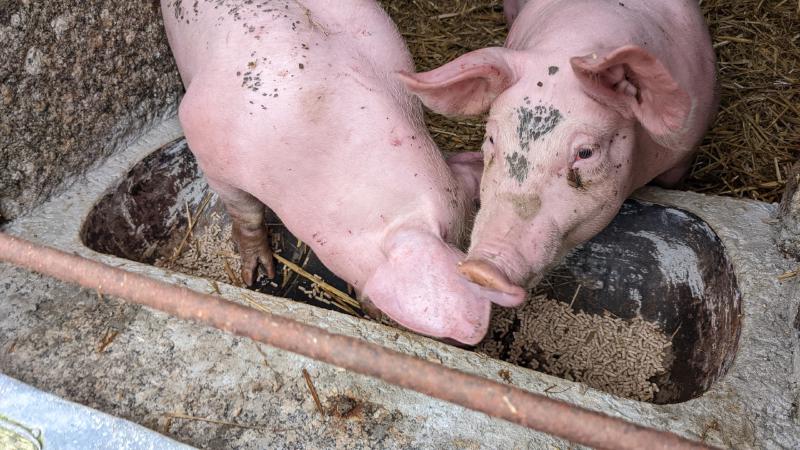
Pigs using the trough
A DIY Pig trough build, showing how I converted an old unused gas bottle into a homemade pig trough. This will make a trough large enough for my two pigs. The whole job took about 4 hours to complete. Plus a couple of days for the concrete to cure.
This year I need to replace the pig’s trough, the old one which I bought in a local farm shop has rusted out. I decided to save a bit of cash and make one out of an old gas bottle.
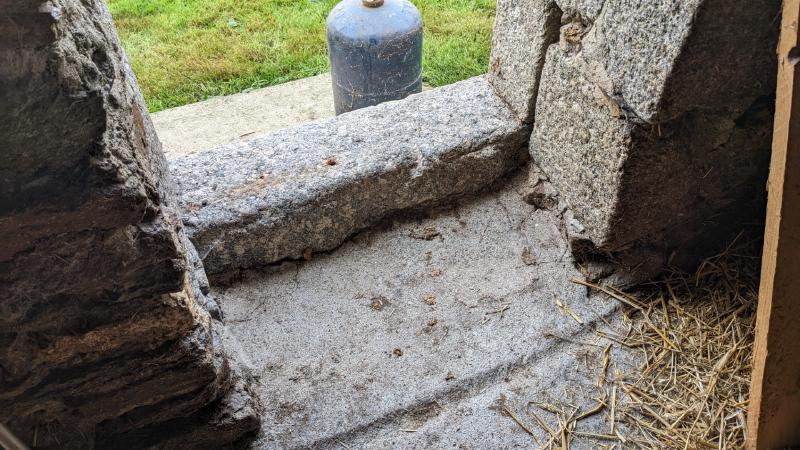
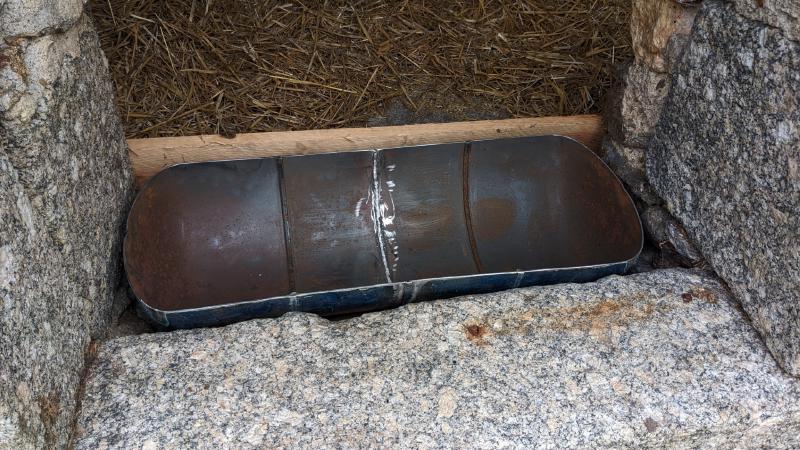
The original pig trough was inside the pig shed, which meant going inside to feed them. I wanted to locate the new one in the large window so that I can feed them from outside.
Attention! Gas bottles are potentially extremely dangerous!
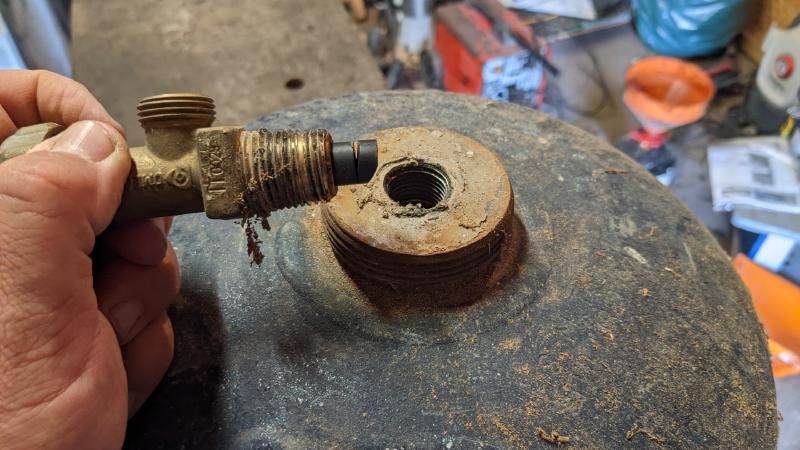
Make sure the gas bottle is un-pressurized before attempting to remove the valve
I have done this before on my Pellet Rocket Stove Hopper if you want to take a look.
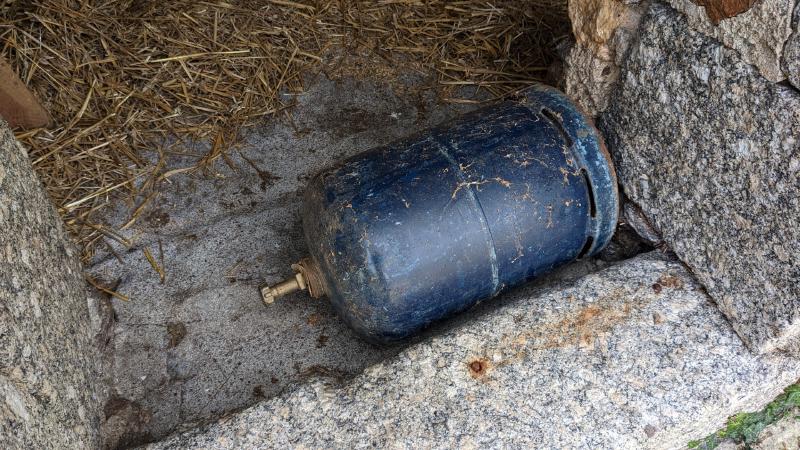
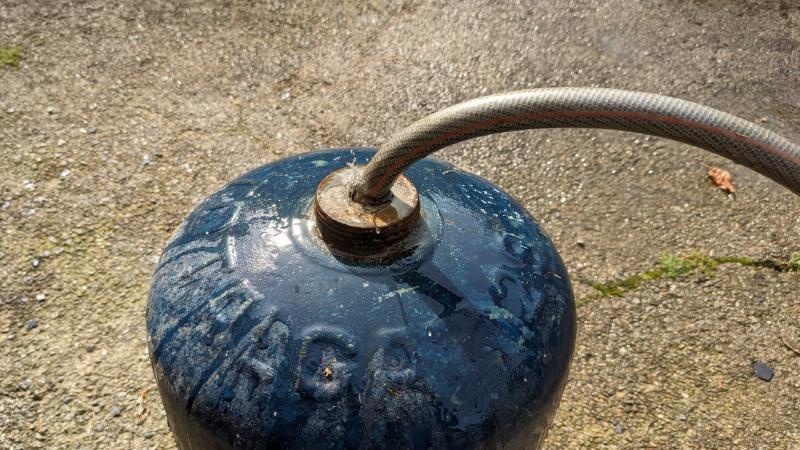
The first thing I do is to stand the gas bottle outside, with the valve fully open, for at least 24 hours
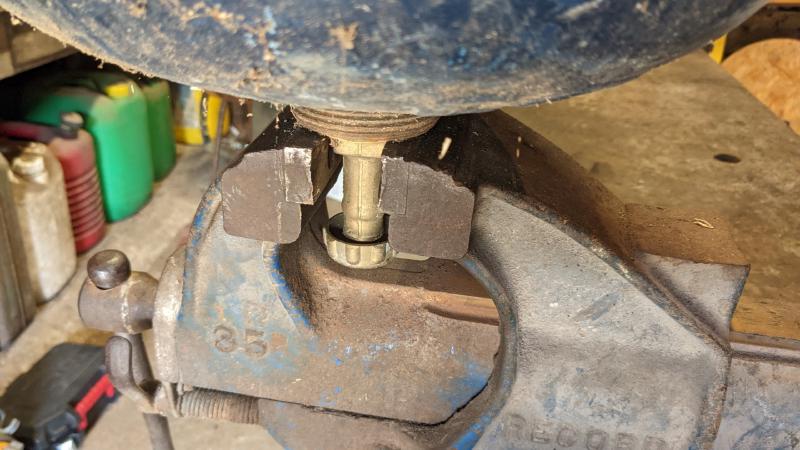
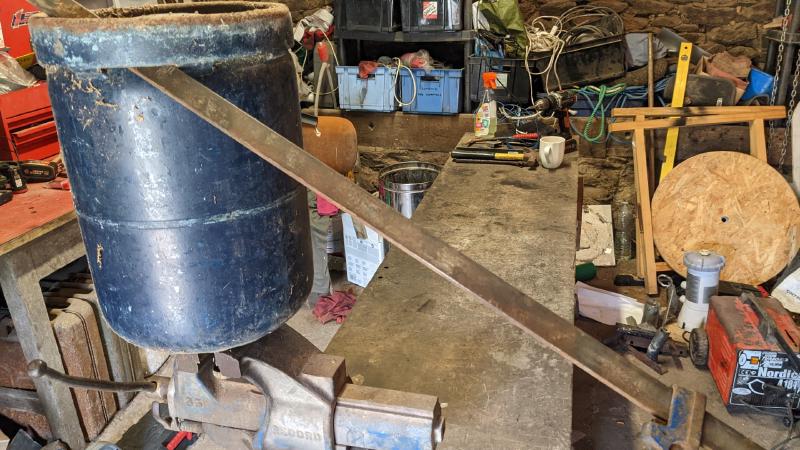
Then by holding the valve in a bench vice, I use a length of steel bar (a clamp) to turn the bottle. The thread is right-handed and exceedingly difficult to undo.
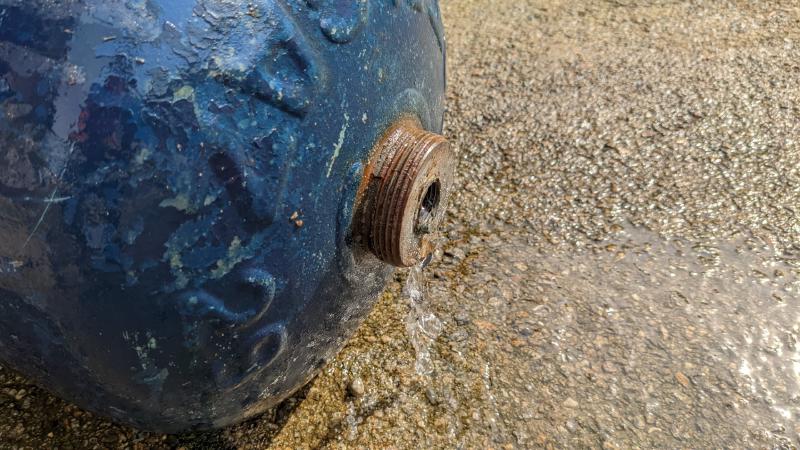
After removing the valve, I fill the empty gas bottle with water and then empty it. I repeat this part just to be sure that there is no gas residue in the bottle.
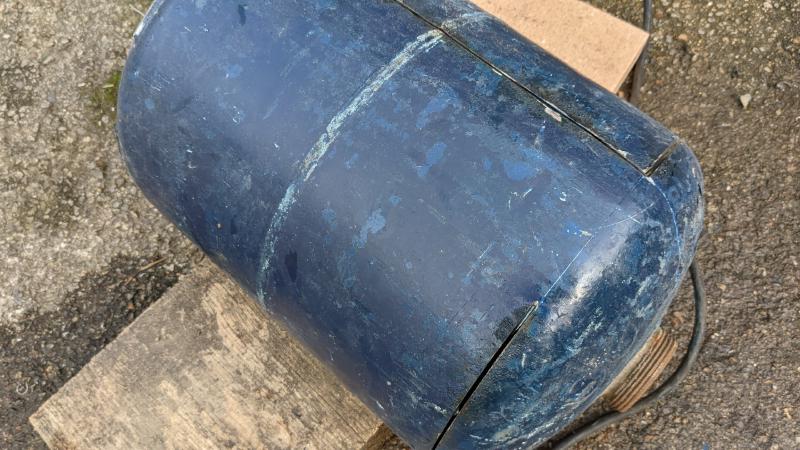
Now it’s time to get out the cutting disc. Starting by cutting off the base support ring
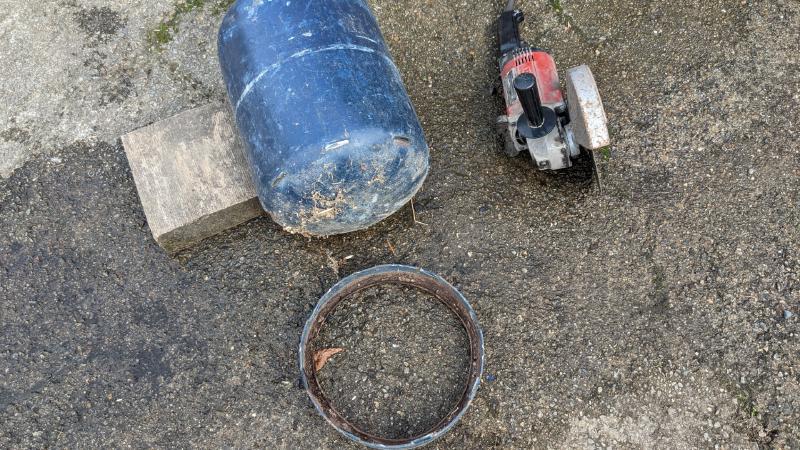
Starting by cutting off the base ring
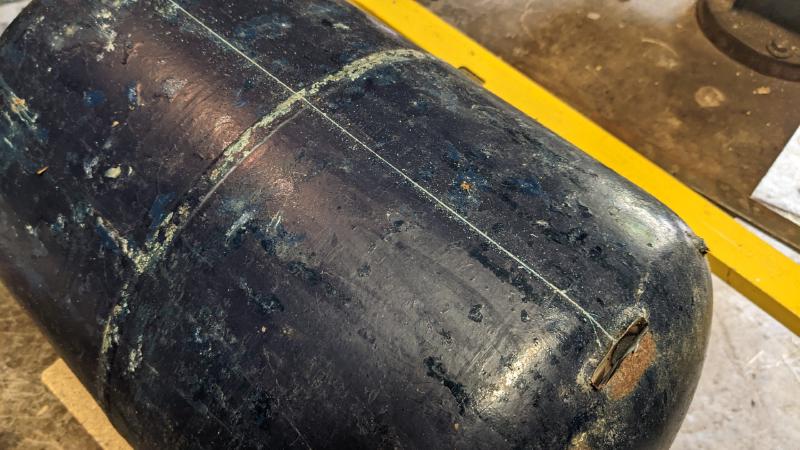
Next, scribe a centerline around the bottle and around the valve end of the gas bottle.
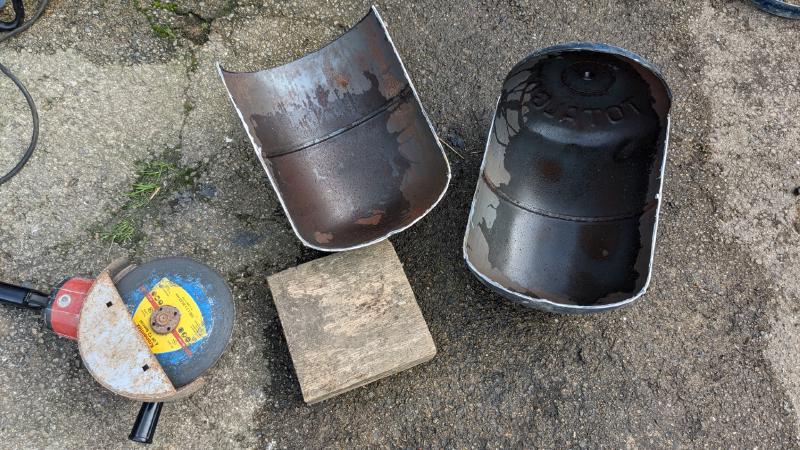
Chop the gas bottle up into three pieces, the end where the valve was attached is not needed. The two halves are just the right size to fit in the opening
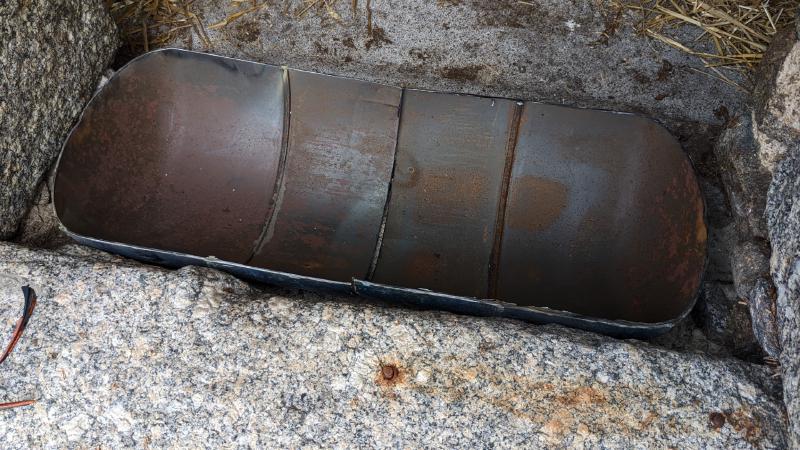
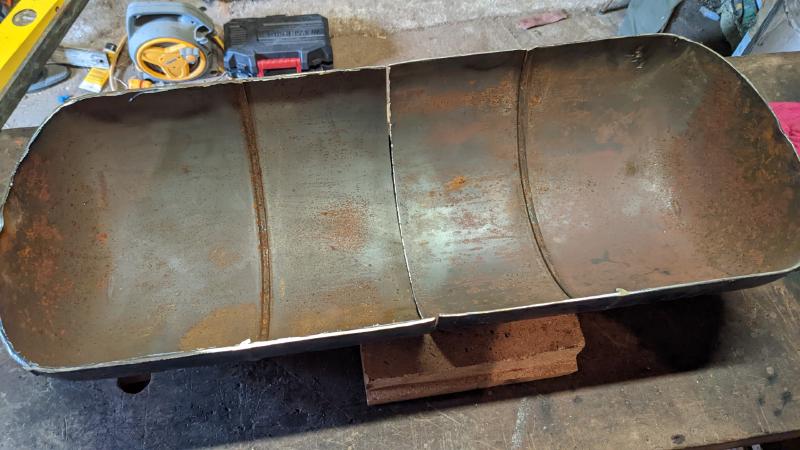
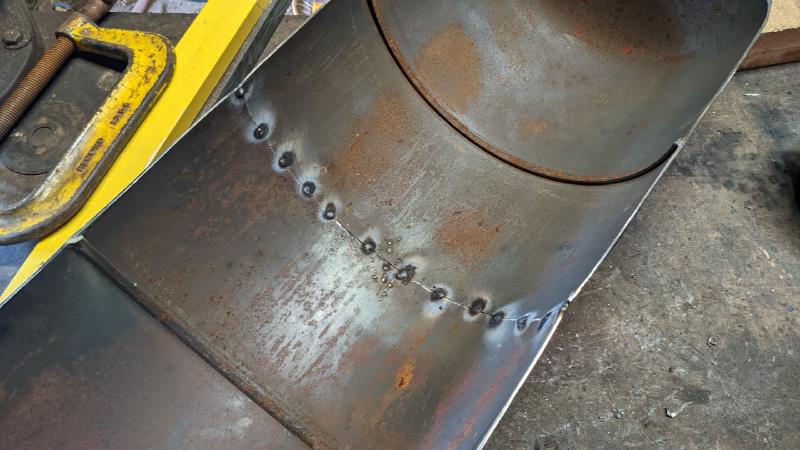
Moving to the workshop, I set up the two halves on the bench clamp and tack weld together. Now’s a suitable time take off any sharp edges and burrs.
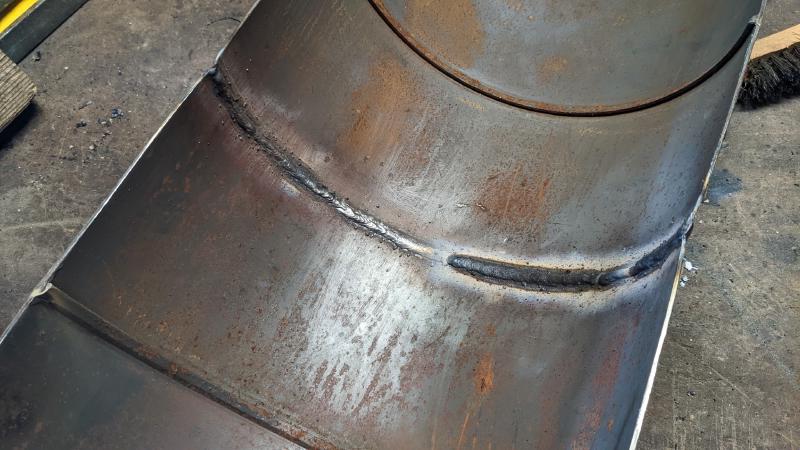
Then dress with a hammer to take out any misalignment and fully weld together.
The pig trough could be mounted on legs, but I prefer to set it in concrete.
Over the past 20 years of raising pigs I know how destructive pigs can be, if things are not fully secured, they will find a way to move, dislodge or break them!
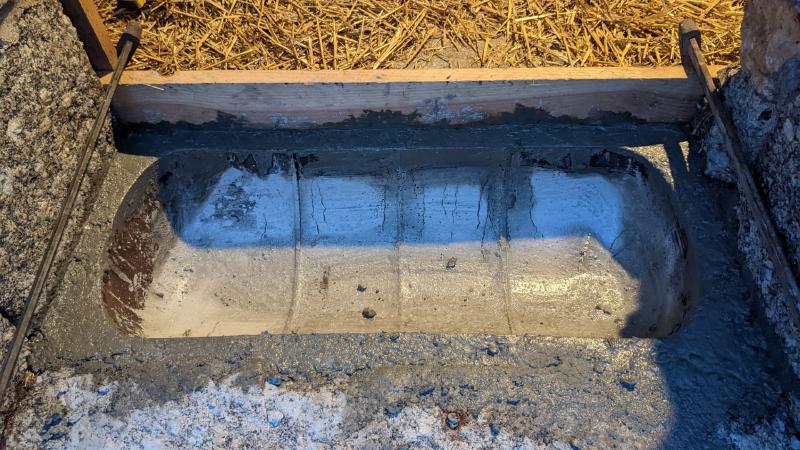
So, after clamping a plank of wood, I use a stiff concrete mix and work it in around the new gas bottle pig trough.
The concrete has cured enough to take away the planks. Now hopefully the pigs will not arrive for another week or so, to give the concrete time to fully cure
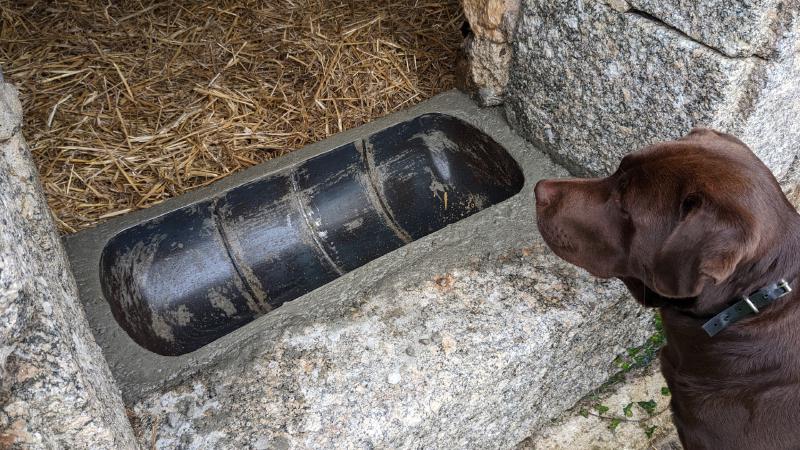
I think our chocolate Labrador Paxo thinks it is his new food bowl!

