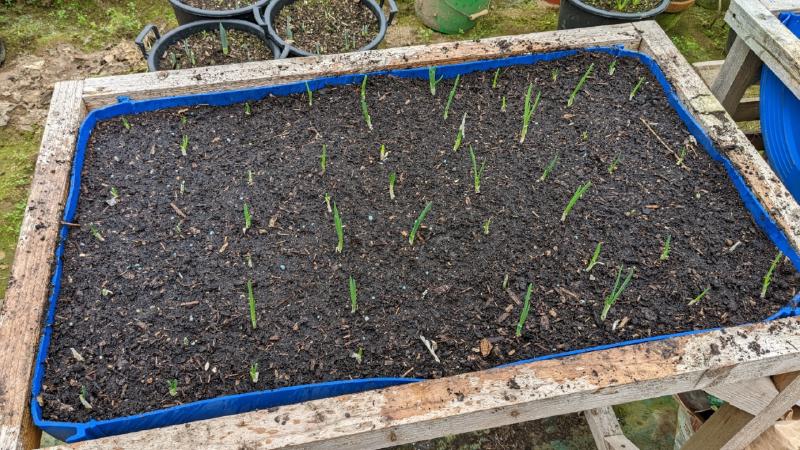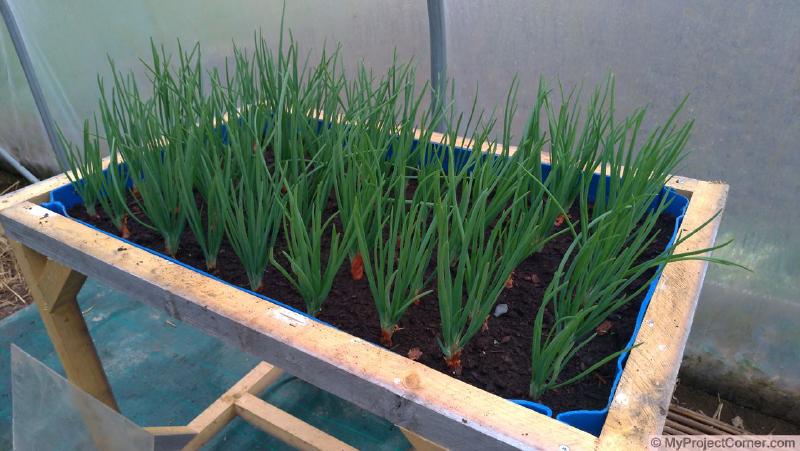
Finished Planter with Shallots Growing
This is how I went about turning a plastic barrel into something useful. I’m always struggling to find enough pots and trays to sow and grow on seedlings, so I’m hoping this system will make life easier. Seeing lots of different ideas on the internet, I decided to go for this setup. Constructed using treated roofing timber the unit cost is pretty low, and it should last a few years.
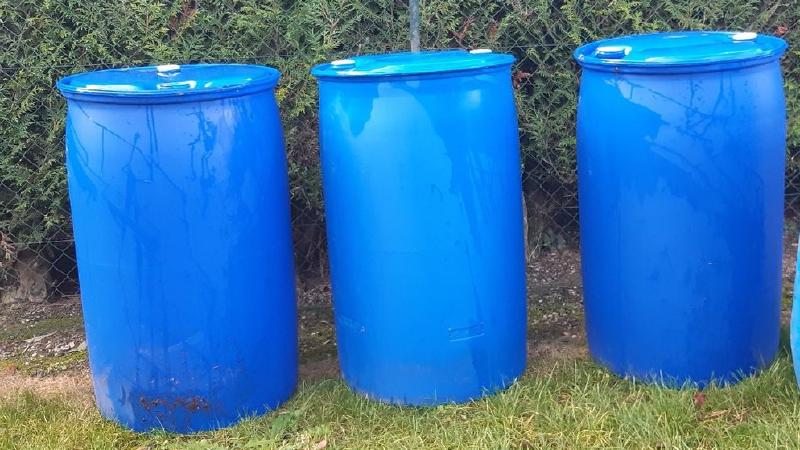
A friend of mine gave me a few of these barrels when I was looking to build my chicken plucker, having some left over I decided to recycle one into a planter for the greenhouse. The idea is that it can double up as both planter and staging. Being used to sow seeds or grow smaller crops and portable enough be moved outside during the summer months if required.
Parts List
- An old 200 litre plastic barrel.
- 2″ or 50mm square treated wood.
- 5 x 80 mm Wood screws for wooden frame.
- 5 x 30 mm Wood screws to attach barrel to frame.
First Stage
Preparing the plastic drum
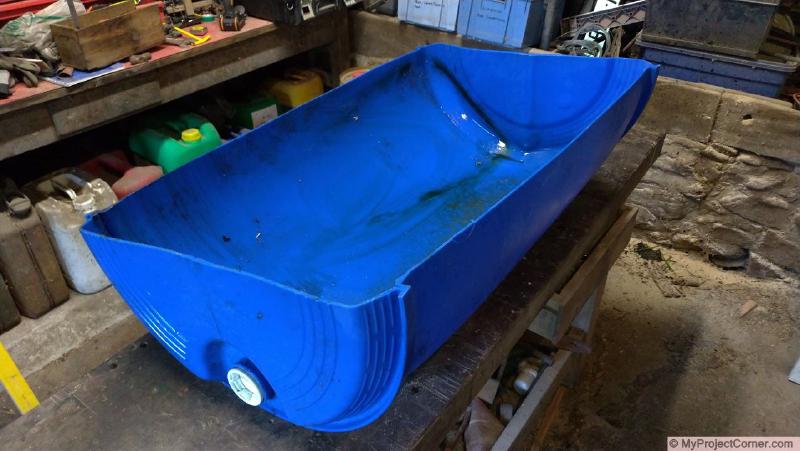
Cutting the barrel in half
Depending on what the barrel was previously used for, it may be a good idea to clean it before starting to work with it.
The barrels that I had were used to transport antifreeze, so I just rinsed out a few times with clean water.
Once cleaned I marked a center line with an indelible marker pen. Usually there is a centreline on the top and bottom from the moulding process.
Then using a fine toothed wood saw carefully saw along the marked centreline.
Build Stage 2
Build framework to hold the half barrel
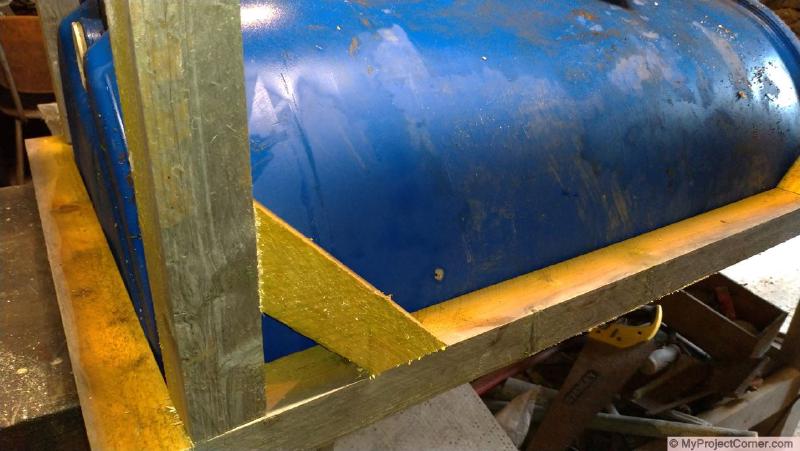
Make the frame and attach to the half barrel
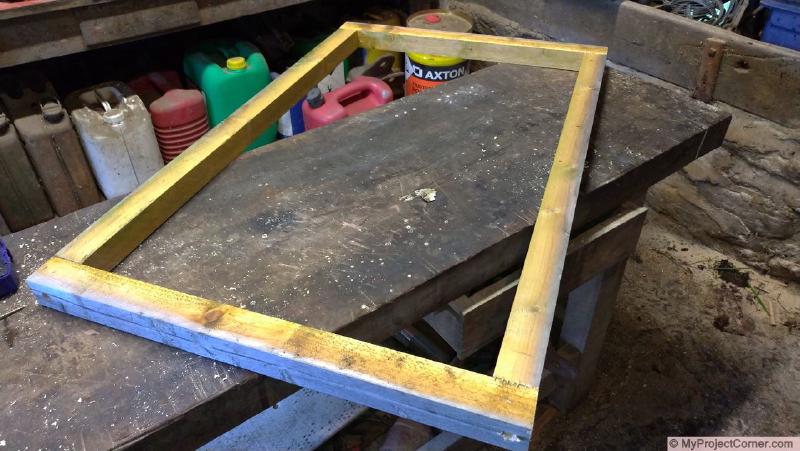
Measure the barrel and make a rectangular frame, attaching with a screw in each corner
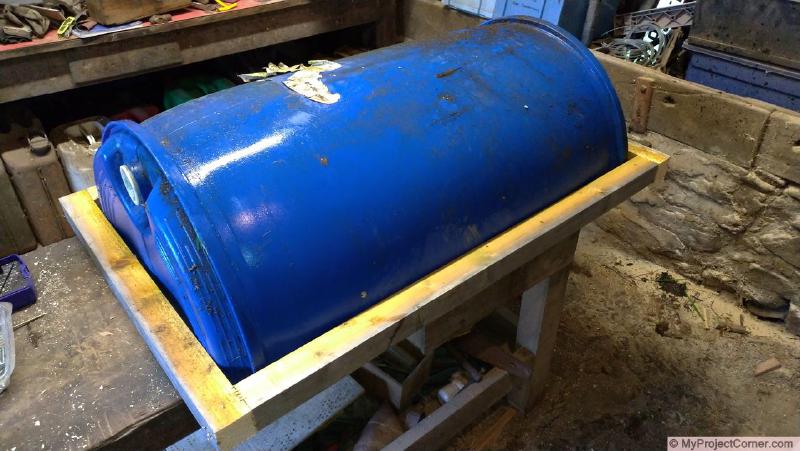
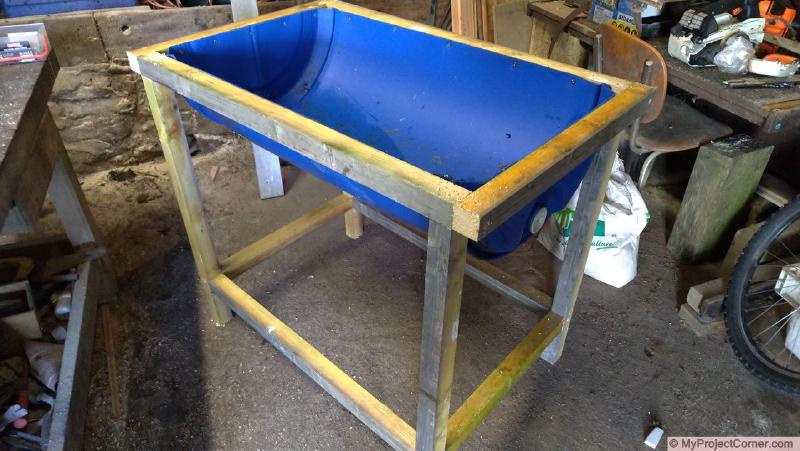
Then using the 5 x 30 screws, attach the wooden frame flush with the sawn edge of the barrel half.
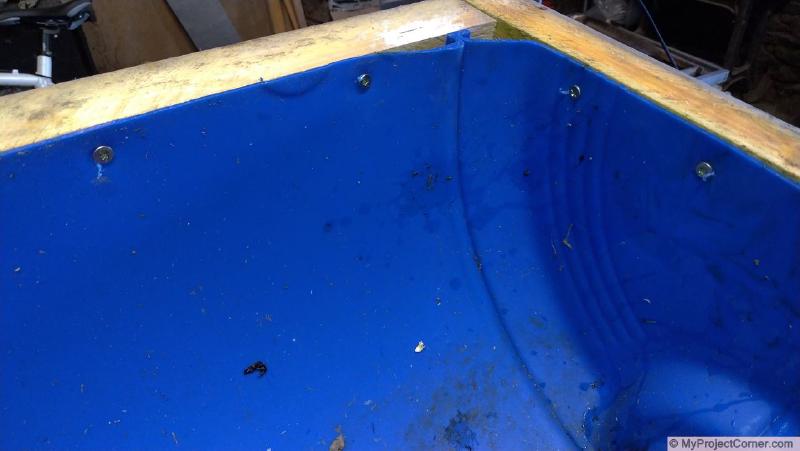
This picture shows the barrel half screwed to the frame and turned over, ready for the support framework to be attached.
Build Stage 3
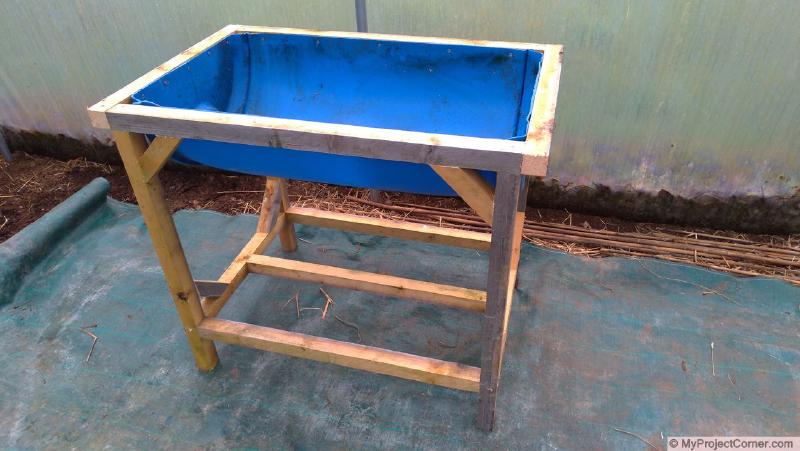
Make the leg framework to support the planter
Building the leg framework for the barrel planter
I’ve used basic butt joints in the construction of the framework. Held together with the 5 x 80 wood screws.
The height of my barrel planter is 80cm as I want to use the shelf under the barrel for seed trays. Also at this height it can be easily moved without bending over, which is great for my back.
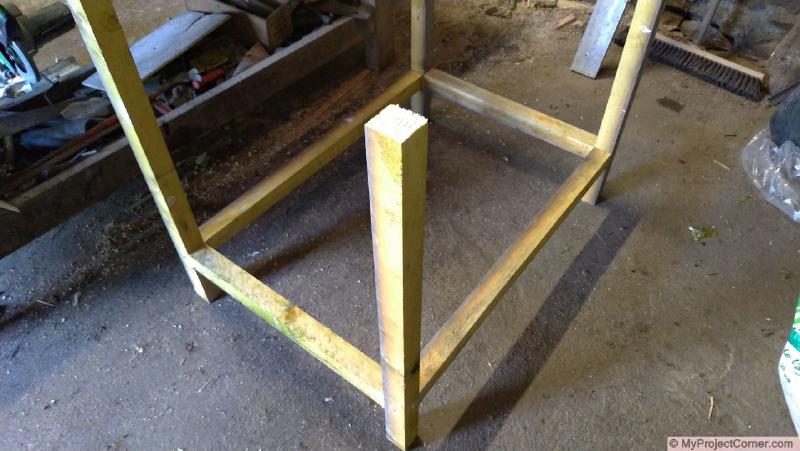
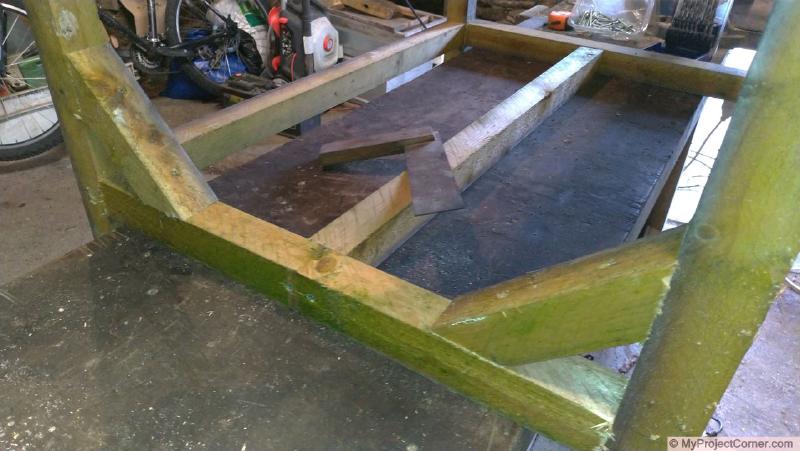
Cut 4 legs to achieve the required height. Then cut 2 long and 2 short braces and screw together.
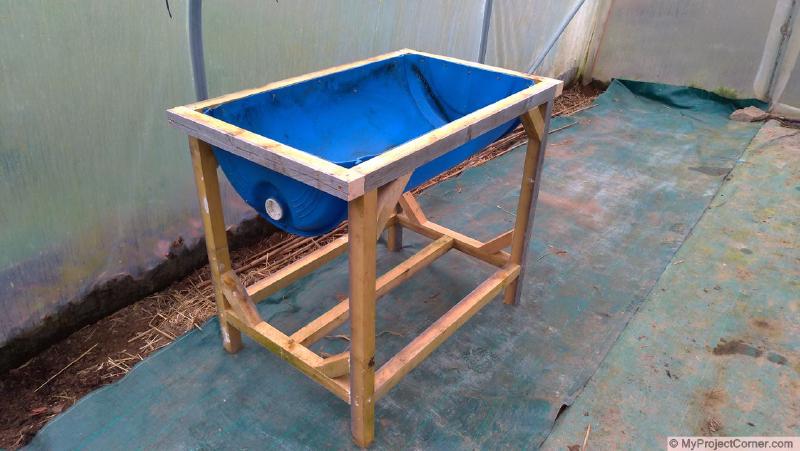
Finally, cut 8 45° braces and attach as shown in figures 5 & 6. I’ve added the center brace shown in figure 6 as a support for seed trays.
Final Stage
Finishing off the barrel planter
Adding drainage holes
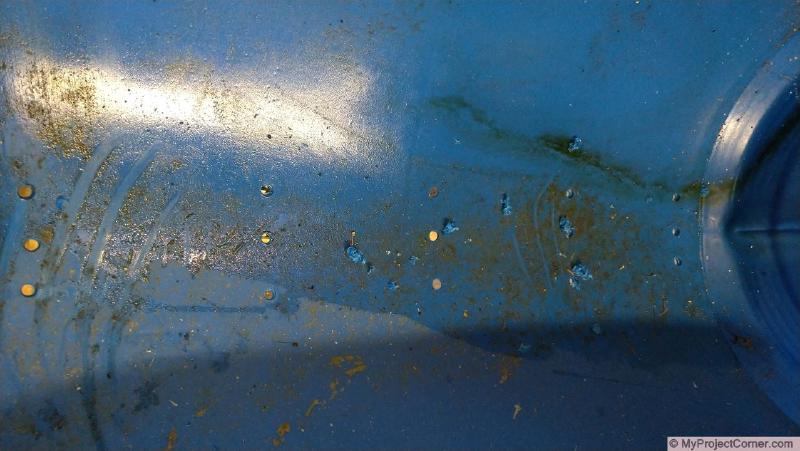
One last thing to do before using the planter is to drill some drainage holes in the bottom of the plastic barrel.
I used a 16mm wood drill, producing 3 rows as shown
Here’s the finished planter in the greenhouse ready to be filled with compost and planted up.
Using The Barrel Planter
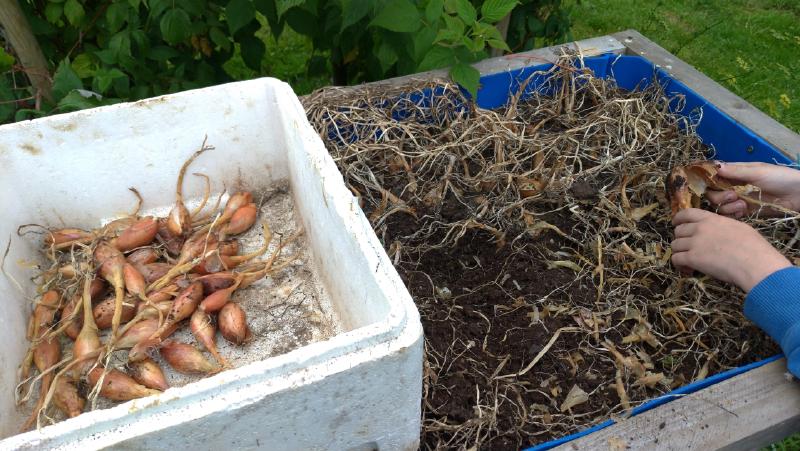
Planting Shallots in the finished planter
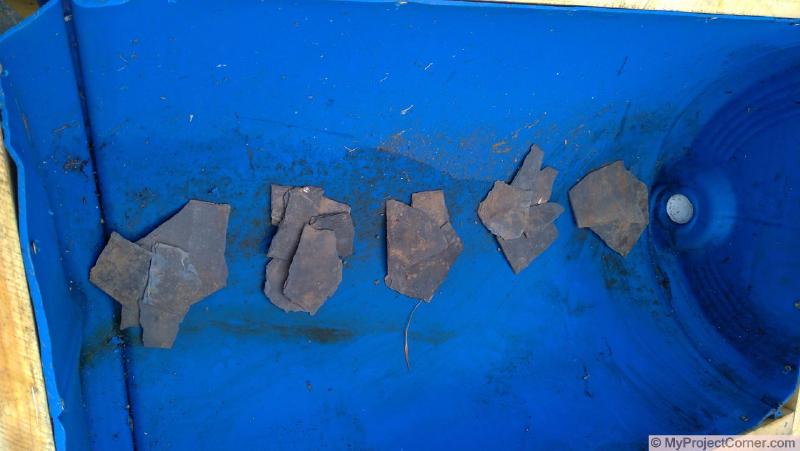
Start by covering the drainage holes with some old broken roofing slates.
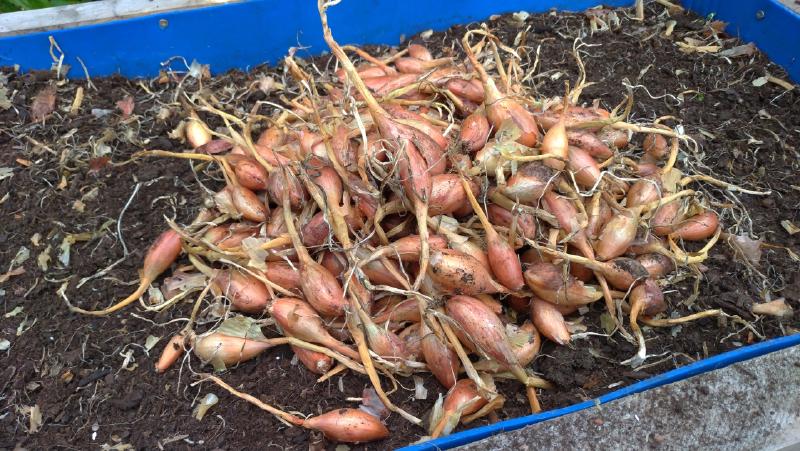
Then fill will compost and plant the shallots.
Three weeks later it looks like this

I’m really pleased with the outcome of this project. Will definitely be building more of these recycled barrel planters.
Barrel Planter Update 2022
Is it still being used?
I’ve made three of these now and find them excellent for certain crops.
Last year in 2021 we had the best crop of garlic for years from one planter and the shallots were also good.
So easy to harvest and a good crop from such a small area, very pleased with the result!
This year we are starting by planting some early white onions sets
They are already off to a good start
