Finished and ready to go
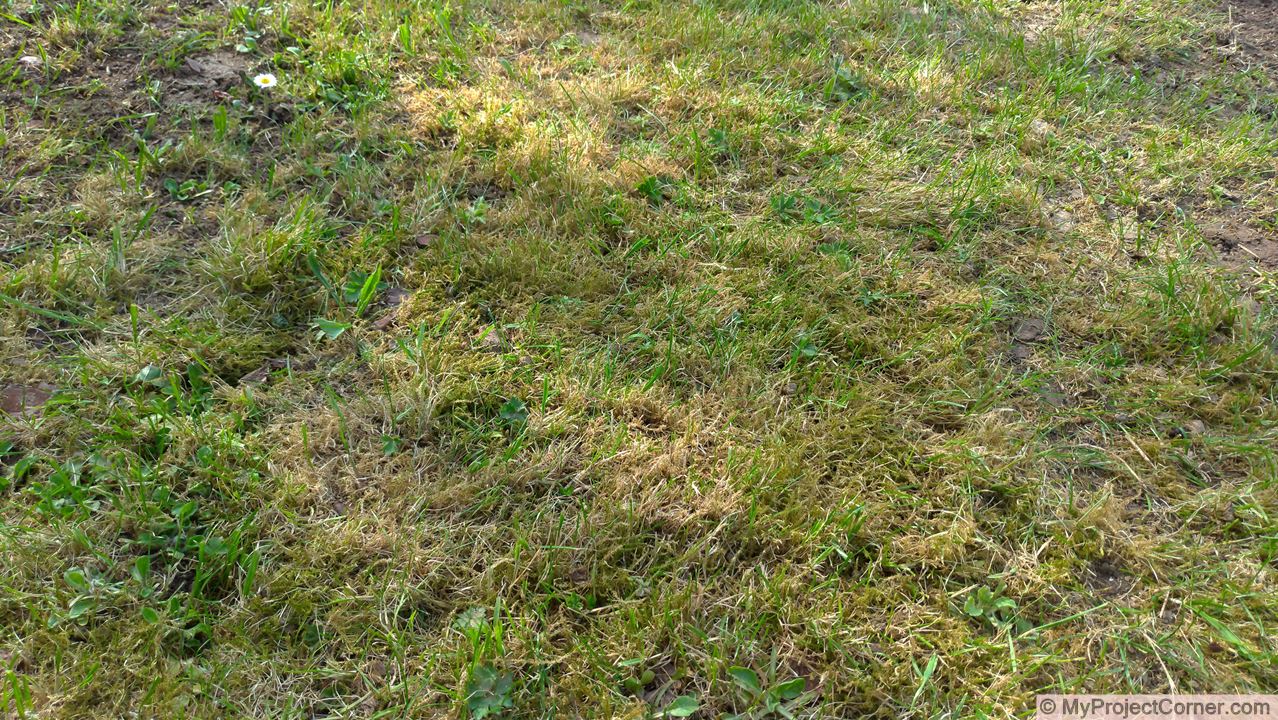
I have recently accepted the job of regenerating my neighbours lawn. The lawn has been neglected for the past few years and is more moss than grass now. Because the area of the lawn is over 200 m², raking out the moss is too big a job. Not having access to a machine to do this (and not able to hire/buy one because of the COVID-19 lockdown), I decided to try to make one and this is what I came up with.
The plan is to scarify the lawn to remove as much moss as possible so that overseeding can be carried out. Without scarifying the new seed wouldn’t stand a chance of establishing.
After a bit of searching online I found that it’s possible to get a scarifying attachment for rotary lawnmowers (as shown in pictures below). Which is basically a few sprung wires attached to a blade like metal plate. However, not having the necessary materials or equipment to reproduce said attachment, I started looking at making a scarifying attachment that would fit on my petrol strimmer.
This is one of the rotary lawnmower scarifier attachments that I saw on Amazon.fr

Design and Printing
Using Sketch-Up and my CR10 3d printer
Sketch-Up Design
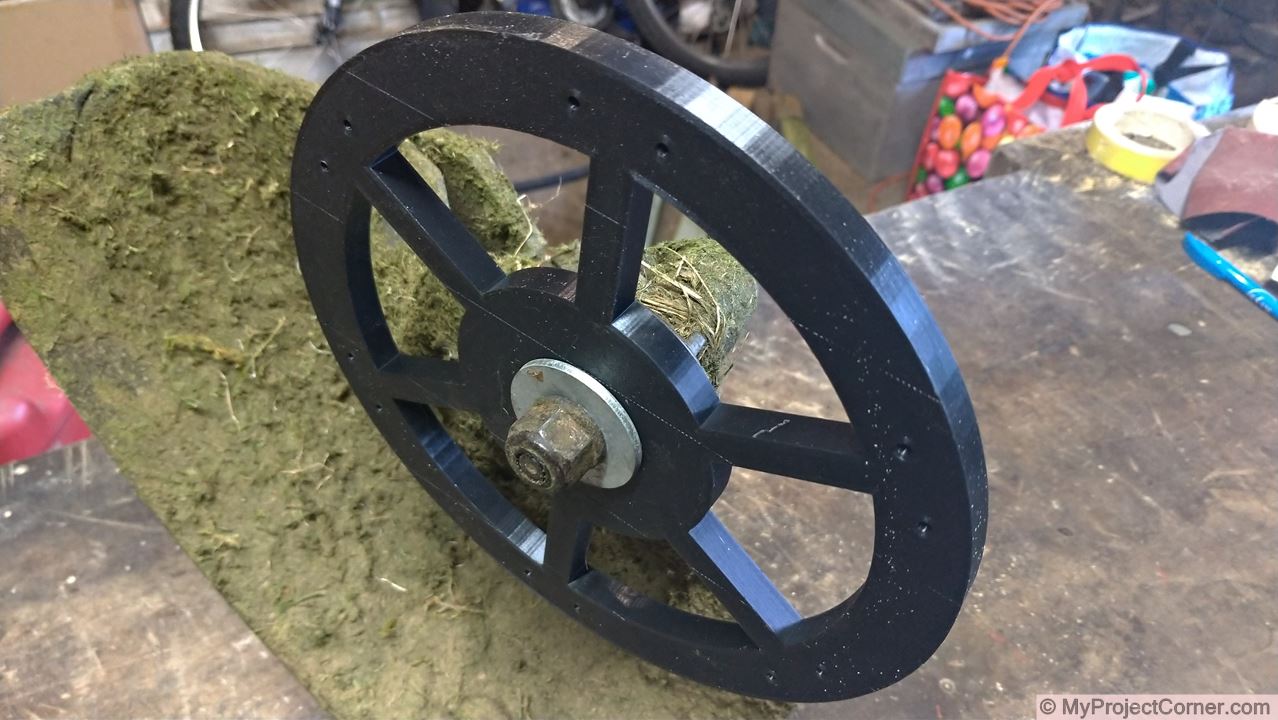
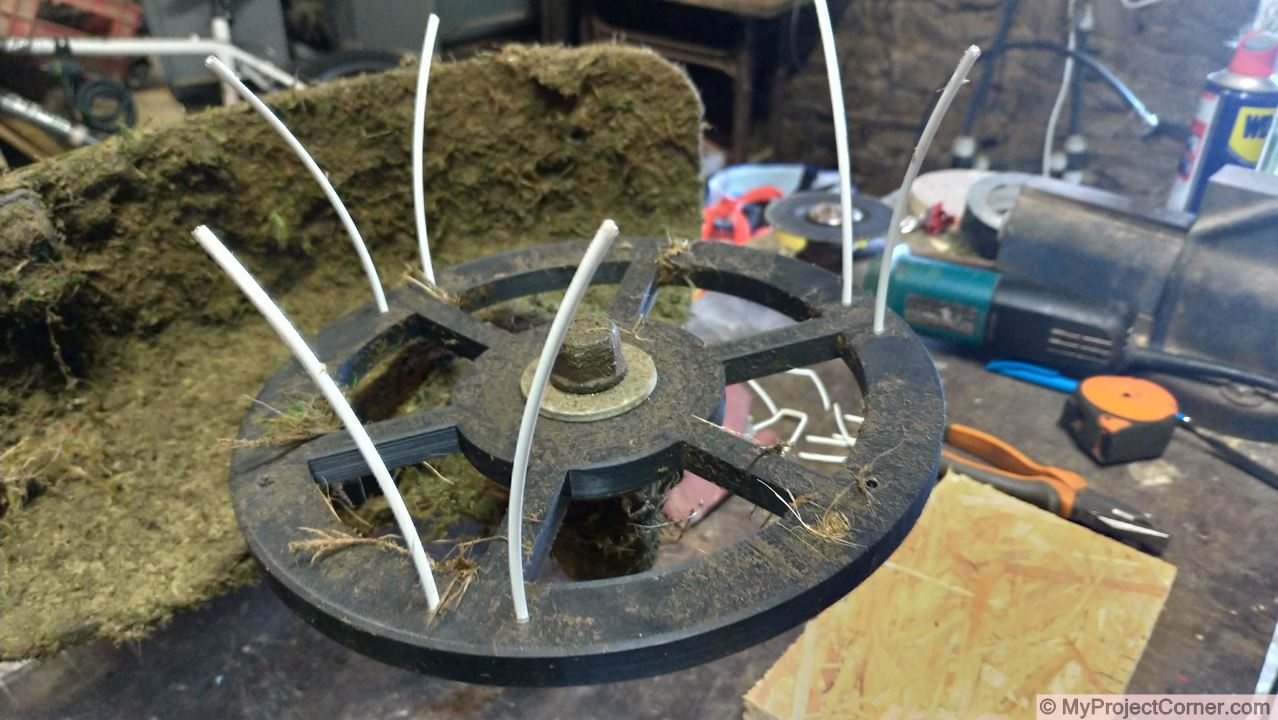
Going for a spoked wheel design as opposed to a solid disc, firstly to reduce the print time and also I think it looks nicer.
Taking measurements from my strimmer head for the center location recess and bolt clearance. The holes for the tines are 3mm diameter to match the rigid nylon wire that I was going to use.
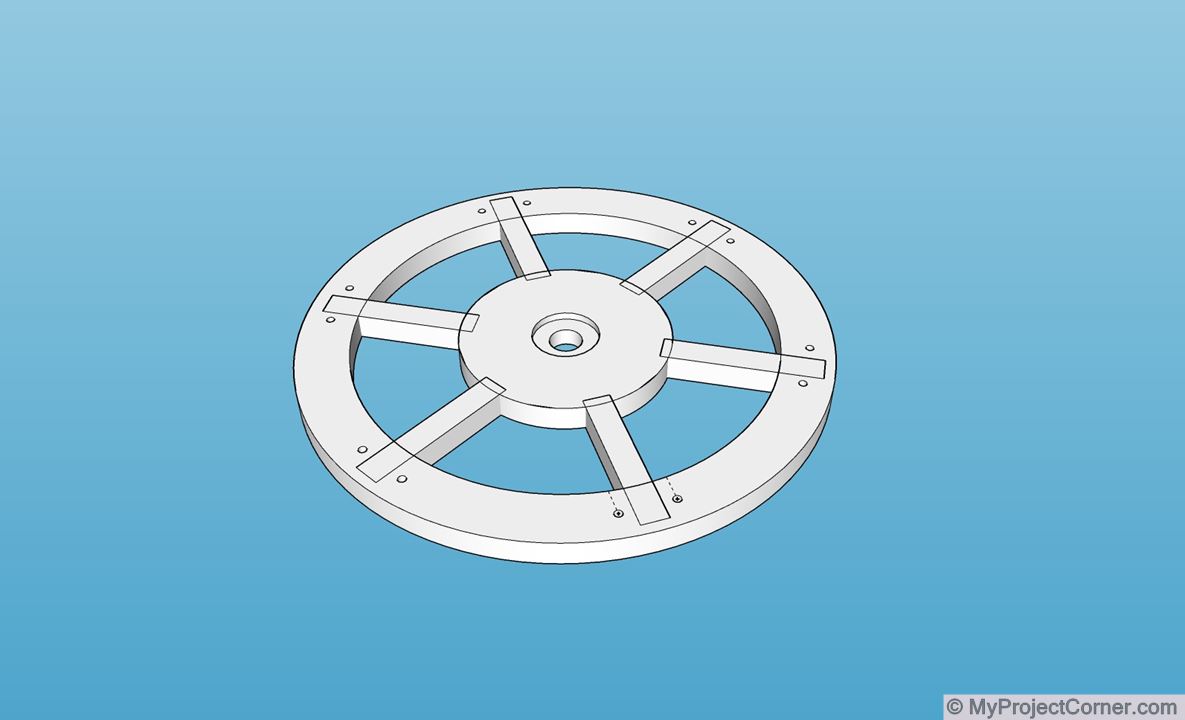
The Sketch-Up model and stl files can be found on Thingiverse
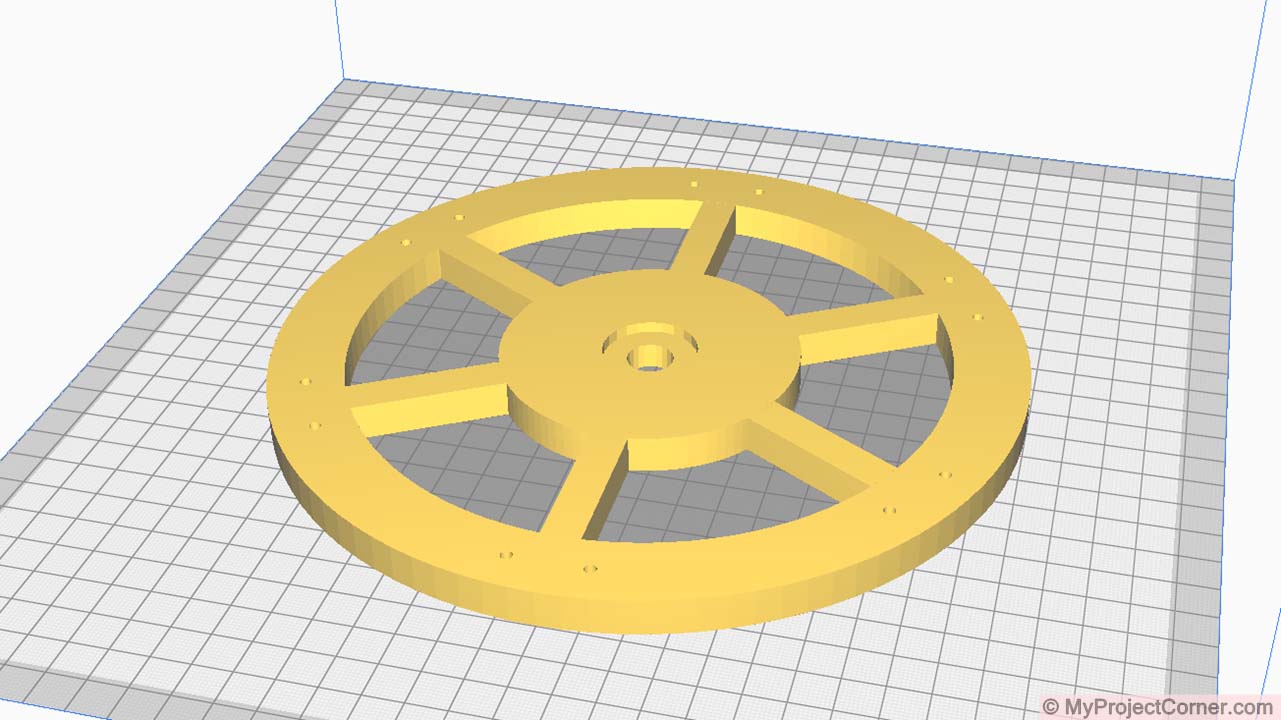
I printed my design using black PLA and it took a little under 11 hours to complete. Using 0.2 layer height and 20% infill. I printed in PLA for ease, but I have concerns over the durability and may have to do a reprint in ABS.

Printing the scarifier

The finished print

3d printed scarifier ready to be assembled
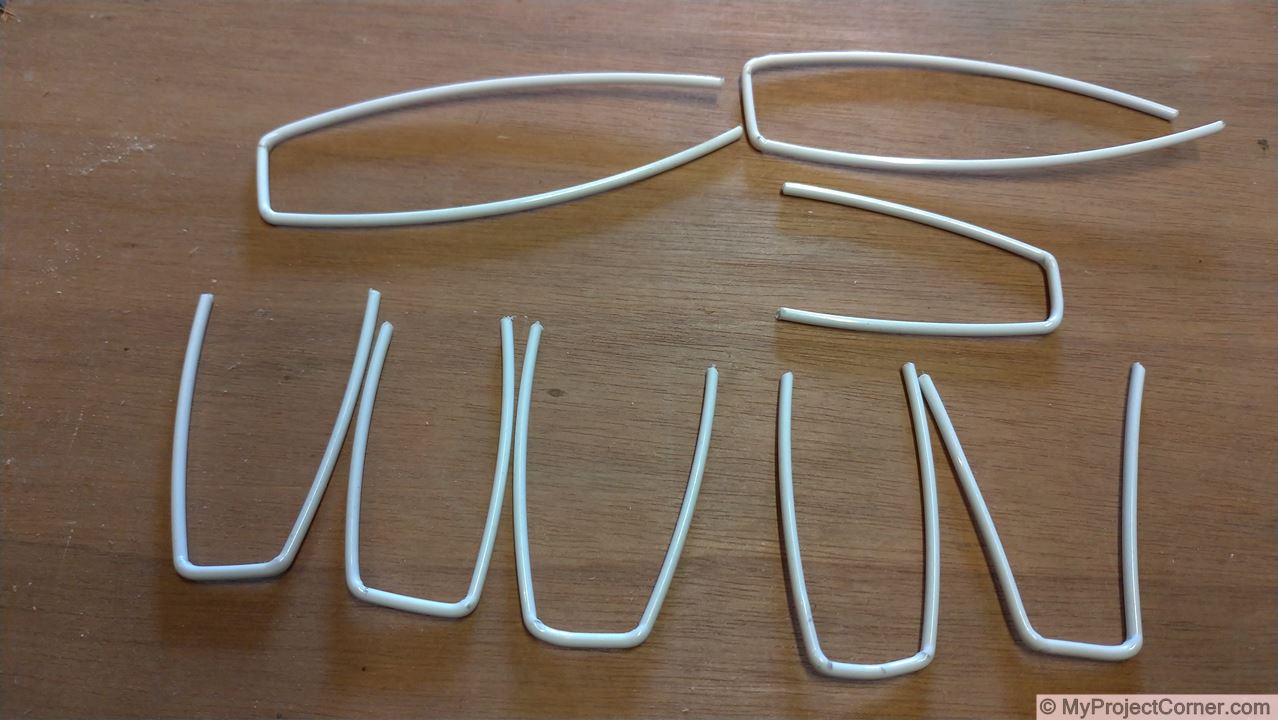
The Scarifier Tines
Making the pre-formed tines
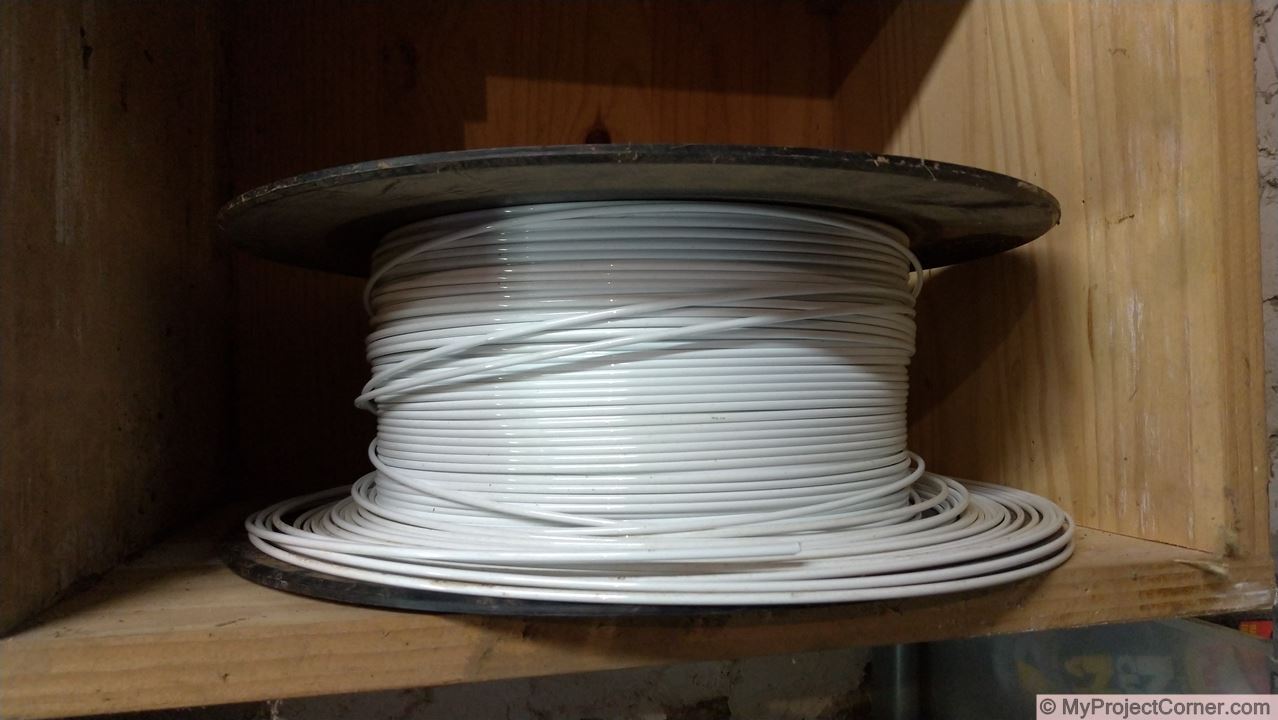
I found some rigid plastic polyester wire that was left over from my polytunnel greenhouse (used to provide support for the plastic sheeting between the arches).
Cutting 6 at 25 cm long and 6 at 14 cm long. I had to use an angle grinder with a cutting disk, as shearing with pliers flattened and split the end of the wire.
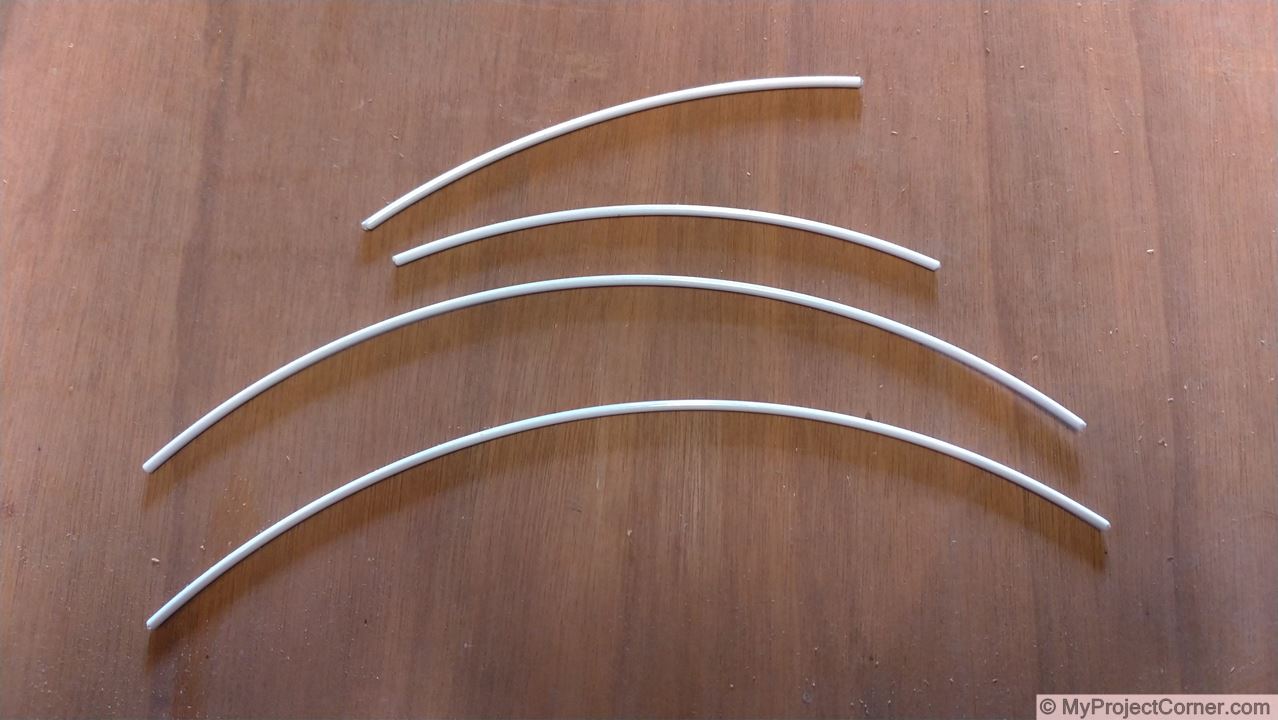
After cutting to length formed with pliers into a ‘U’ shape with a 2 cm base.
I produced long and short versions to see which worked better.
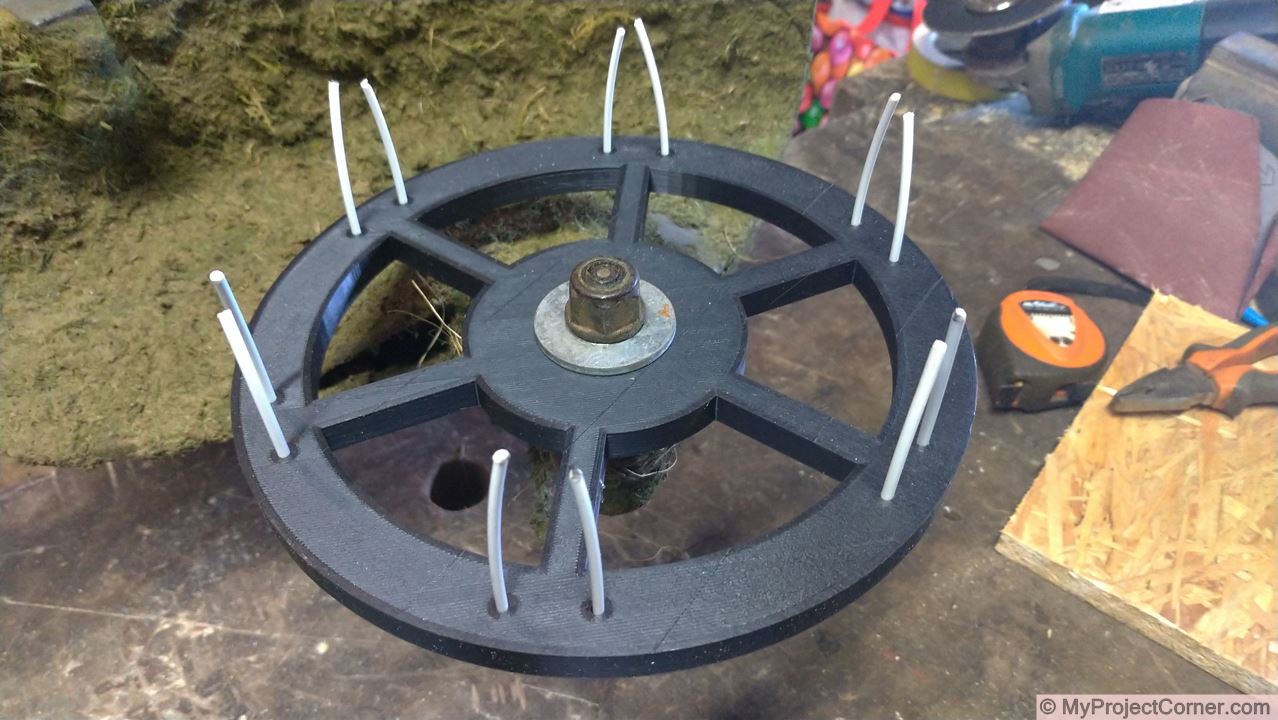
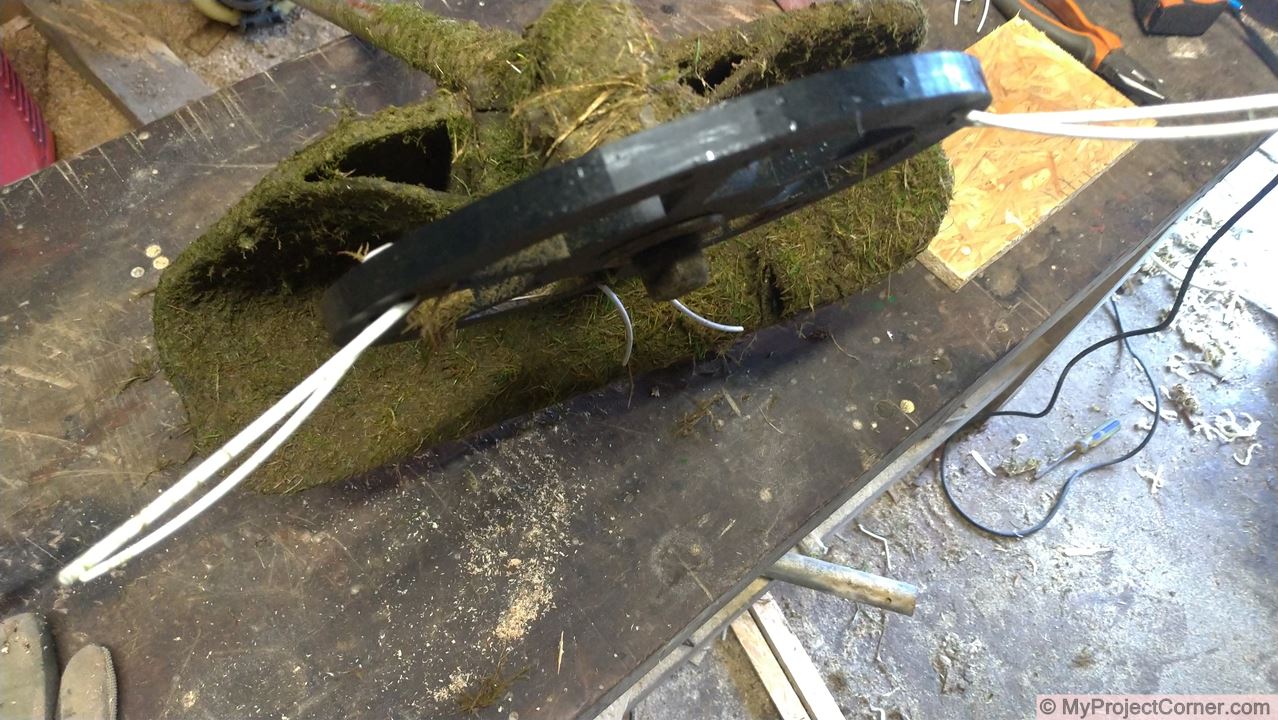
Assembling The Lawn Scarifier
Attaching to strimmer and inserting the nylon tines
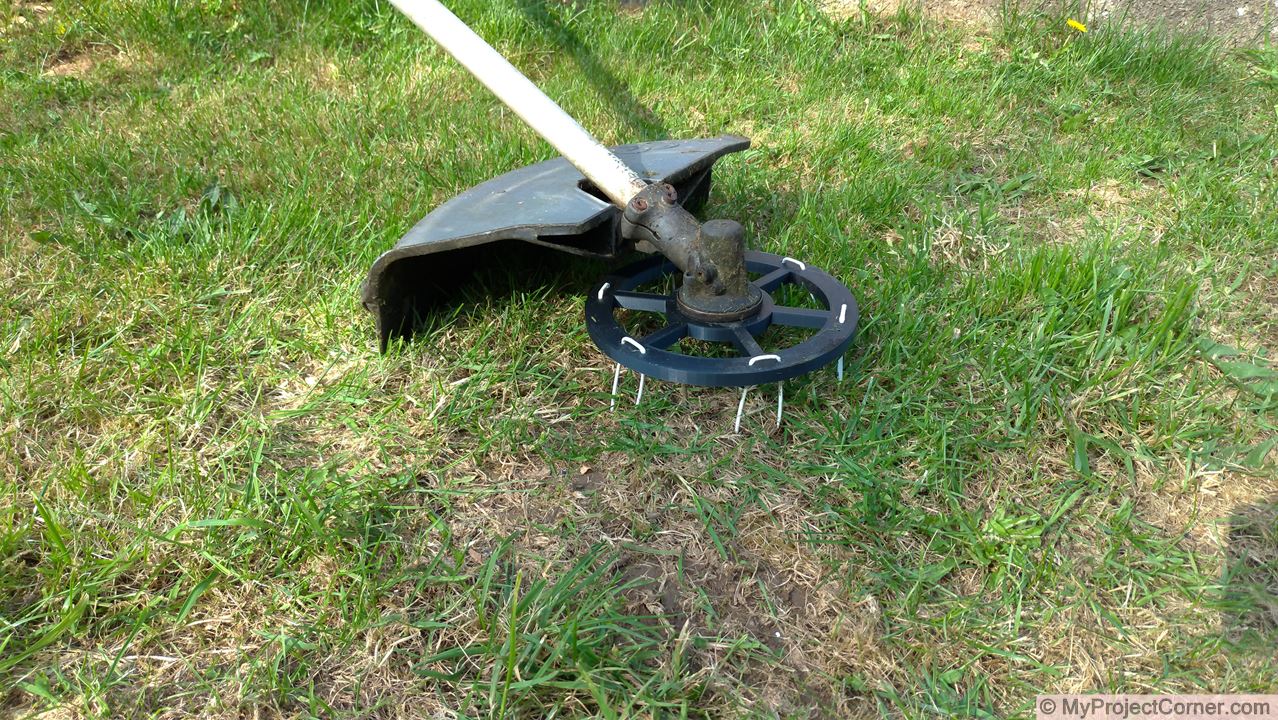
Once the 3d printed ‘wheel’ had been printed it was time to see if it worked.
After removing the existing strimmer head, and with the addition of a large steel washer I attached the new scarifier attachment. Next insert the pre-formed plastic polyester tines.

Attaching the scarifier
Ready to insert the tines
Adding the nylon tines
Strimmer lawn scarifier ready to go
First Trial Run
Using the shorter scarifier tines
This worked really well, running the strimmer at half throttle and moving backwards in a slow sweeping motion. It really takes out the moss. Followed by a light raking or just run over the area with a lawnmower to collect the removed moss.
Second Trial
With the long scarifier tines inserted
As can be seen from the photos, this was a complete failure. The centrifugal force was too great for the longer scarifier tines. Even running at half throttle they just flattened out and were of no use for scarifying the lawn.
Watch it in action
Here is a video that I made of the strimmer lawn scarifier in action and the resulting moss removed
I hadn’t realised how much moss there was in the lawn, I don’t think there’s going to be much grass left by time I’ve finished! The PLA print has been durable enough to finish the job, so printing in ABS is not necessary. I’ve had to change the plastic tines once to cover the 200 m², so pretty good I think I am going to need a big bag of grass seed to overseed the lawn after I’ve removed the moss!