DIY Multi-fuel Rocket Stove
For the past few years, I have been heating our home using my gravity fed rocket stove. This has been working very well, but with the increase in price and reduced availability of wood pellets I decided to build a new rocket stove. The stove was used to heat water for my underfloor heating system.
The idea is to make a rocket stove that could run on different fuels. Anything from wood pellets, logs, wood offcuts and scraps, sawdust bricks, paper logs and really anything else that burns! The principal material for the build was going to be fire bricks, as they are readily available, and steel angle for the framework. Again transferring the heat to the underfloor heating system. I also planned to re-use as much as possible from my gravity fed rocket stove.
The Design Stage
Using Tekla Structures
For the past couple of years I have been working as a steel detailer and so have access to the Tekla Structures software package.
So I decided to model the new rocket stove using it, this has the advantage over SketchUp because it can produce full manufacturing drawings and bill of materials for the project.
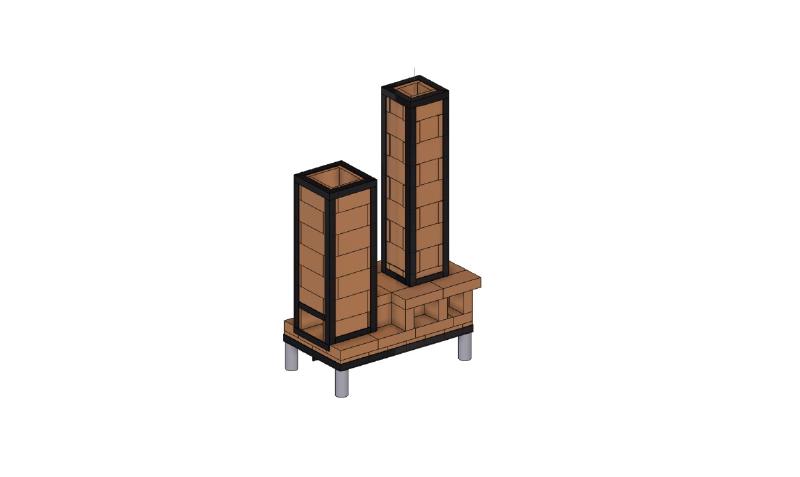
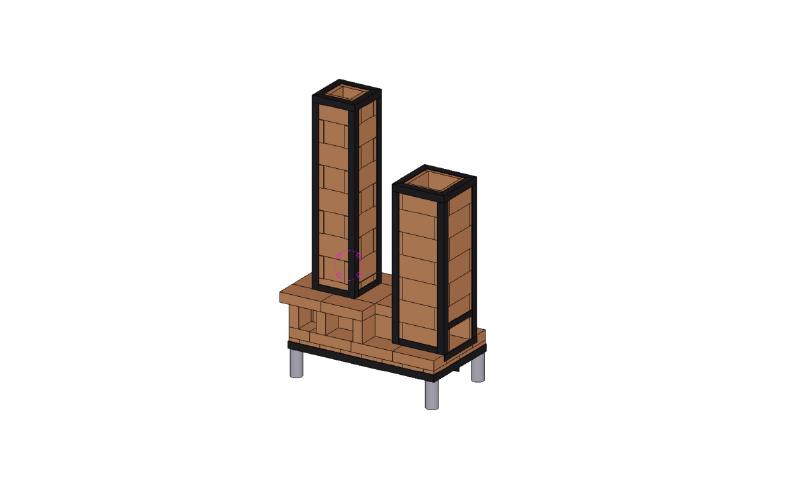
As can be seen in the screen shots above, the design consists of a metal base frame on legs, with fire bricks as the main construction material. And again metal framework to hold the fuel inlet and the combustion chimney.
First Build Stage
Making the metal base frame
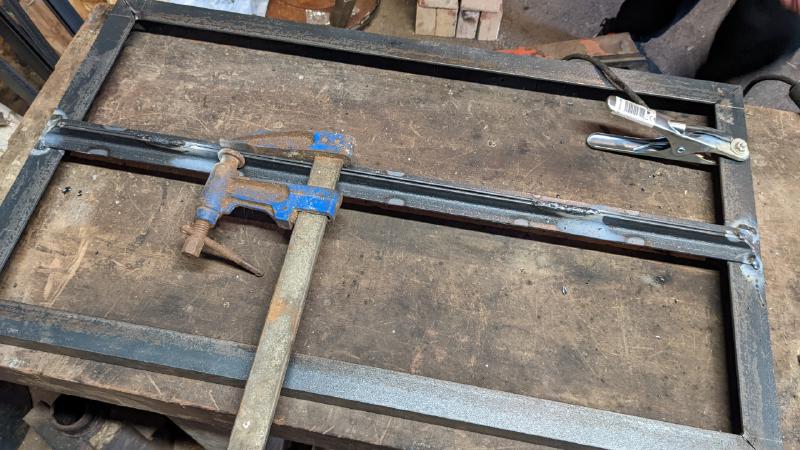
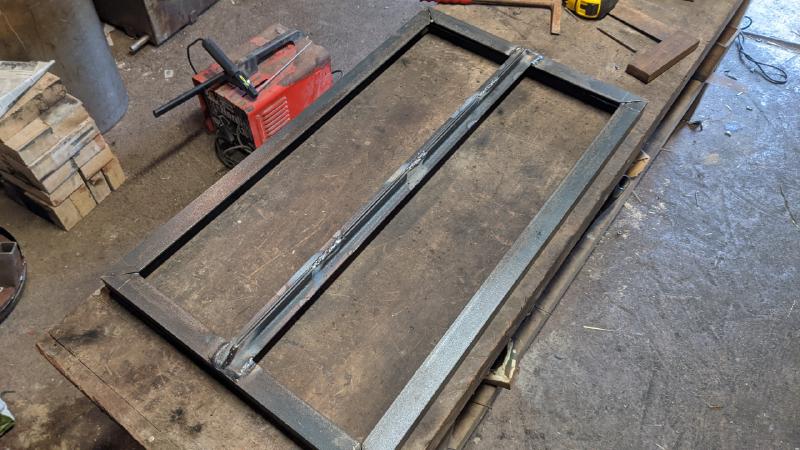
The rectangular frame is constructed using 35x35x3.5mm steel angle, cut at 45° in the corners. Then adding a central support of a double, back to back, 20x20x3 steel angle.
This produces a solid support for the rocket stove bricks
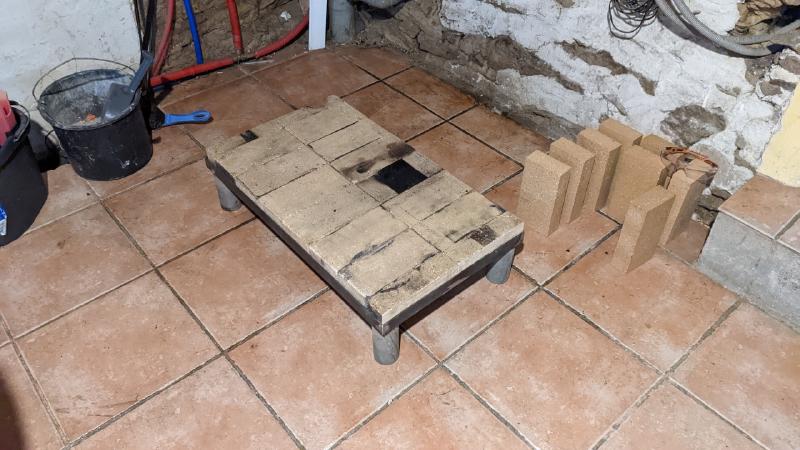
Then adding a 120mm length of 70mm tube (what I had lying around) at each corner to finish the base.
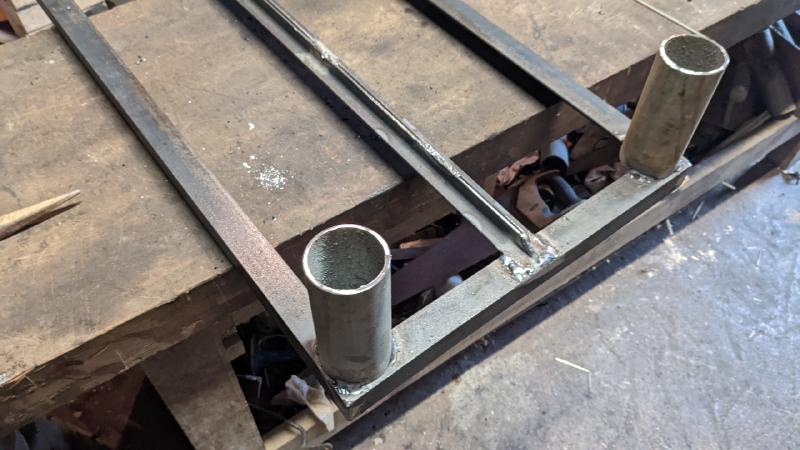
Adding feet
Now that the supporting framework is made, it’s time to builds the rocket stove in situ
It needs to be built in place as because it will be too heavy to move after it is finished
Second Stage
Starting to layer the fire bricks
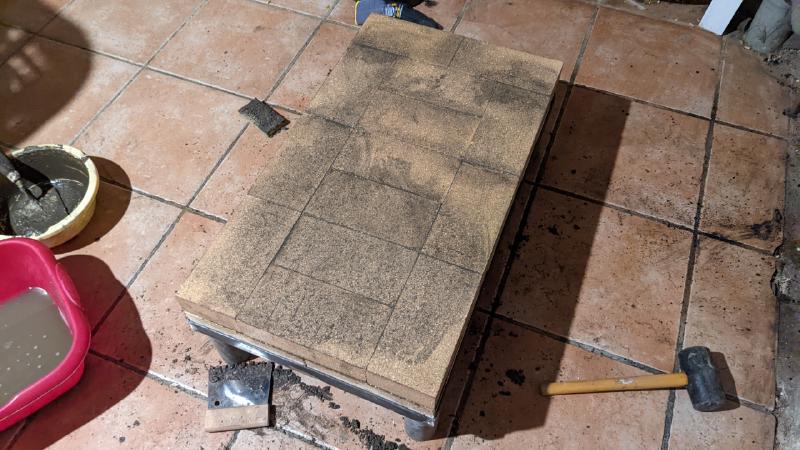
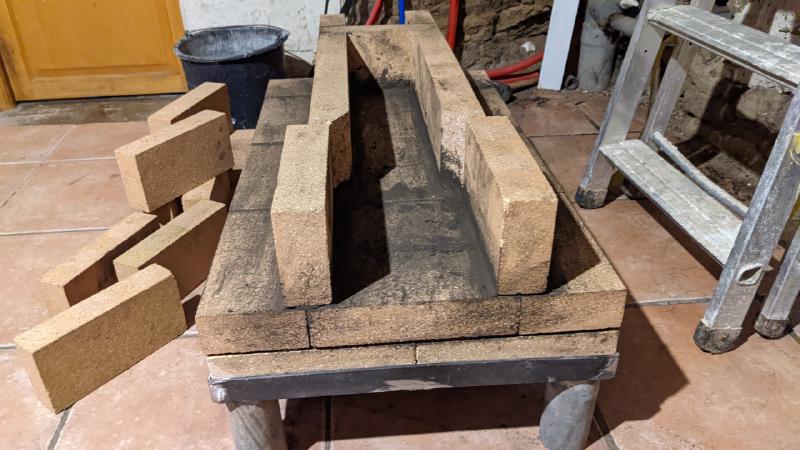
Adding the first base layer of firebricks using a small amount of high temperature mortar between the bricks.
Then adding the second base layer with a different configuration to produce a airtight base. Again using a small quantity of mortar.
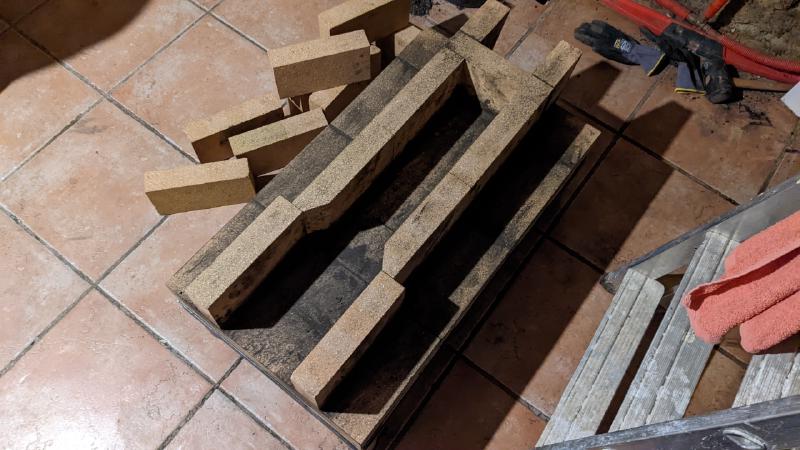
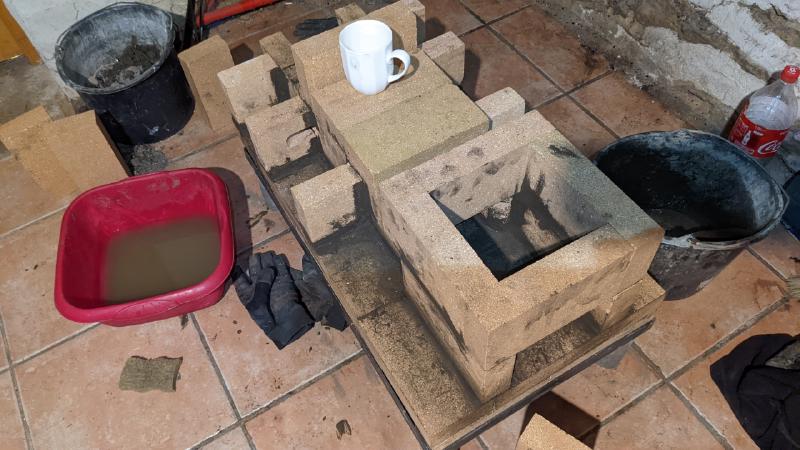
Now that the base is finished it’s time to construct to layers of the rocket stove. The first layer is the firebox and the burn chamber leading to the riser chimney.
I had planned to take a break at this stage to let the mortar dry. But the firebricks even after being wetted before use are drawing the moisture out of the mortar.
I’m going to have to work quickly!
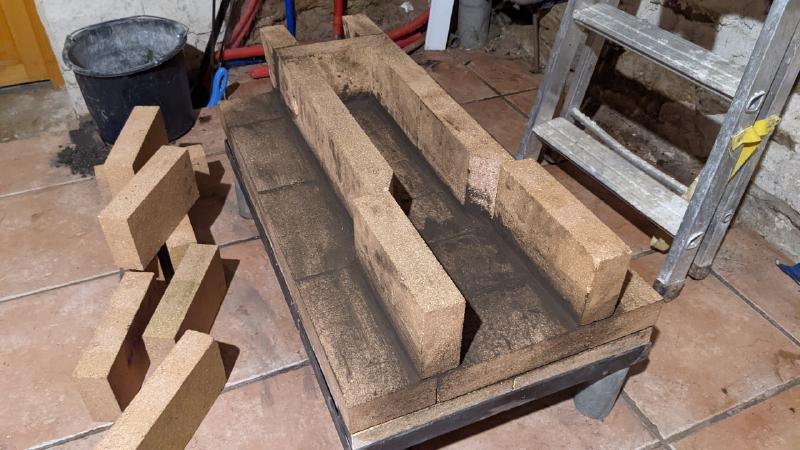
Starting to take shape
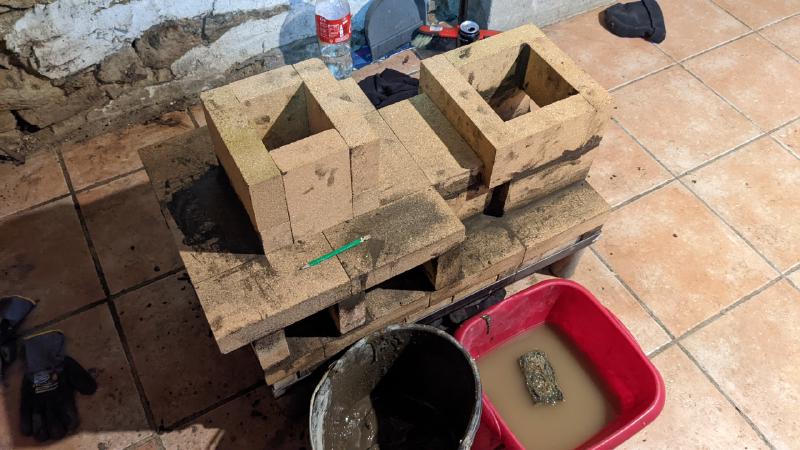
The next layer adds the platform for the cylinder that will be use to transfer the heat to the underfloor heating system.
This layer also seals the burn channel between the firebox and the chimney riser
I’ve incorporated a piece of steel flat bar to support the bricks above the lighting/cleaning access
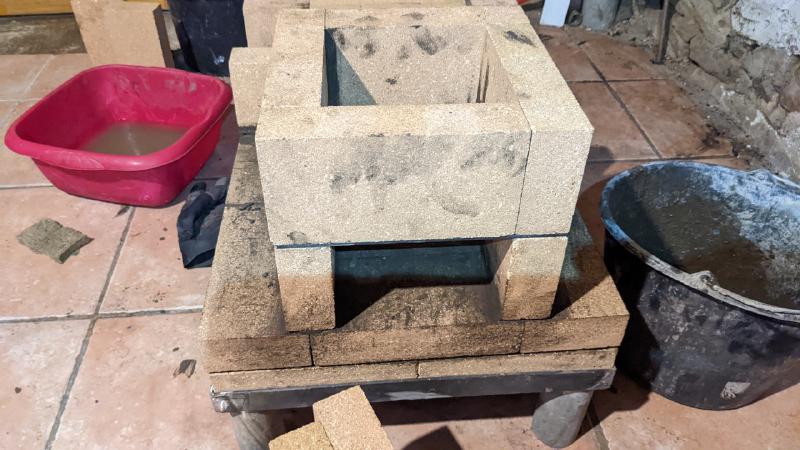
Front access hole
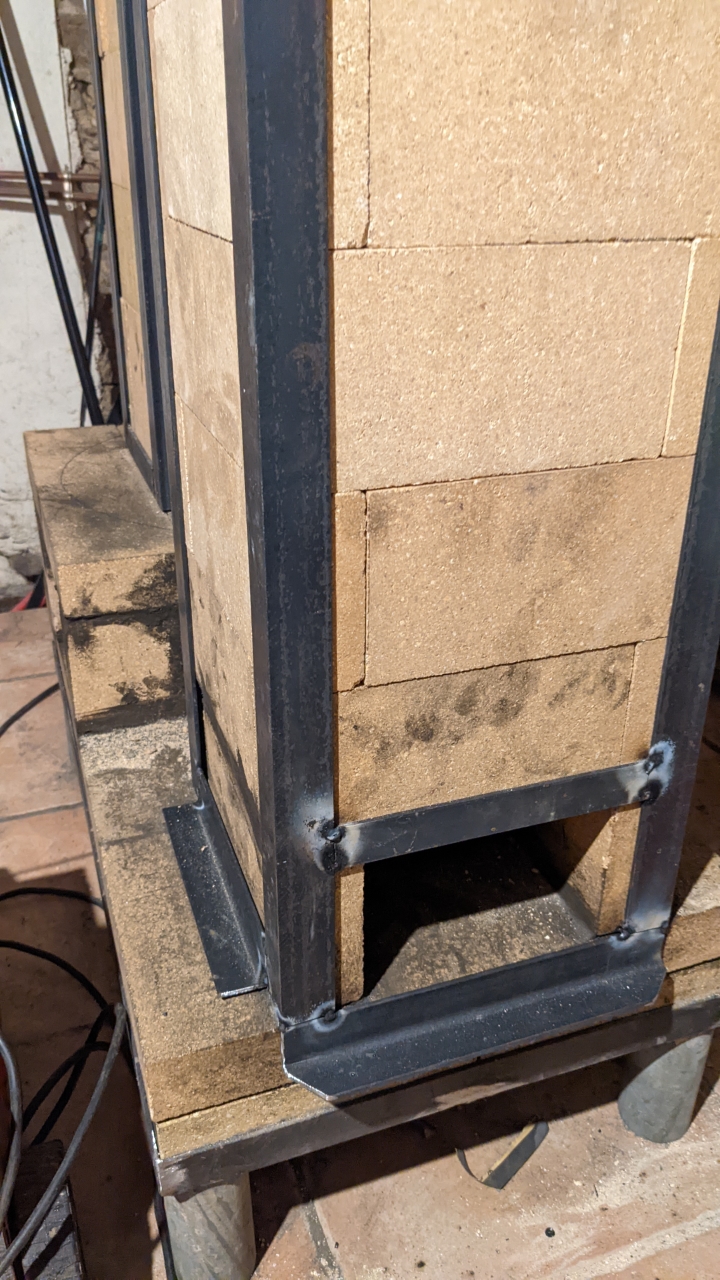
From now on I’m not using any mortar, the firebricks will be stacked and held in place with a steel framework
Stage Three
The riser and fuel inlet
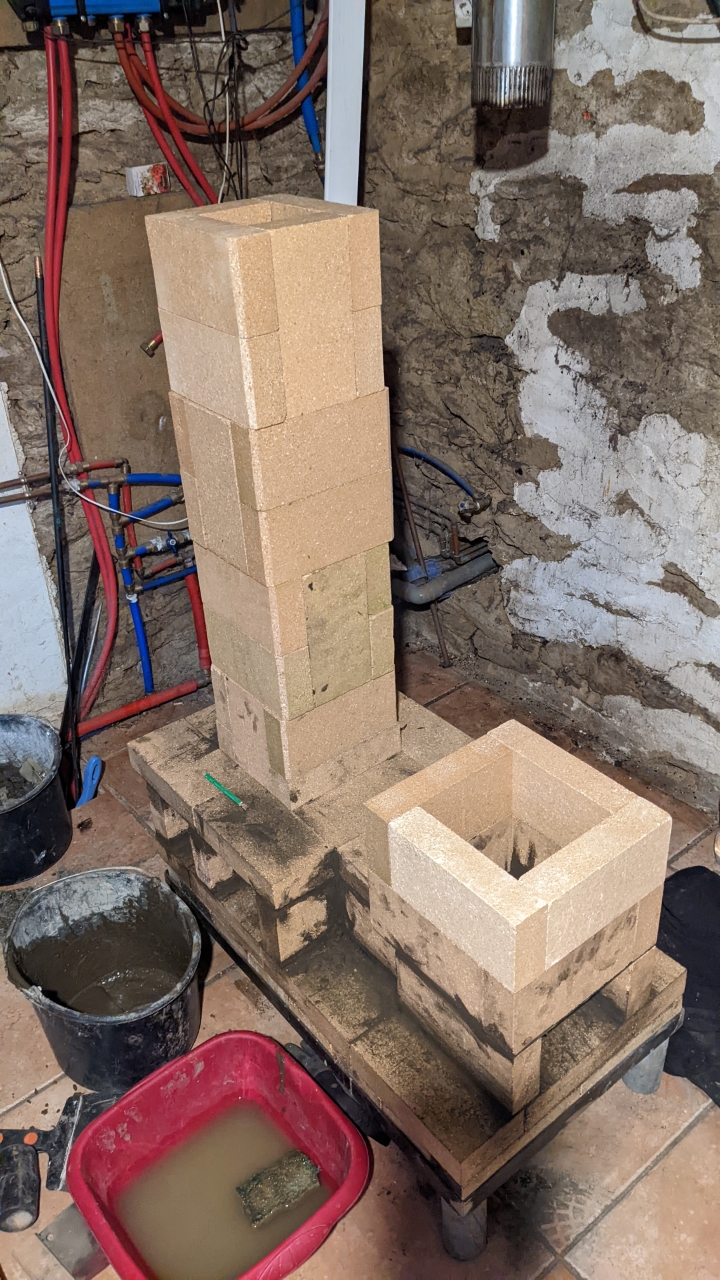
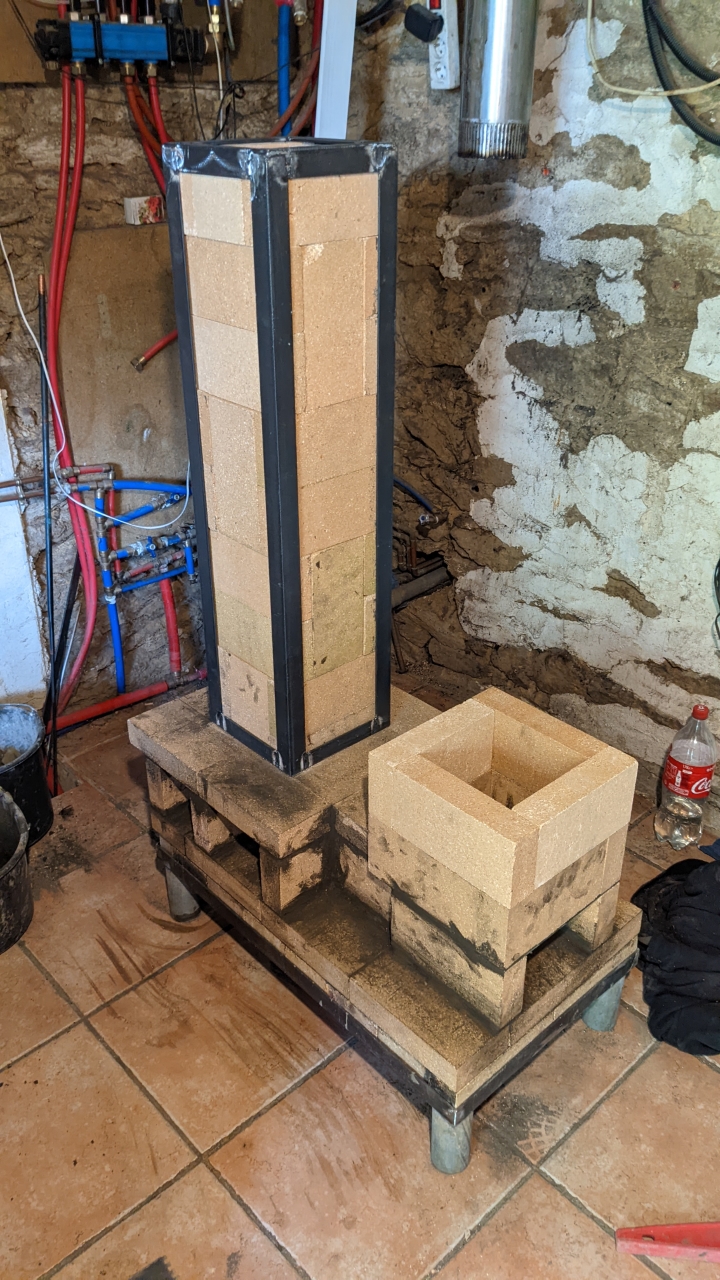
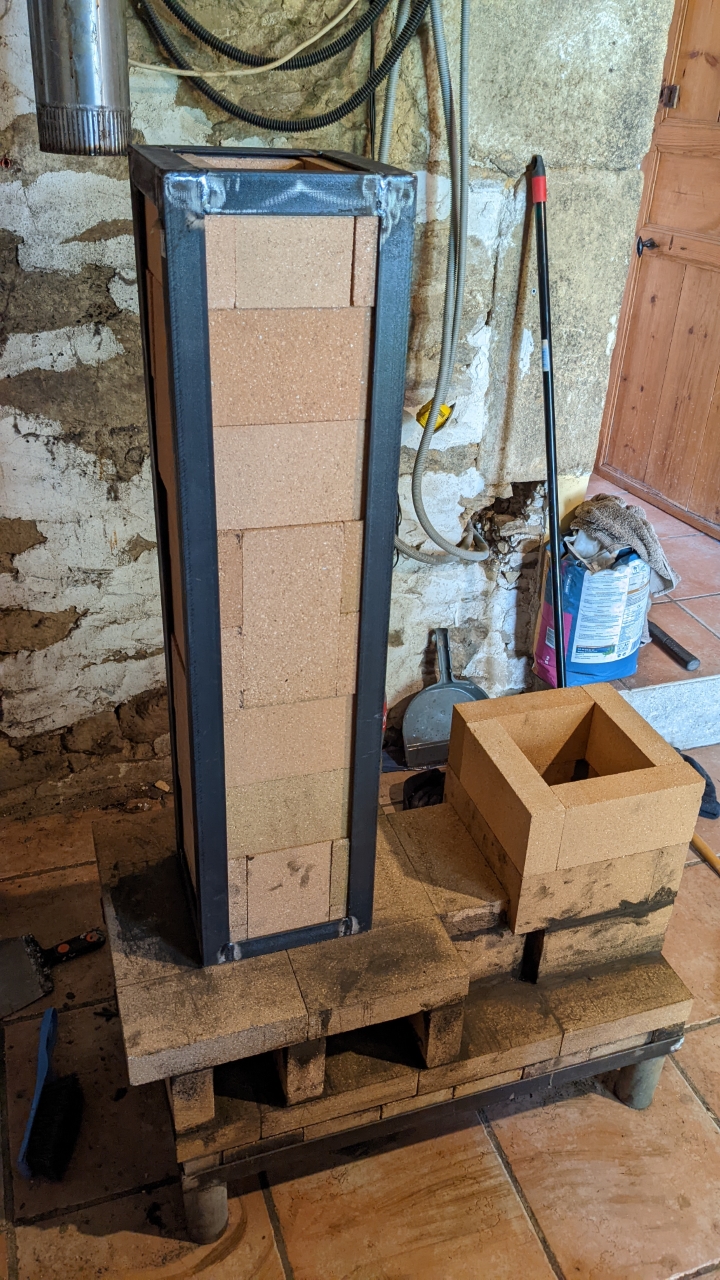
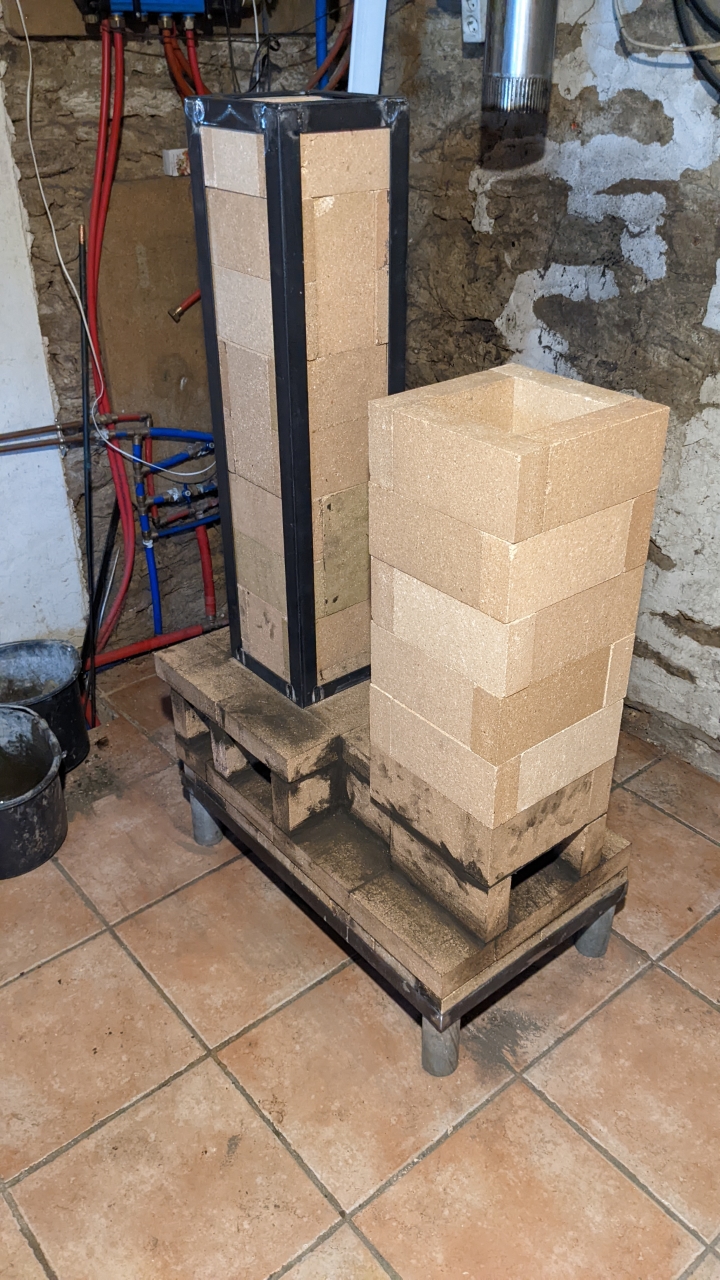
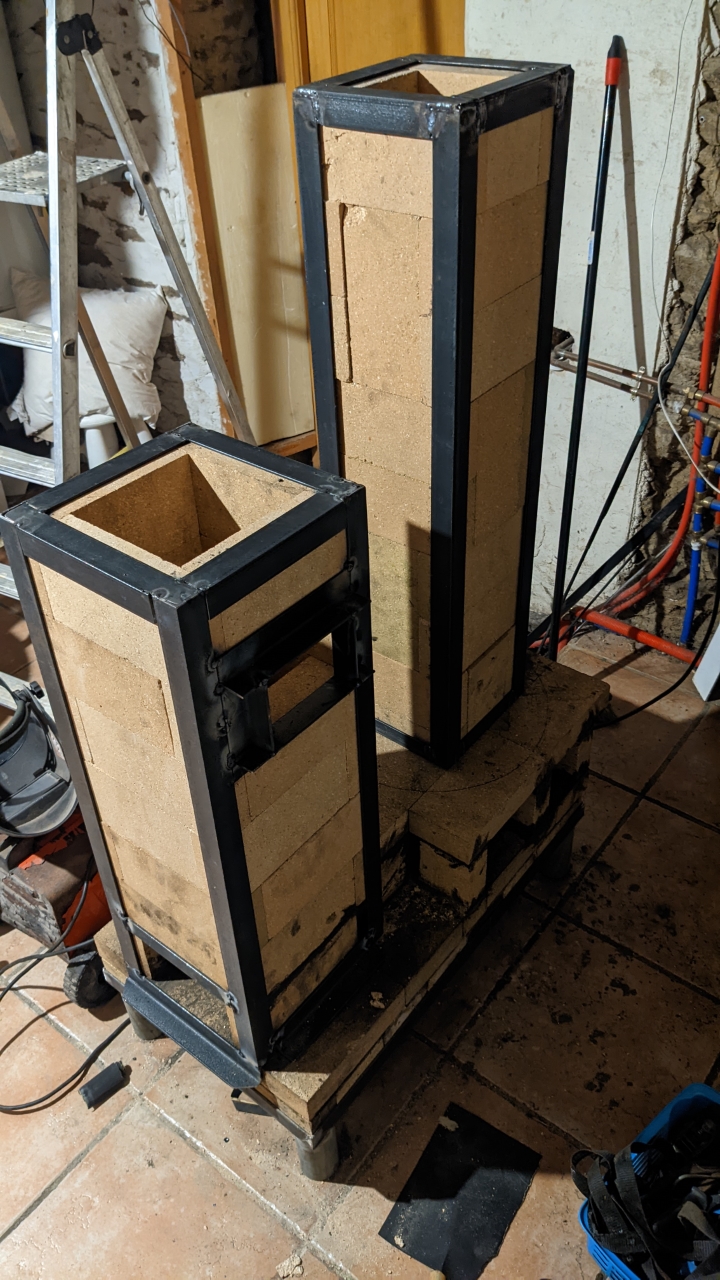
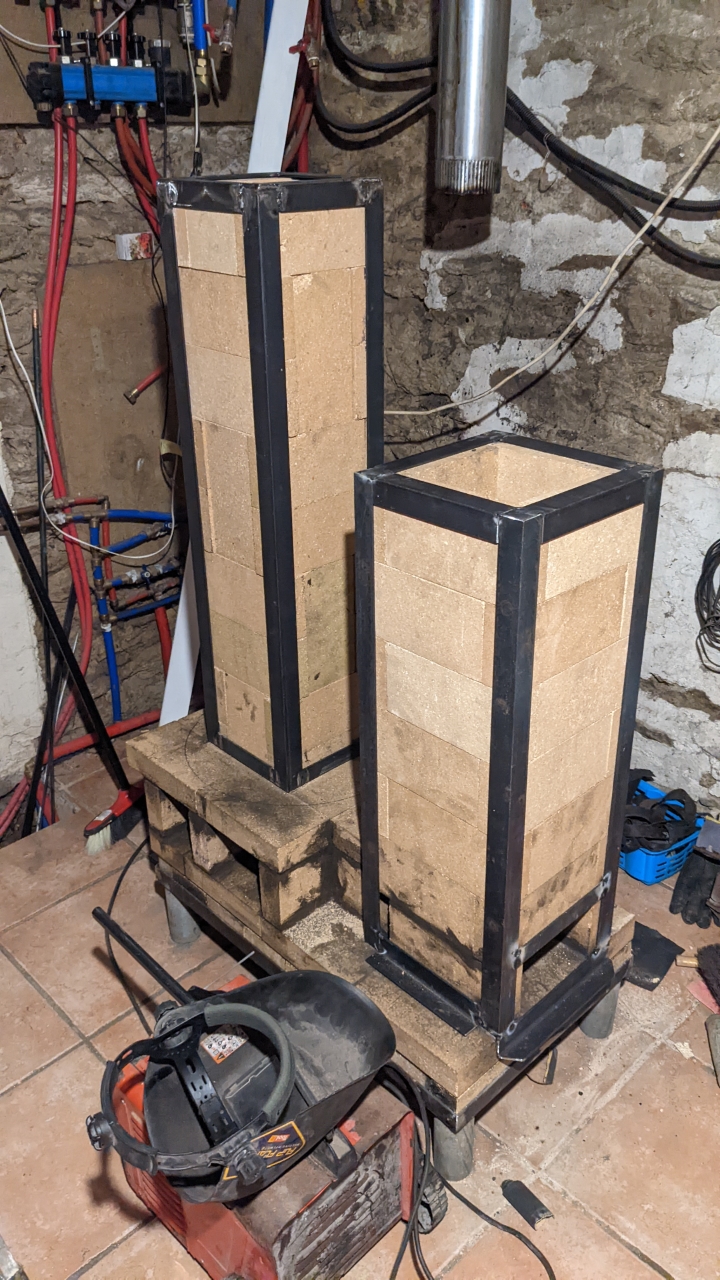
Starting with the chimney riser, I stack the fire bricks in an alternating 4 horizontal and 2 vertical configurations. This makes a 12cm square riser and with eight layers of bricks a height of nearly 90cm.
For the steel angle framework, I went back to the workshop to construct it. This was, as I found out, a bad idea. It turned out to be very tight and difficult to slide over the stack of bricks.
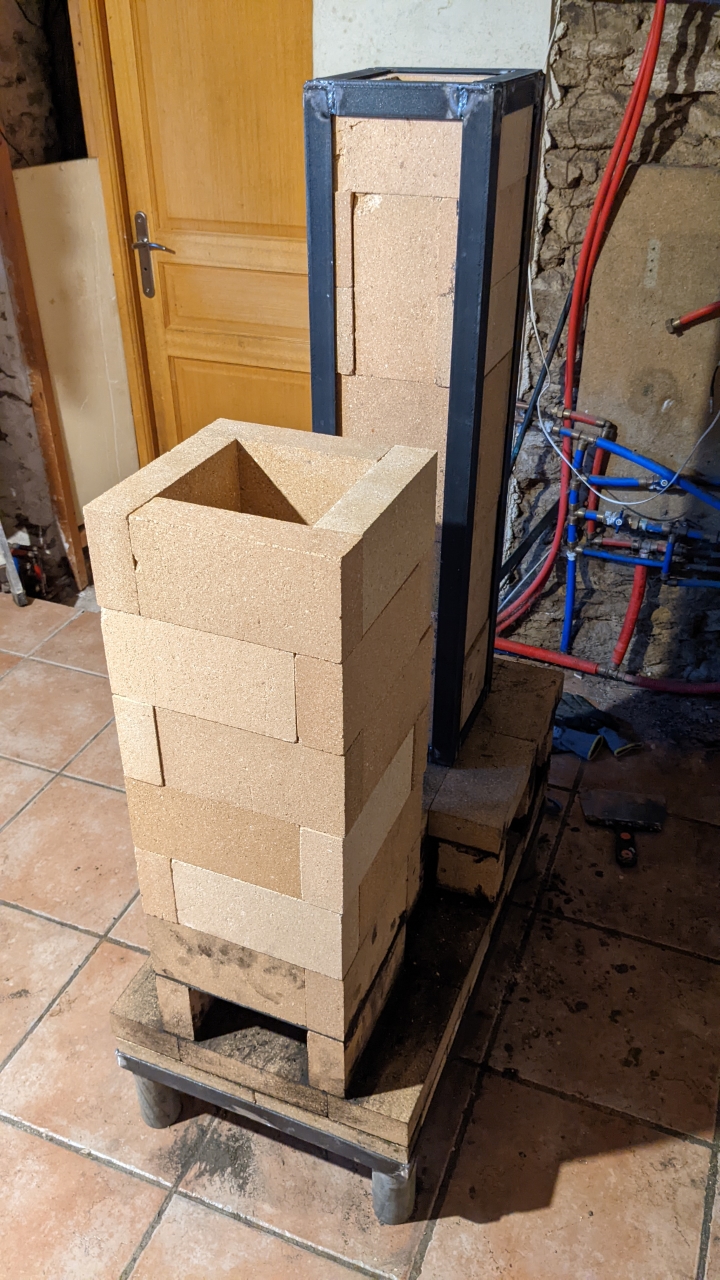
Then laying five more layers of fire bricks for the fuel feeder, in a configuration to make an 18 cm square.
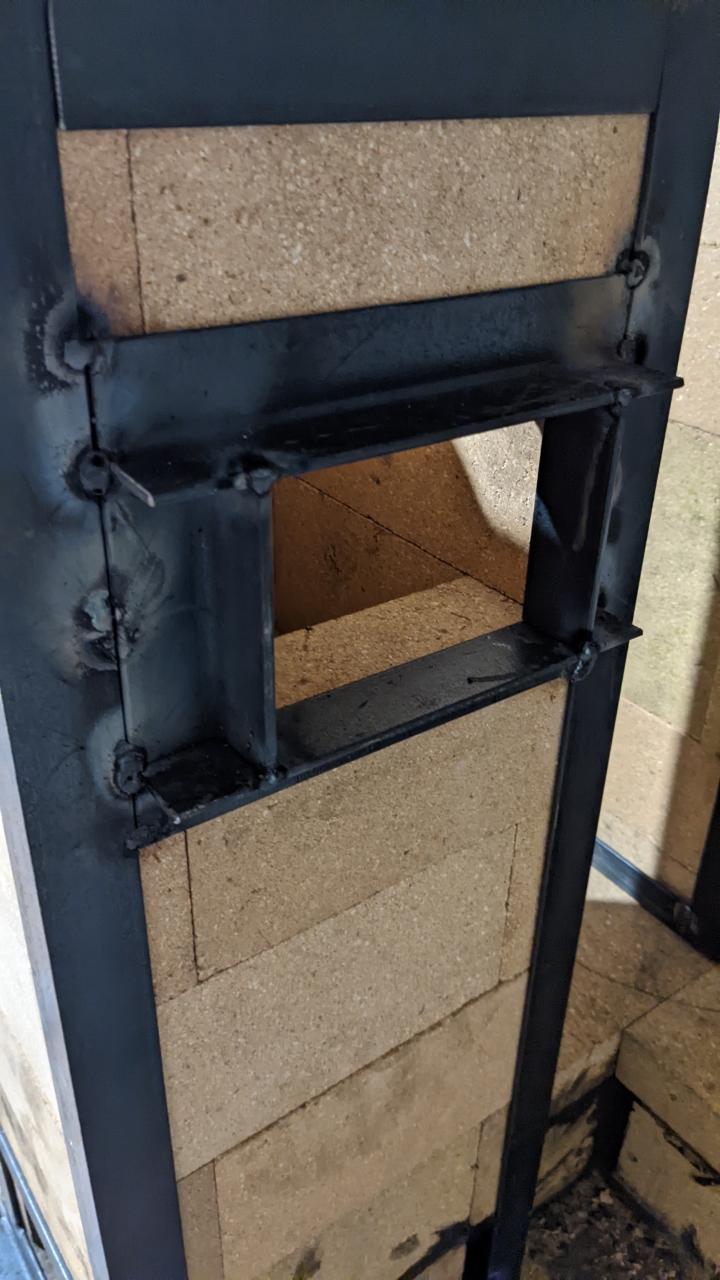
This time I decided to build and weld the steel framework in place. Including an access for lighting and cleaning.
I left out a brick to allow for an air intake and added some steel angle to form the entrance.
Stage Four
Adding the heat recovery
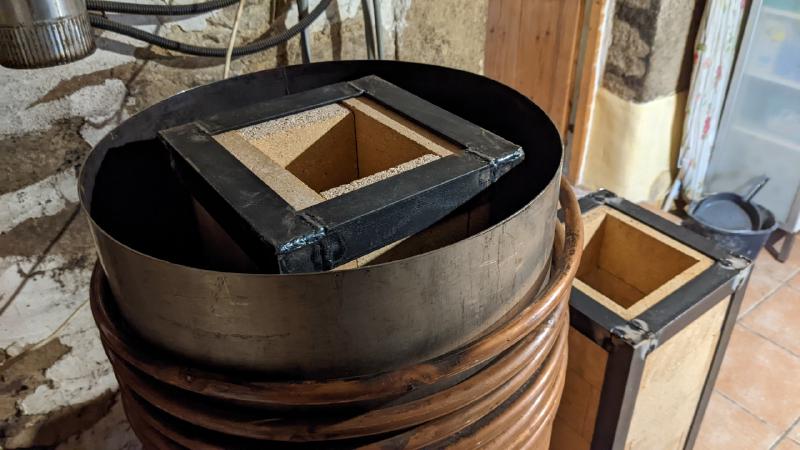
I am re-using the stainless-steel cylinder from my gravity fed rocket stove, shortening it slightly to suit the new multi fuel rocket stove.
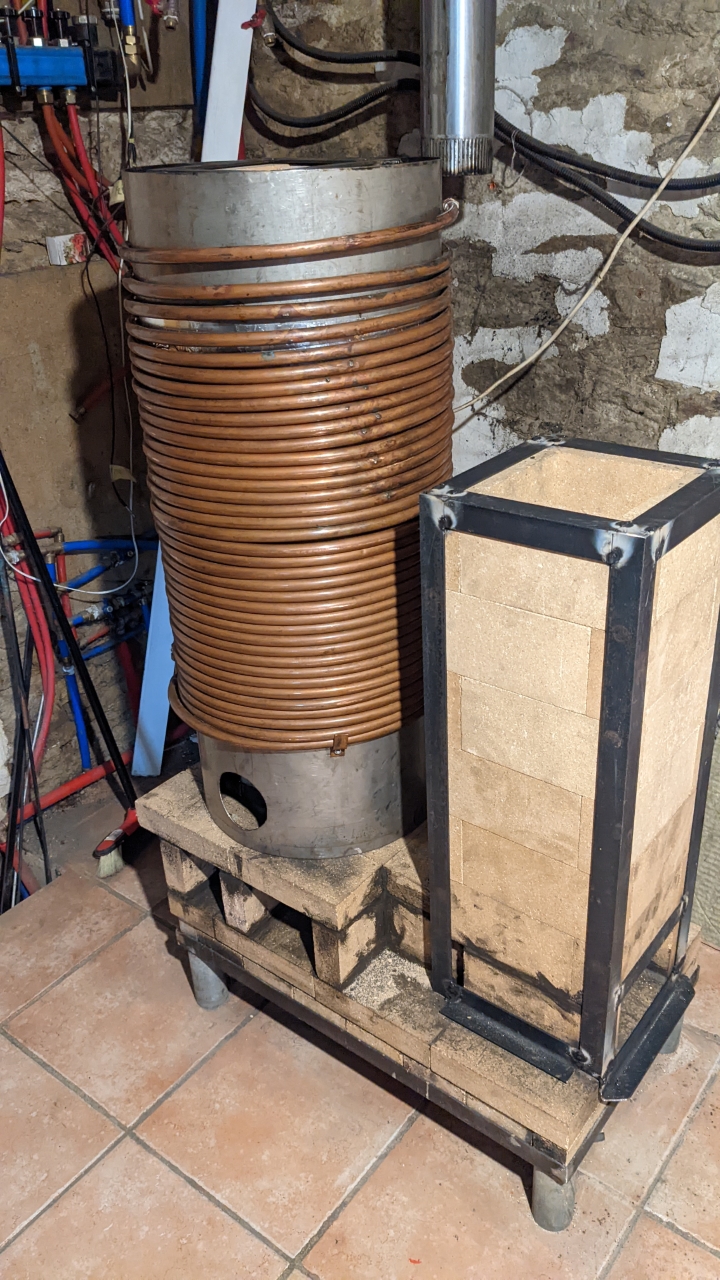
The cylinder rests on the brick platform centrally around the stove riser. Then the main bulk of the copper pipes are added.
To seal the bottom of the cylinder against the bricks I found a BBQ heat resistant strip on Amazon. Although, I don’t think it is necessary, as ash from the fire will naturally seal any gaps
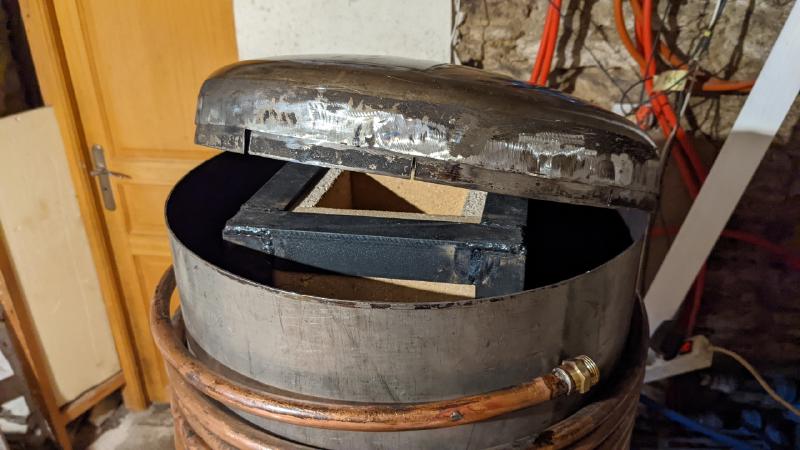
Then refitting the dome of the cylinder and attaching with a good quality, high temperature aluminum tape
The rest of the copper piping is then assembled on the top of the rocket stove cylinder. In total there is about 50 meters of copper pipes to pass the heat into the underfloor heating circuits.
Because the temperature of the water leaving the Rocket Stove can reach 75° at times, I have a 60-litre header tank to act as a buffer between the stove and the underfloor heating circuits
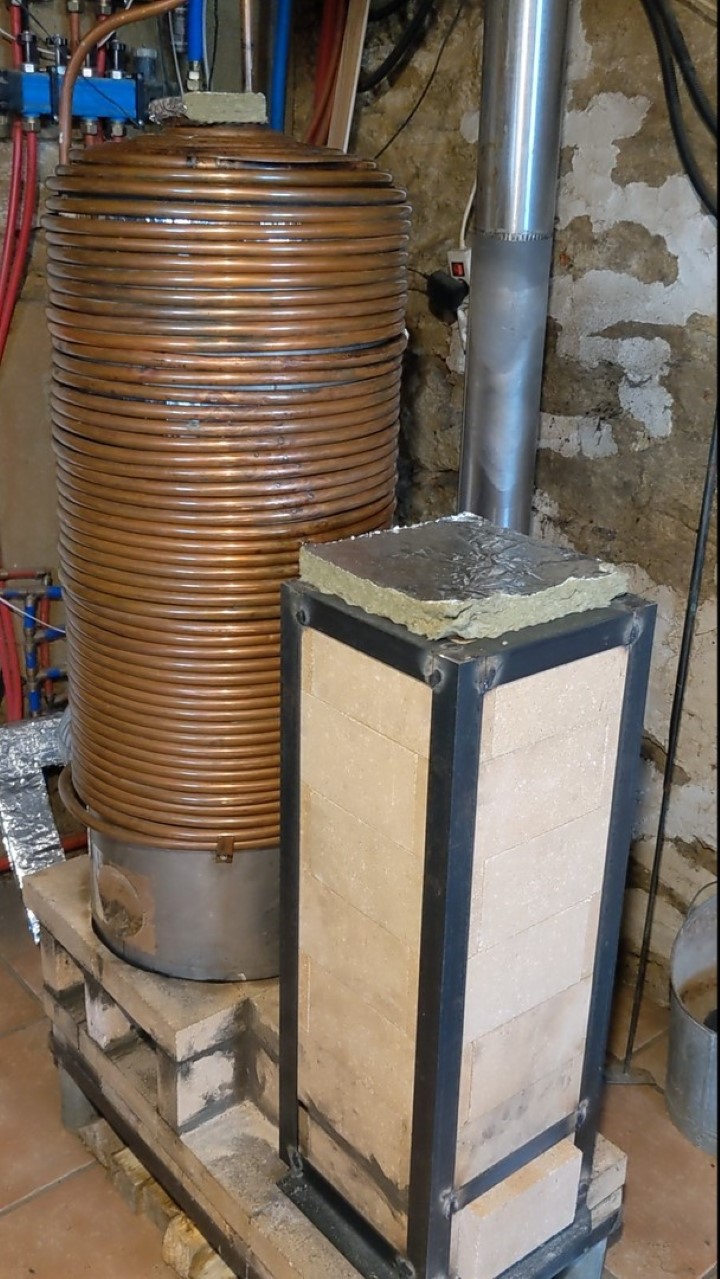
Copper pipes finished
After connecting the flue pipe and purging the air from the heat recovery pipes, It’s on with the first test, here’s a YouTube Short of the Rocket Stove in action
Insulating the stove
adding Firerock panels
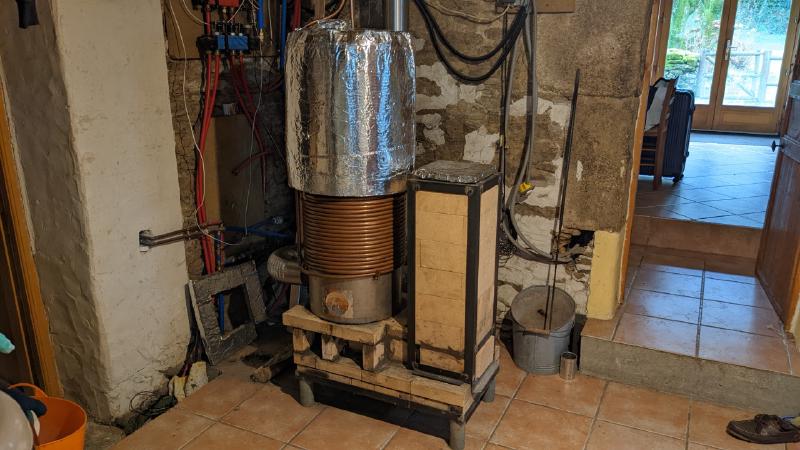
Cutting 4cm thick FireRock insulation panels (which come coated on one side with a layer of aluminum foil) and attach them with aluminum tape, I have covered the rocket stove to keep as much of the heat in the system as possible.
I think it gives it quite a good look as well! A bit like a big shiny rocket ;-)
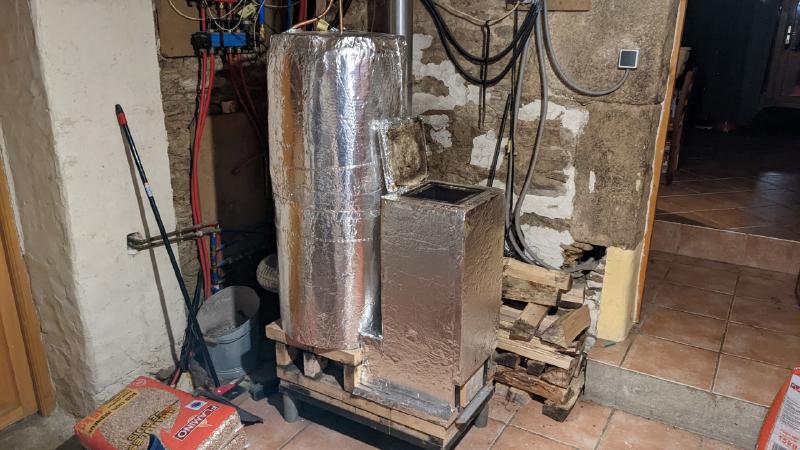
Insulating the rocket stove
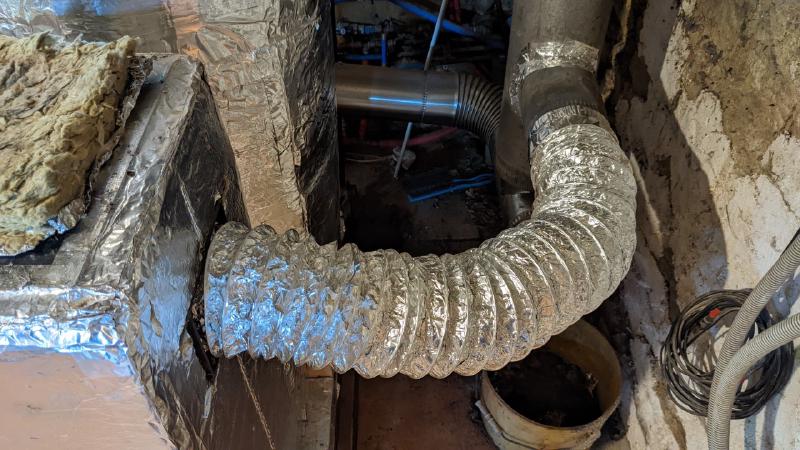
Heated Air Intake
Pre-heating the Air supply
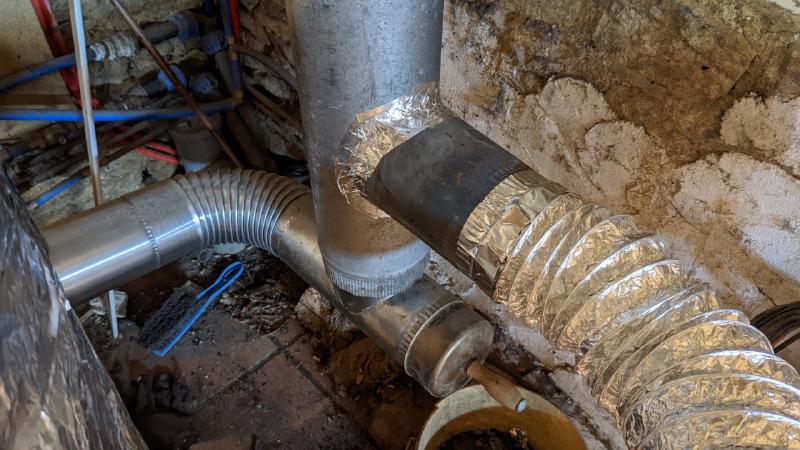
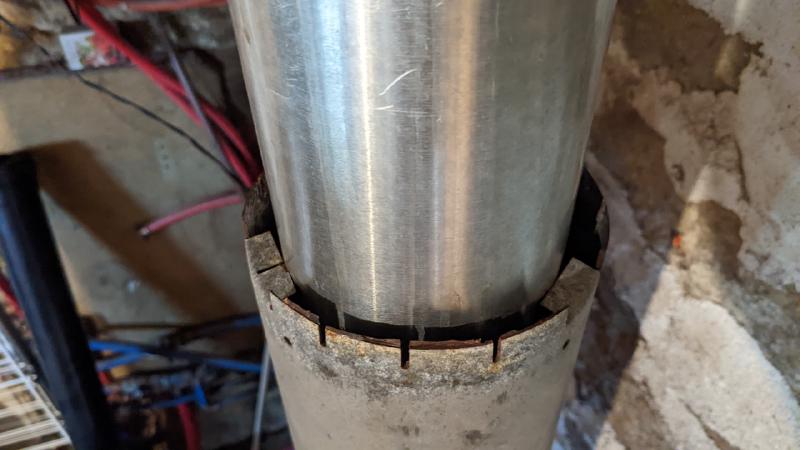
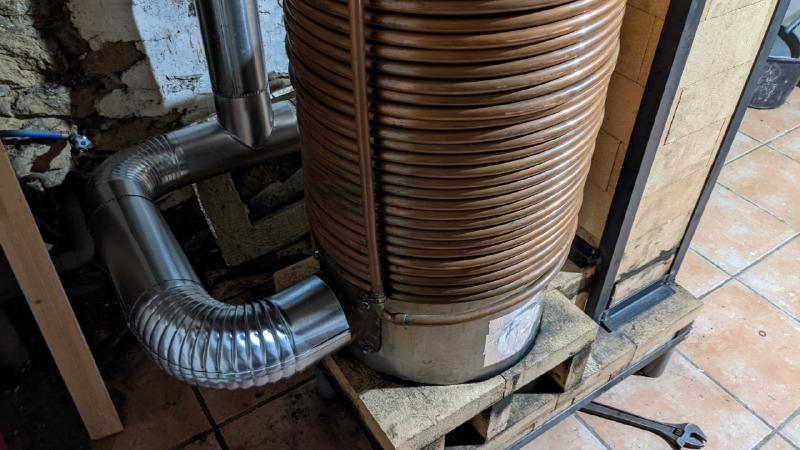
By adding a larger piece of flue pipe over the top of the existing flue pipe and creating a ‘T’ offtake, then connecting to the rocket stove air intake with a flexible aluminum pipe.
By doing this I can recover some of the heat which is going up the chimney and the fire is not cooled by the incoming air. This will further increase the efficiency of the stove
