
Poster Hung Up
I was looking for a way to hang the children’s posters cheaply and with minimal damage to the poster and the wall. In this post I will show how to make a modular DIY poster holder using magnets and 3D printed parts.
The printed DIY poster holder is made from interlocking sections that can be adapted for different formats of posters. Landscape or portrait, narrow or wide. From 40cm upwards in 20cm increments. The poster is clamped between the printed sections using small magnets avoiding any damage to the poster.
Materials Required
- 10 x 3 mm Neodymium magnets
- PLA+ Black Printer Filament
- Liquid Glue
- String for hanging
The magnets could be swapped for 2mm of 1mm thick, but I like the extra weight that the 3mm thick magnets give to the hanger. The glue is used to add rigidity to the front sections, I use a Pattex general purpose liquid repair glue. Curing time with this glue is 24 hours, but it works well.
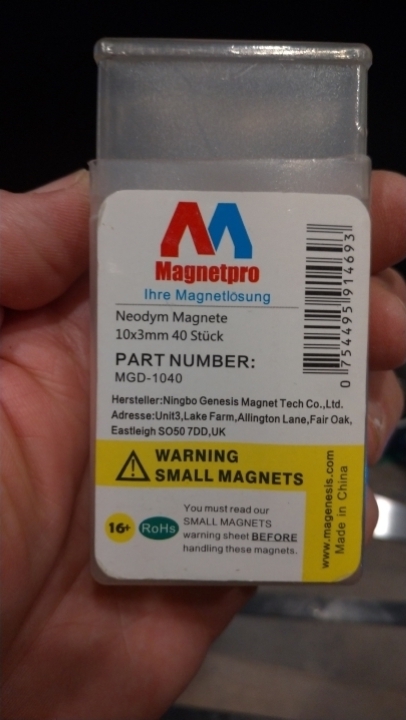
10x3mm Neodymium magnets
The number of magnets needed depends on the size of poster, for a standard 80cm x 60cm 12 magnets are required.
I’ve tried using superglue and found that the parts are not a close enough fit to get a good joint.
Design and Printing
Using TinkerCad and my CR10 3d printer
TinkerCad Model
The design for the poster hanger was inspired by others I had seen online. But I wanted mine to be modular so that it could be used for different sizes and formats of poster.
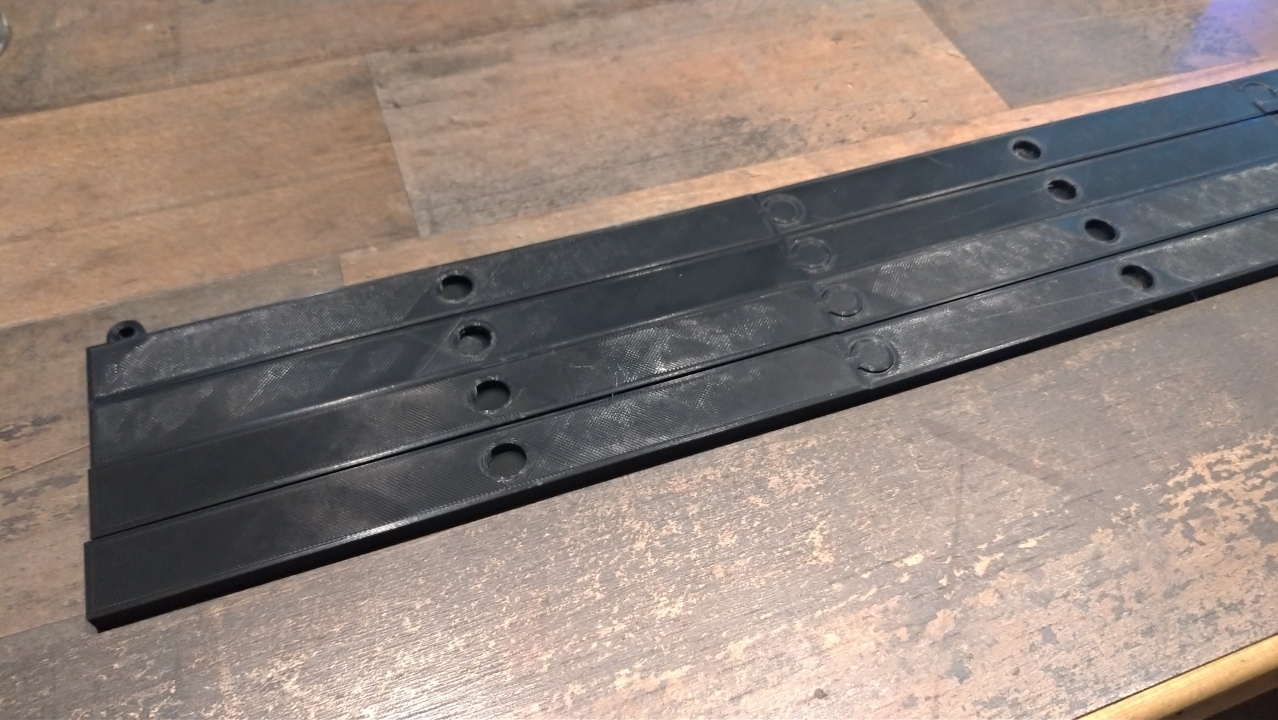
I modeled the design in Tinkercad and consists of several different sections:
- Top rear
- Left, right and center
- Bottom rear
- Left, right and center
- Top and bottom front
- Left, right and center
The width needed can be achieved by adding or removing center sections.
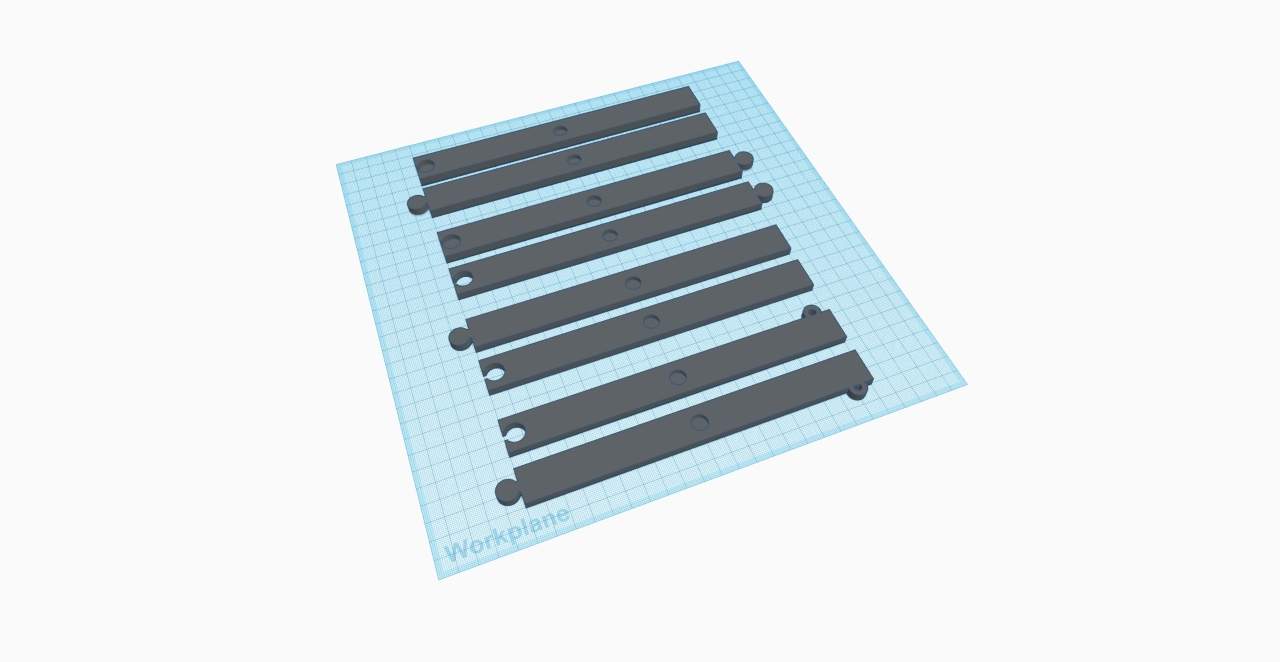
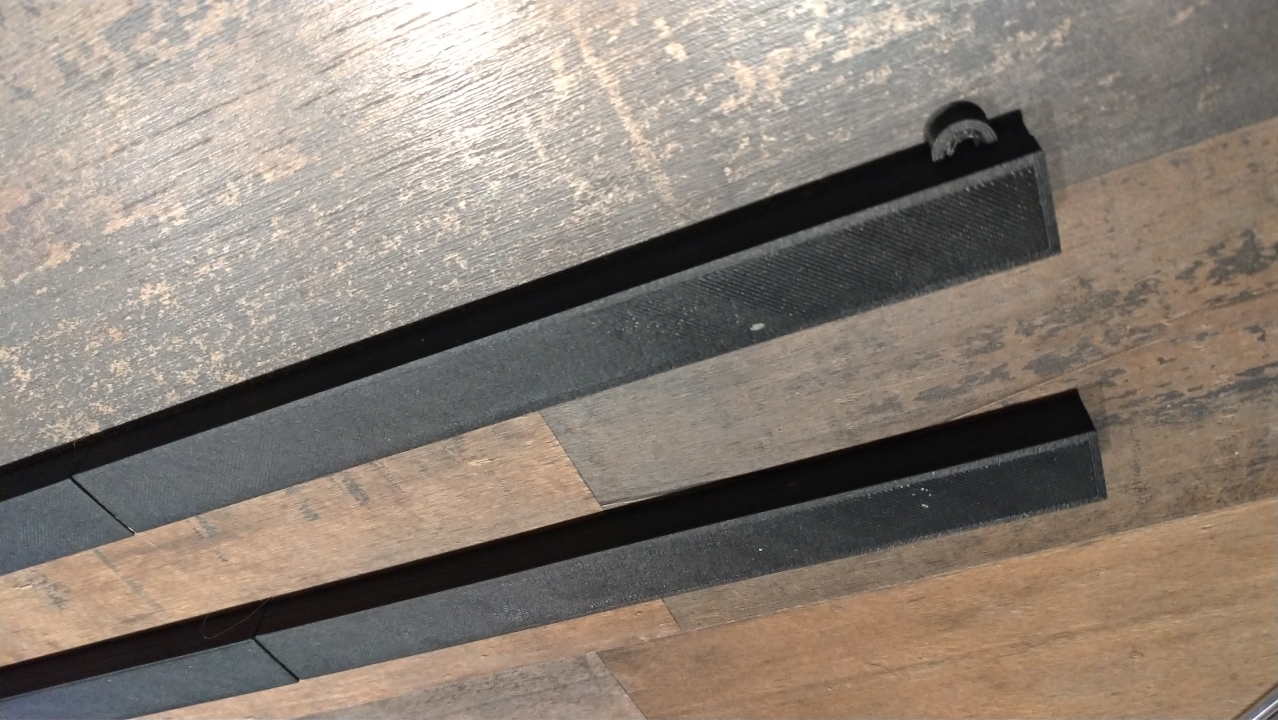
After slicing in Cura software the sections are printed in sets on my Creality CR10s. All the sections are printed with a 40% infill, to add a bit of weight to the final piece. The front sections are printed with support for the connection lug.
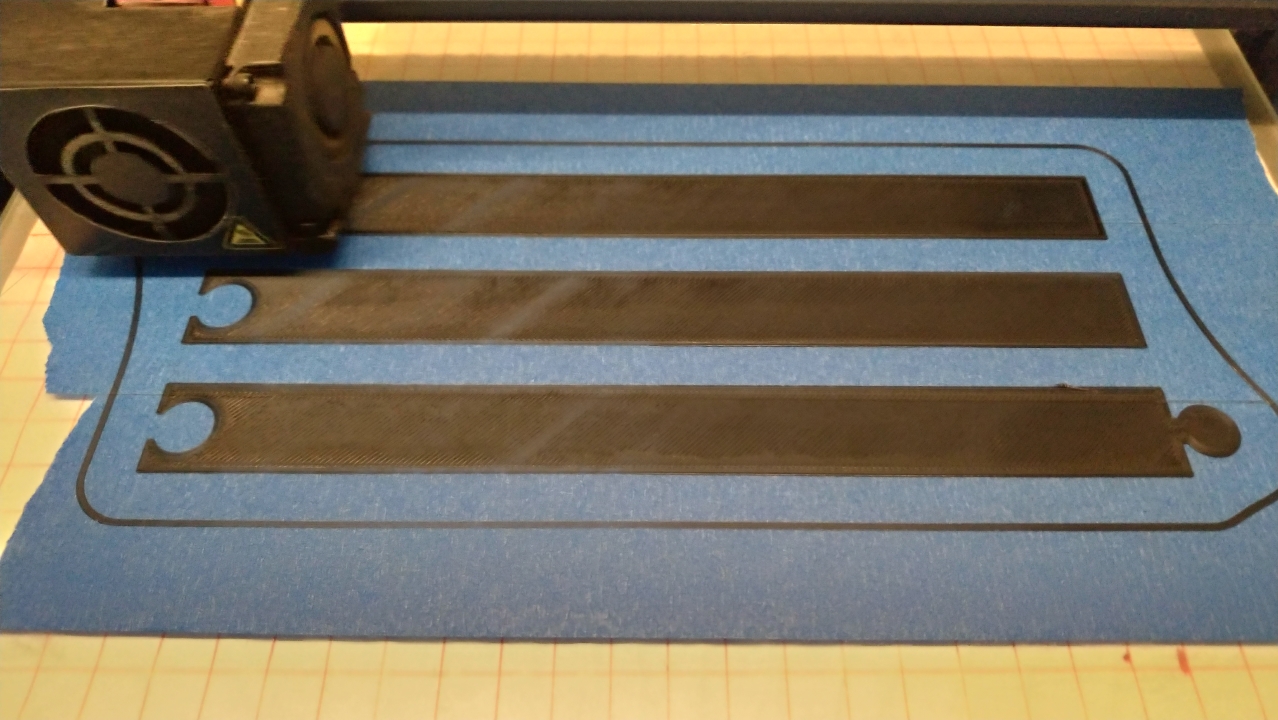
Printing a set
Print time is about 4 hours per set of 3 sections.
The Design can be found on my Tinkercad Page TinkerCad and the STL print files are available on Thingiverse.
Cleaning Up and Assembly
Assembling the parts

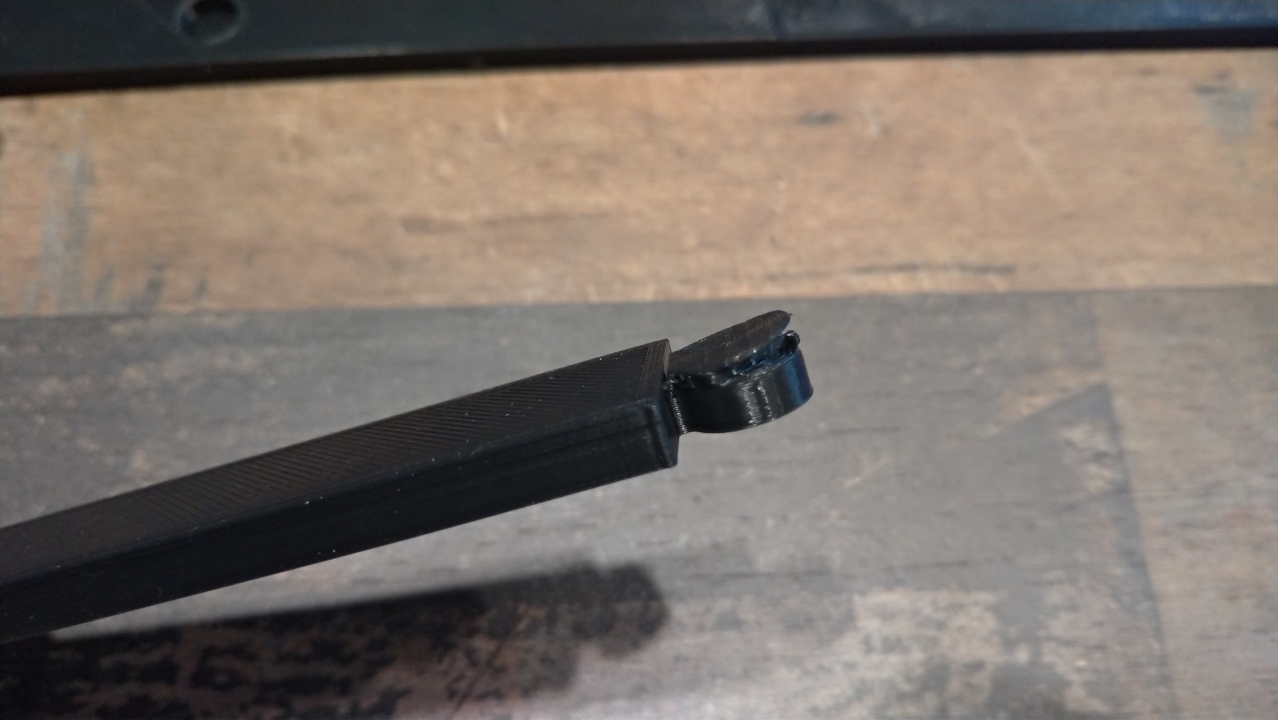
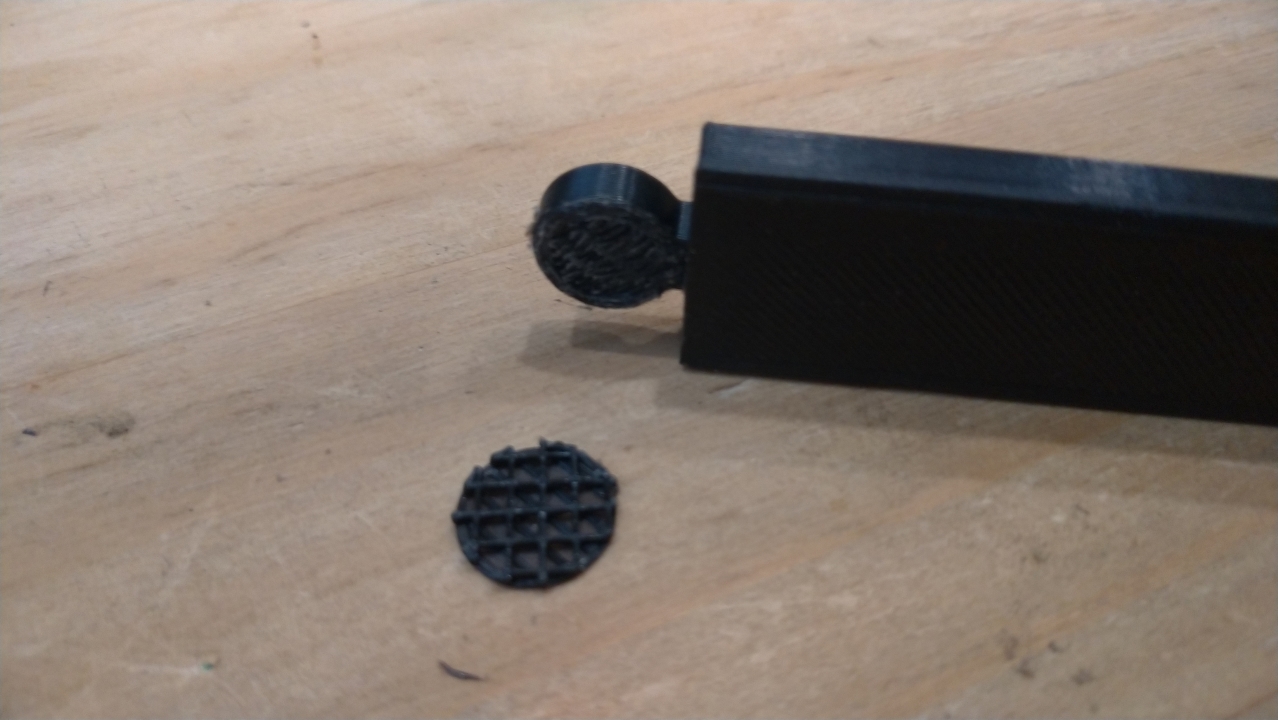
Remove generated support
A small amount of post print clean up is required for the connection lugs. Firstly, remove the thin layer of generated support and then scrape around the lug to remove the sharp edge. This will help the sections assemble flush along the front face. The top and bottom front sections need to be assembled with a small amount of liquid glue. Doing this adds rigidity to the poster hanger and prevents it from bending under the weight of the poster.

Glueing sections
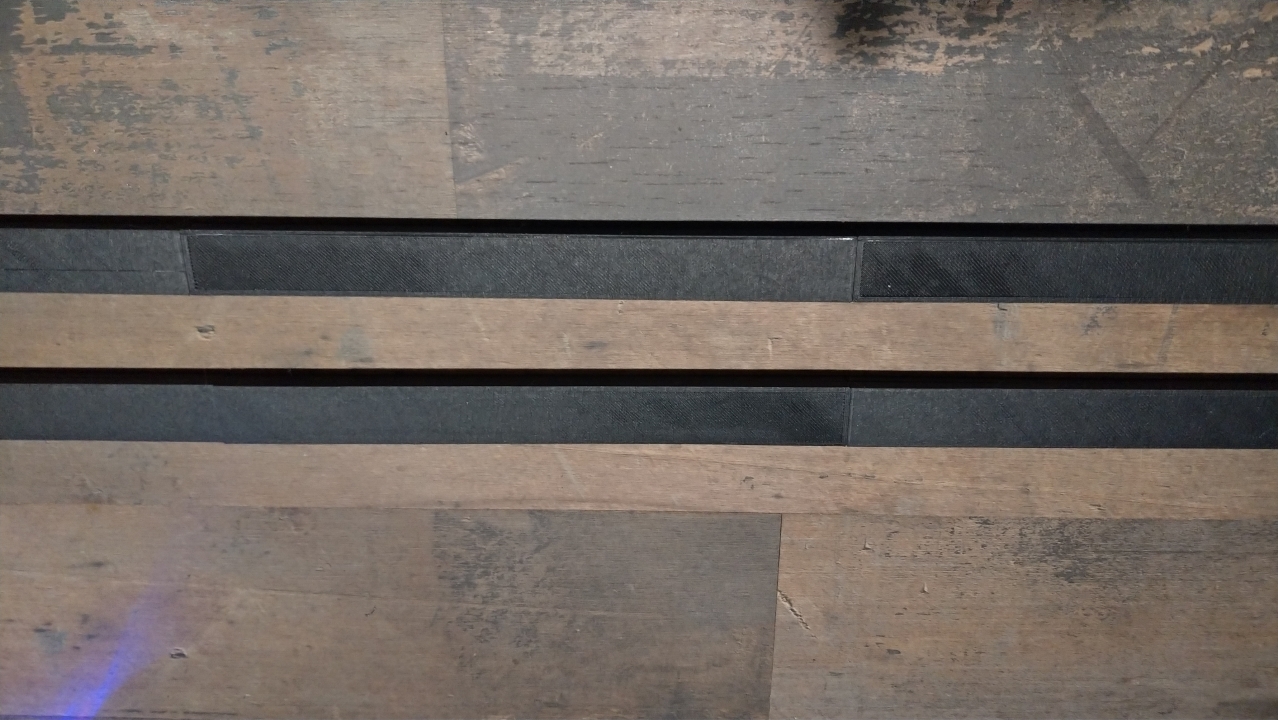
Finished glued
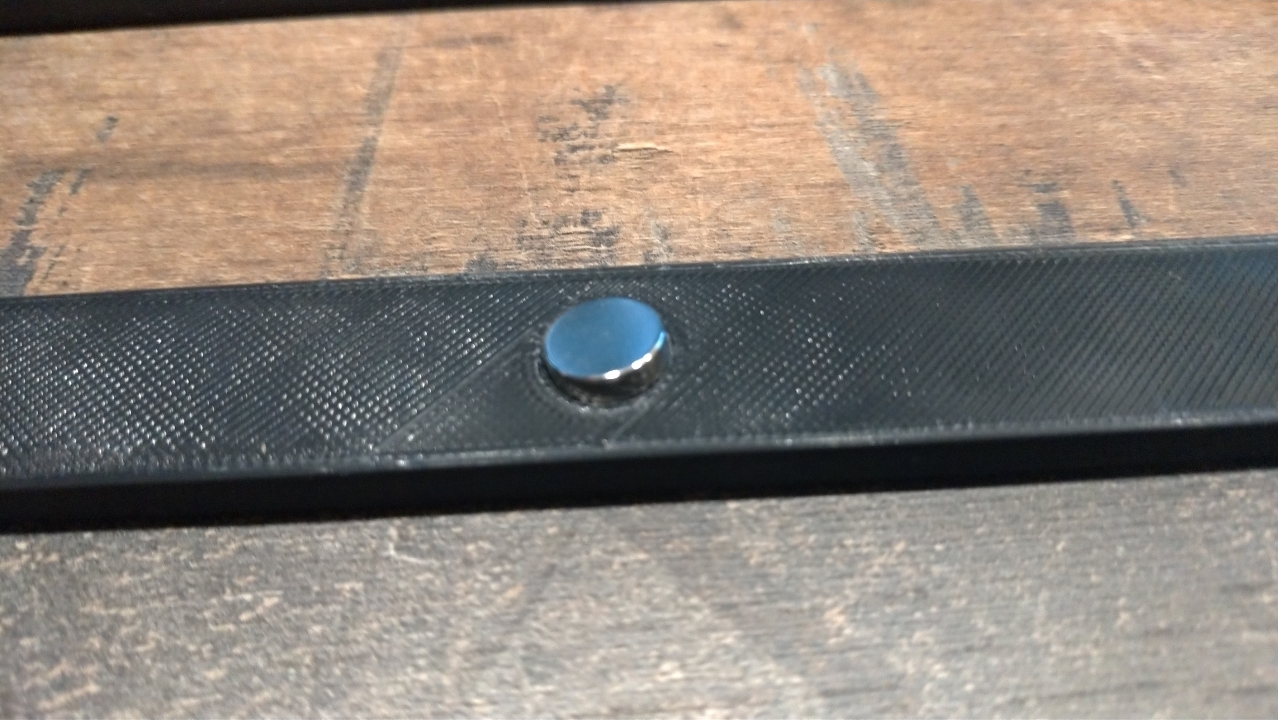
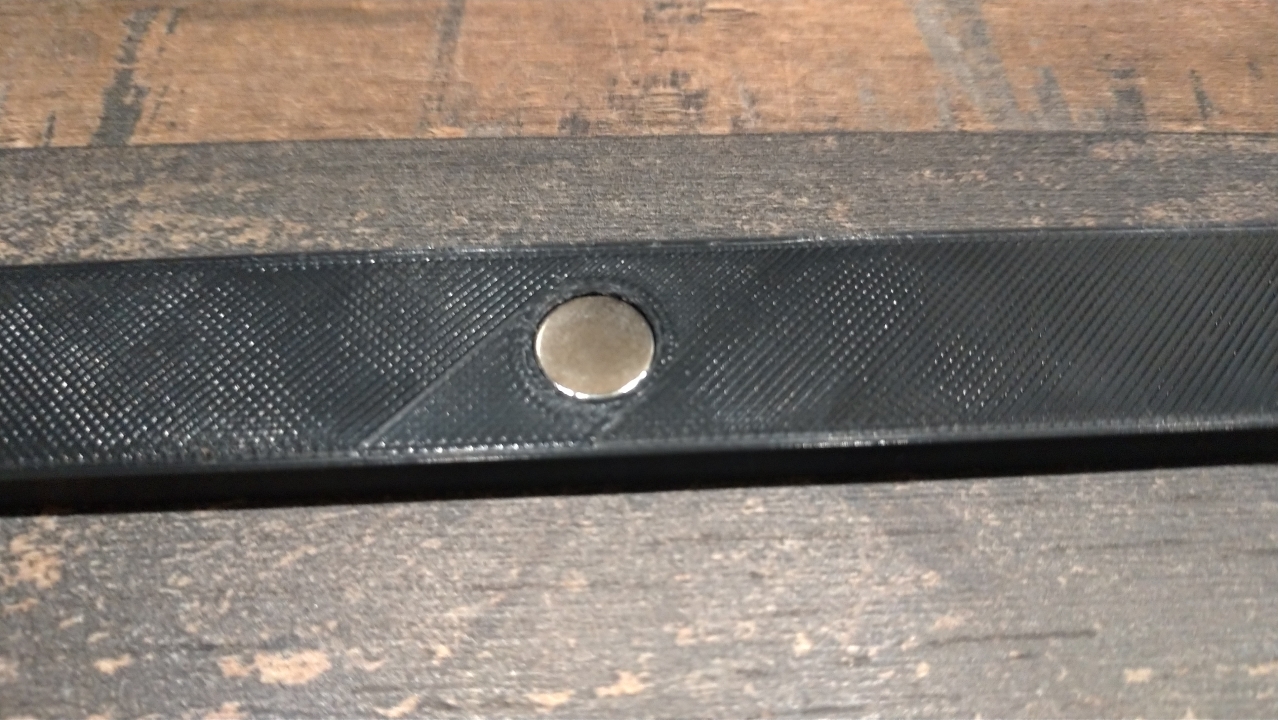
When the glue has fully set it’s time to push in the neodymium magnets. I use the metal scraper for my 3d printer to hold the magnet while I push them into the recessed holes. The magnets sit just under flush and are a tight fit.
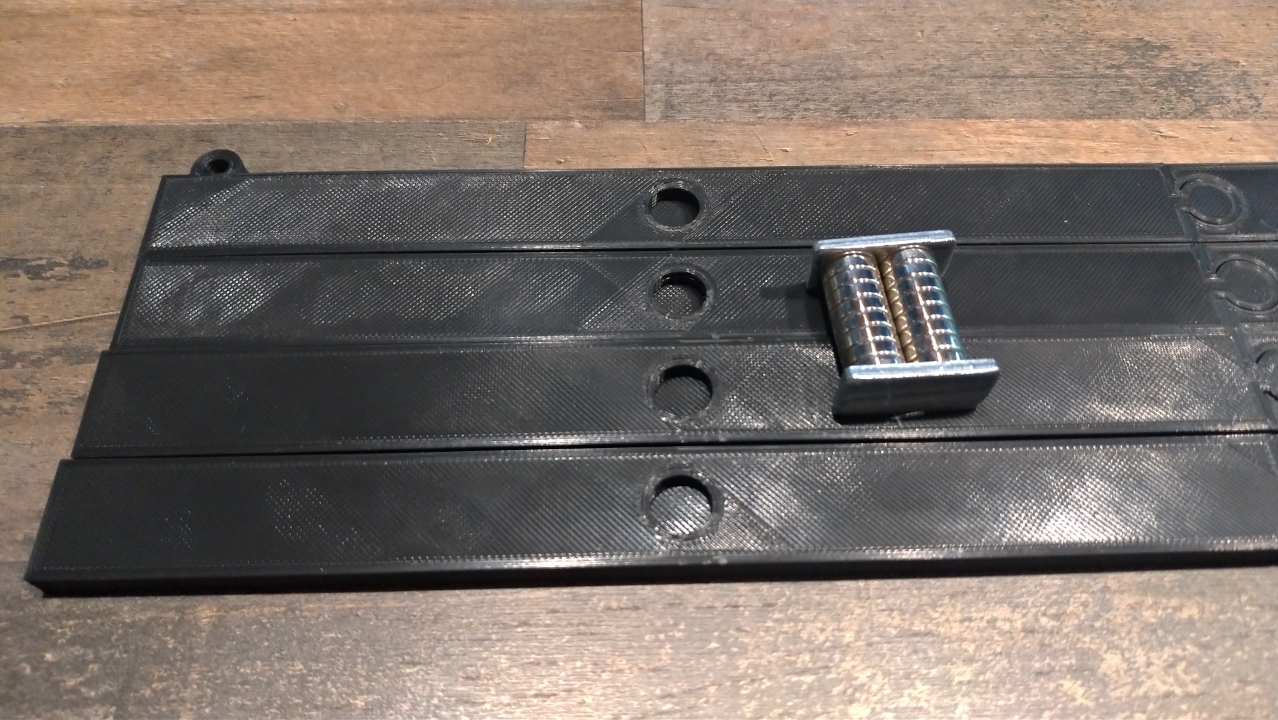
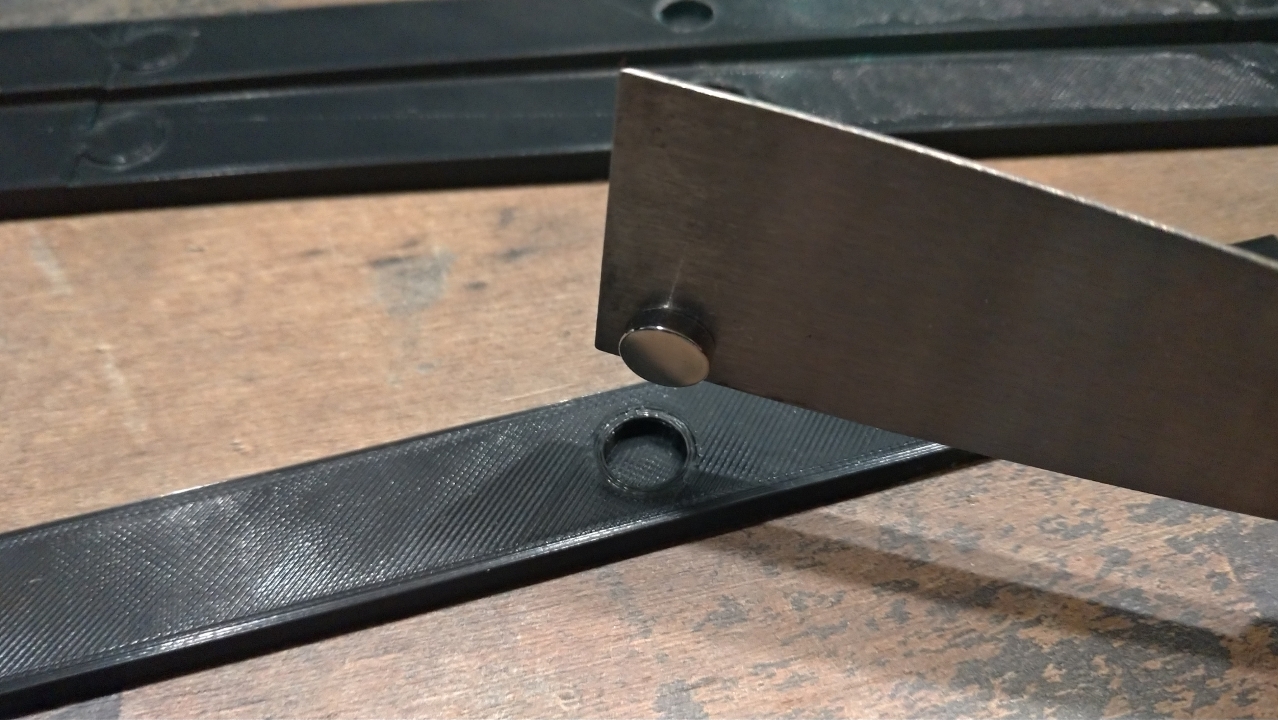
Note! Make sure that the poles of the magnets are correctly orientated before pushing them in, as they are nearly impossible to remove without breaking the printed piece.

Hanging the Poster
Assembling the parts
All that is left to do now is to clamp the poster in place between the top and bottom magnetic hanger sections and attach the hanging string. I’ve used white kitchen string for this, but it would probably blend in better by using black of gray.
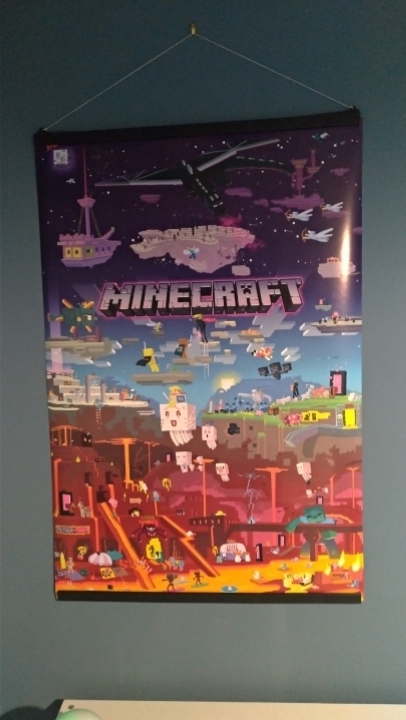
Here’s one of the standard 80 x 60 posters that I am using this for. No damage to the posters and they hang nice and flat, and only one picture hook in the wall.
Conclusion
A cheap and practical way of hanging posters of any size and format. No more Blu-tack or drawing pins. It also keeps my 3d printer busy, I’m always looking for ways to keep it running. The most expensive part of the build is the neodymium magnets, which I buy on Amazon. I could save a bit of money by ordering in bulk from AliExpress.
Alternative in Wood
As I mentioned at the start of this post, this design of poster hanger was based on others I had seen online. Many of these other DIY poster hangers were made of wood. If you do not have access to a 3d printer it might be worth checking out this design.