Repair Xbox One Power Supply
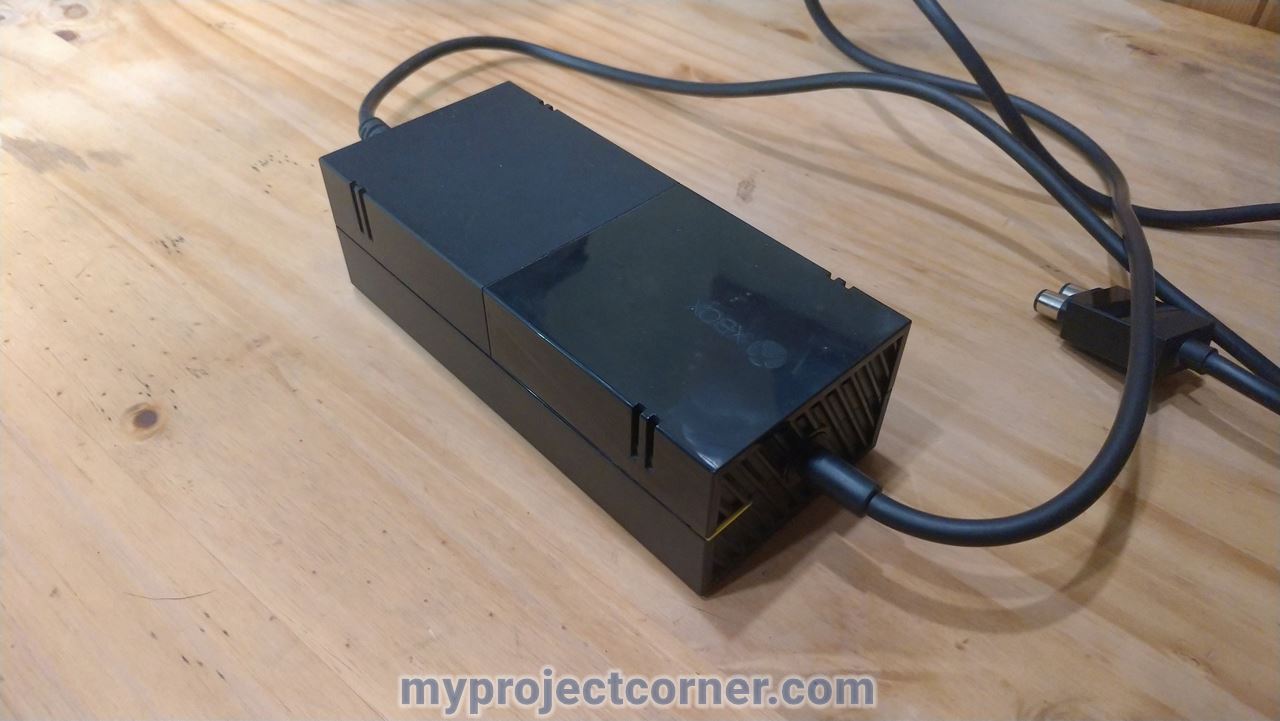
This is the second time that I have needed to repair my Xbox One power supply unit. Both times the fault has been the capacitors.
The capacitors have a limited life cycle (around 2000hrs), and the Xbox is now 8 years old. So it’s quite normal that they have failed. But rather than replacing the whole unit, I decided to DIY change out the capacitors at a fraction of the cost.
Identify the problem
If the Xbox One fails to start when the power button is pressed and the light on the PSU stays orange, instead of turning white, then it is likely that a faulty capacitor is to blame.
The following guide will show the steps I took to complete the repair. Only basic tools and soldering skills are needed.
In total it took me about 2 hours to complete.
Tools
- Soldering iron
- T10 Torx screwdriver
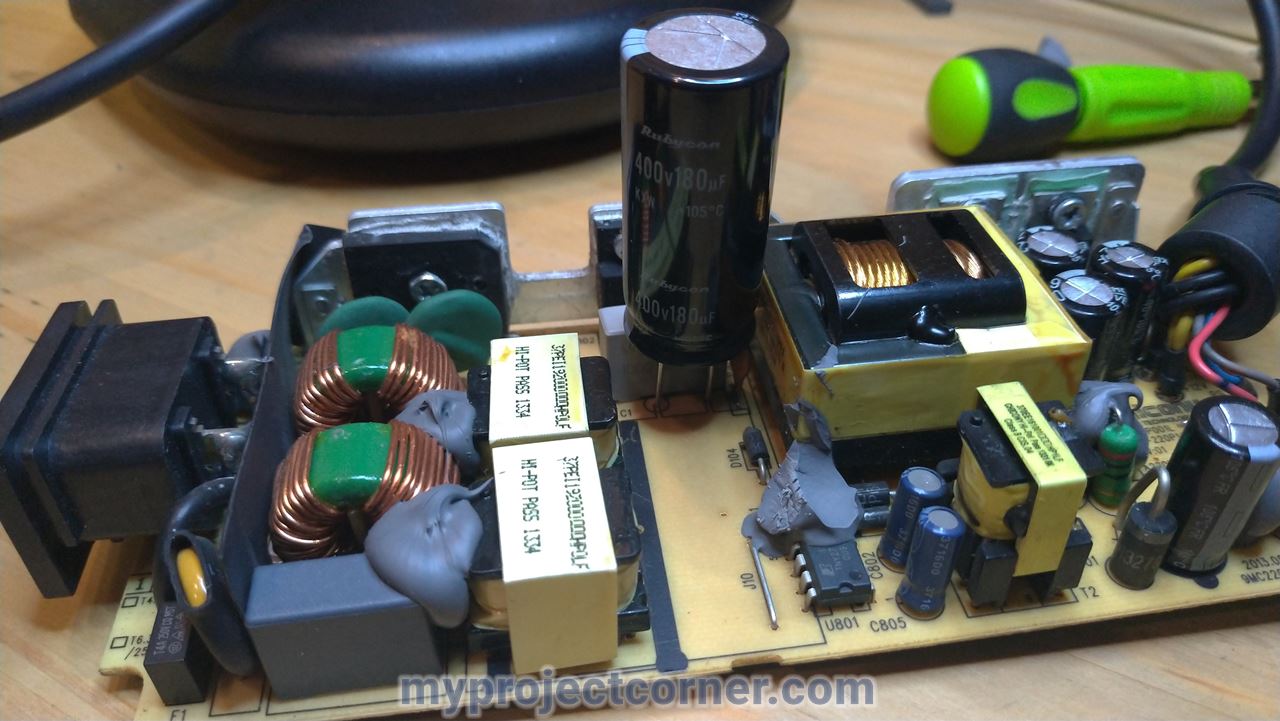
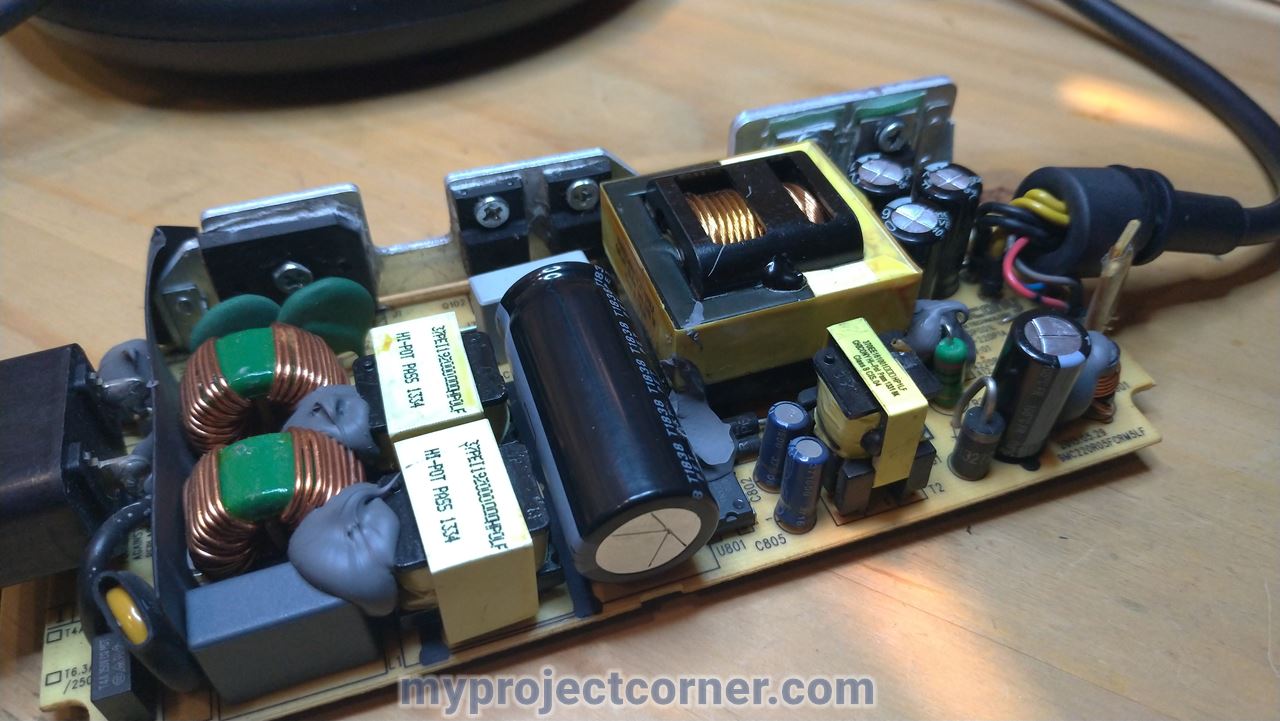
Capacitor ratings
- 400v 180uf
- 16v 1500uf
- 16v 2200uf
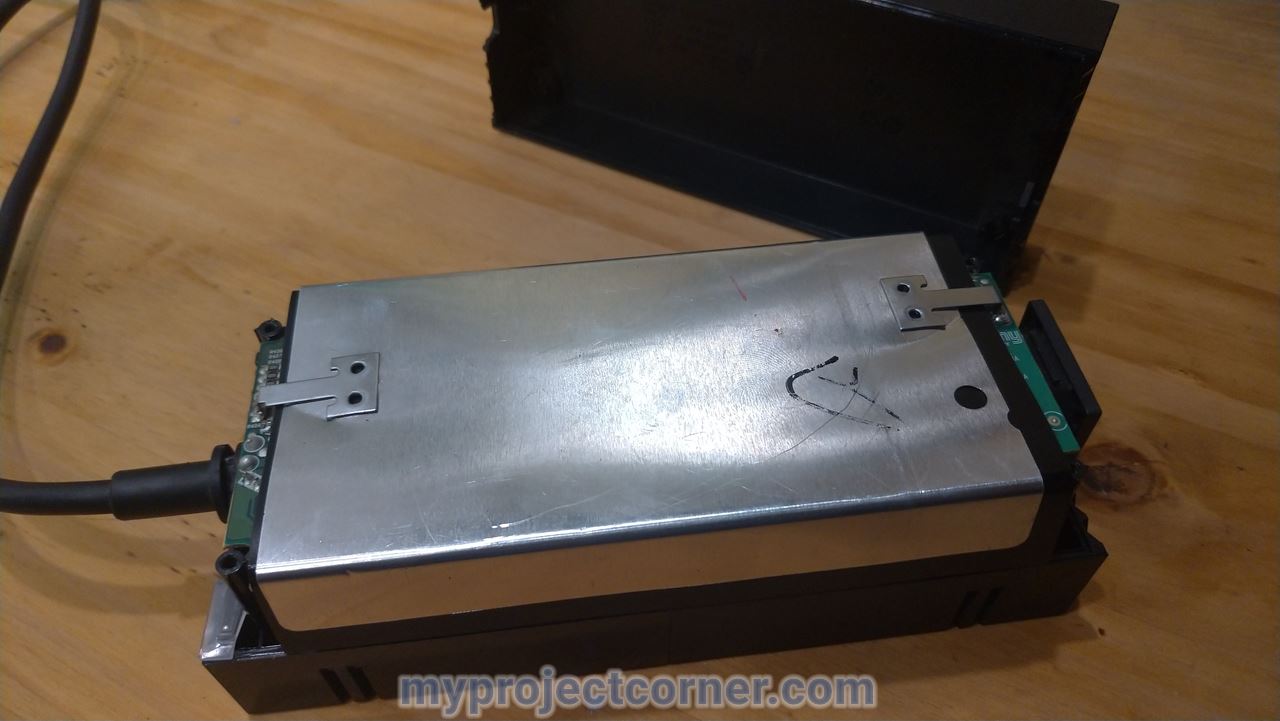
Remove outer casing to check the capacitors
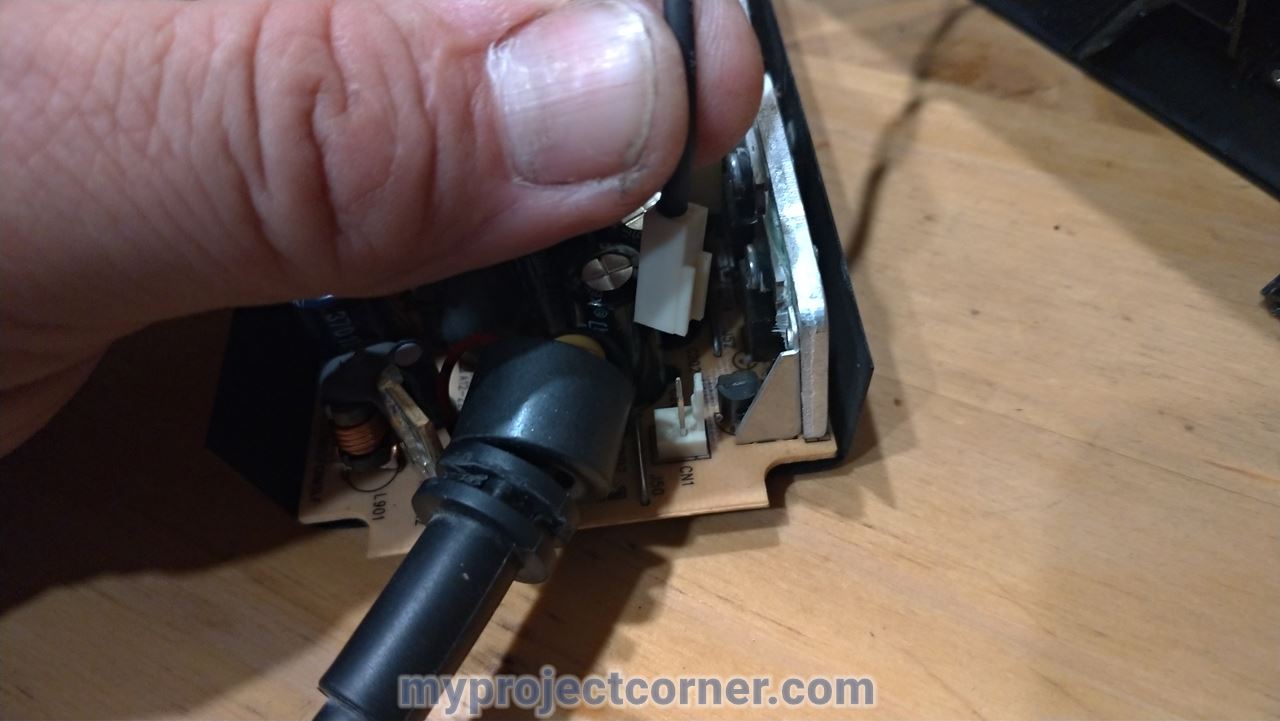
Discharge the Xbox One PSU
A good capacitor stores an electrical charge and may remain energized after power is removed.
Before starting to dismantle the PSU make sure to discharge the unit.
To do this, unplug from the mains supply and while still connected to the Xbox press the power on button several times. This will remove any charge which remains in the PSU.
The orange light on the unit should now be off.
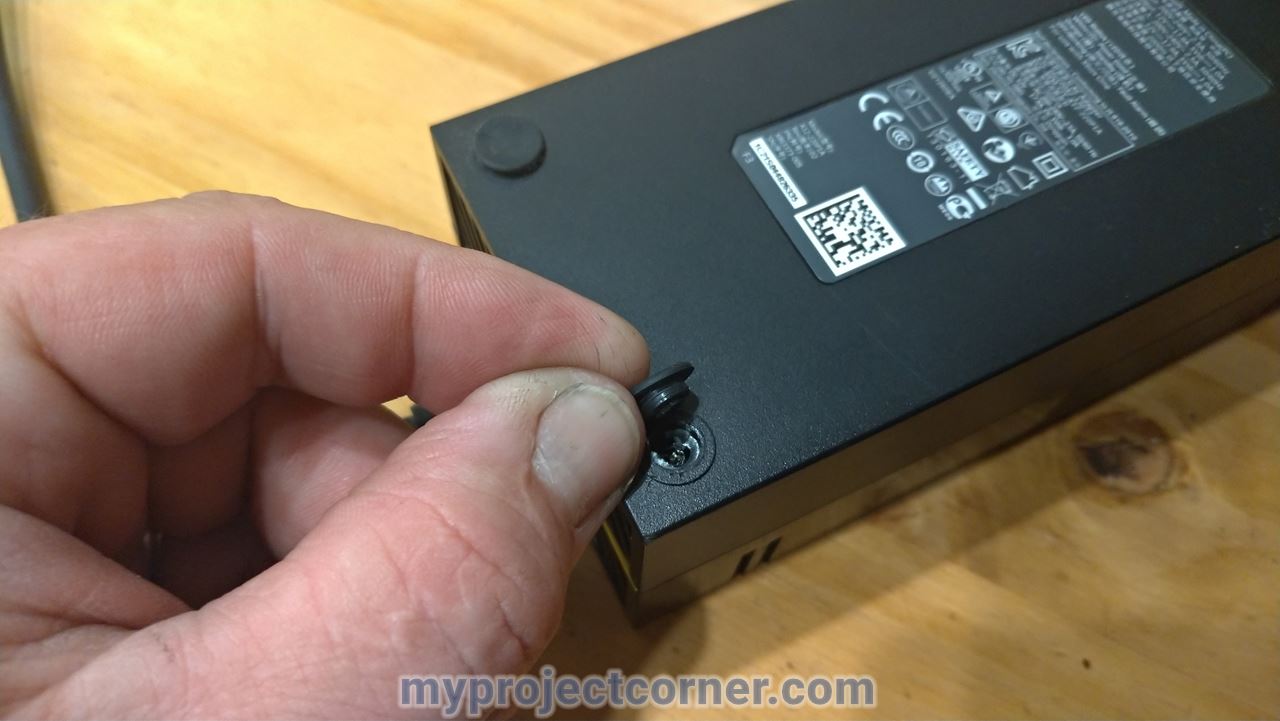
Start by removing the four rubber feet from the base of the block.
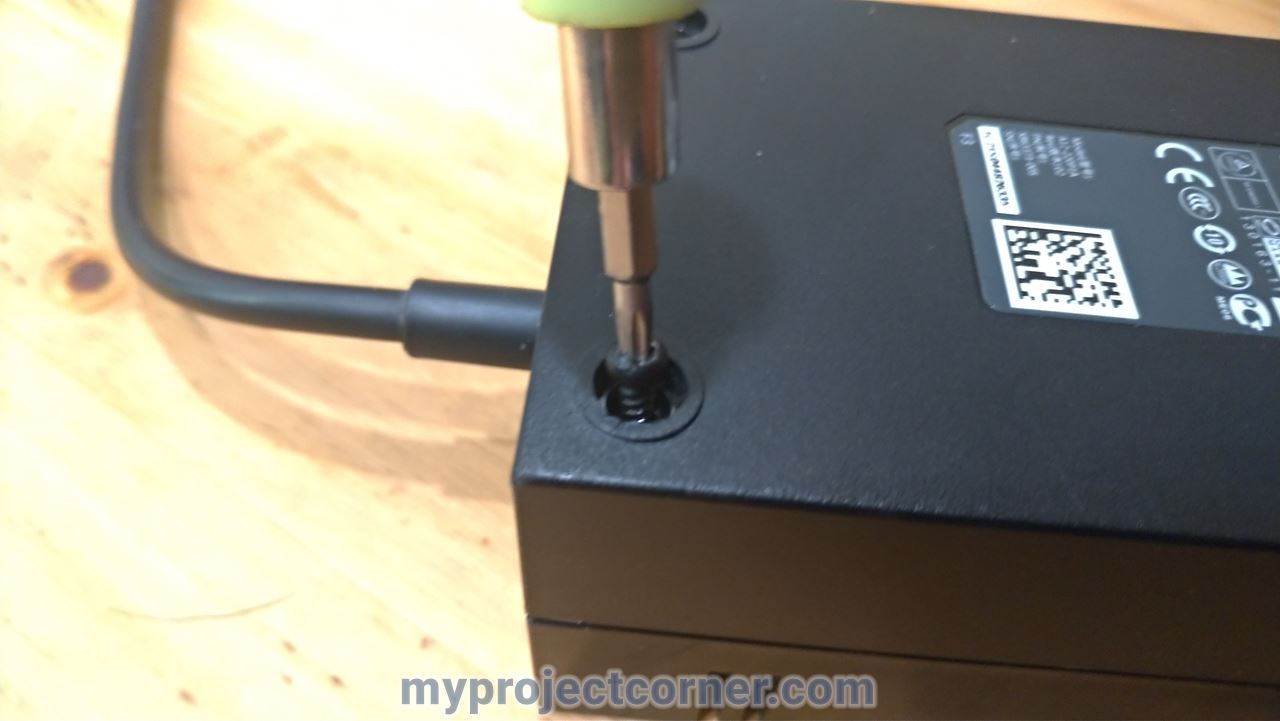
Next, unscrew the four Torx screws and remove them.
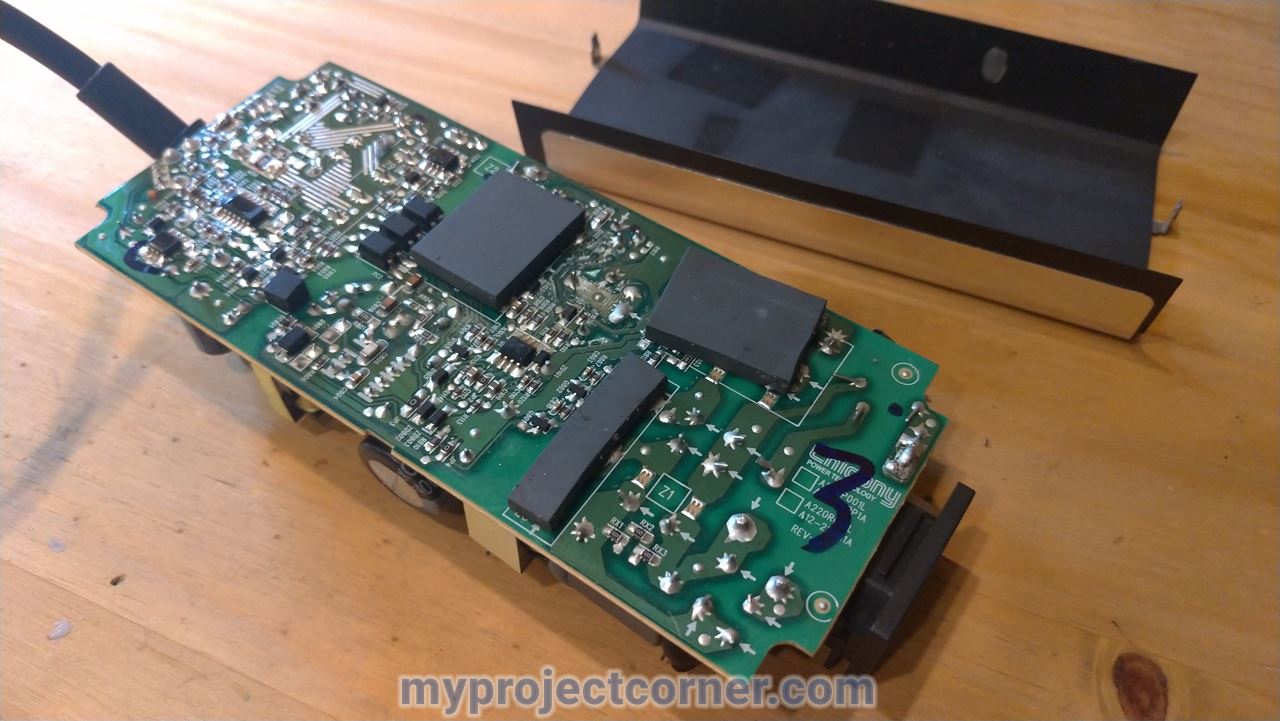
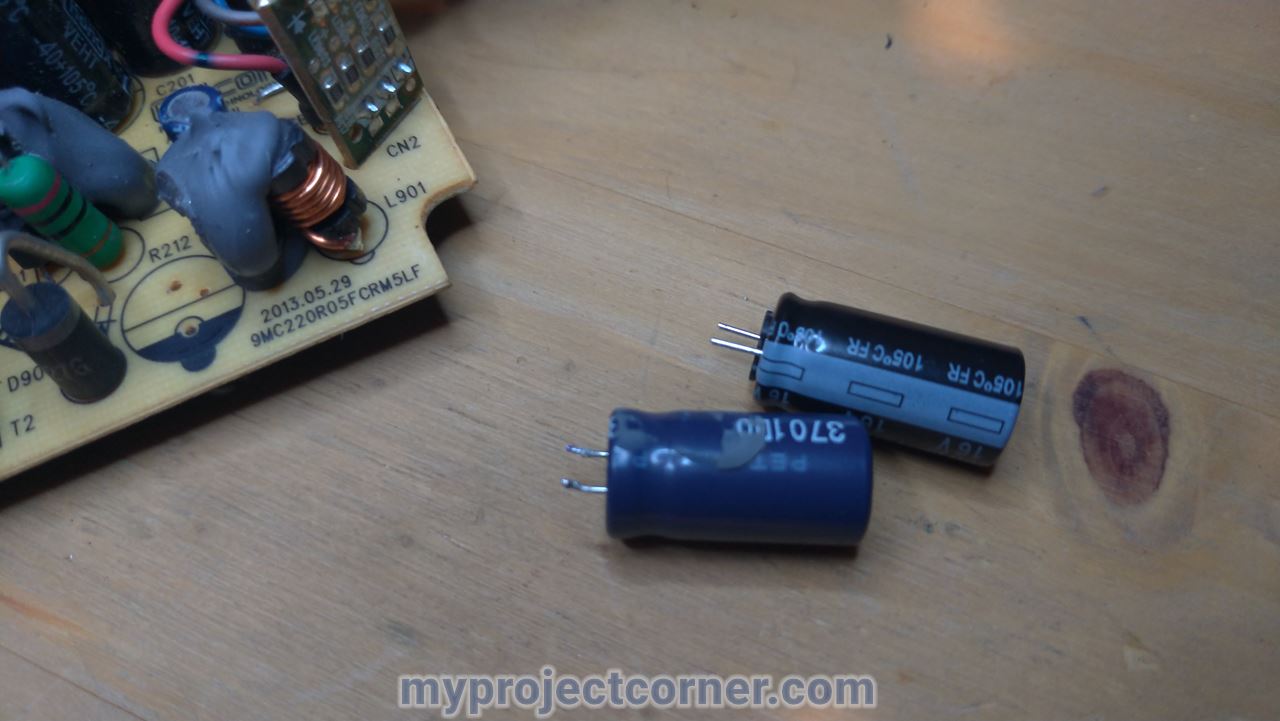
Checking the capacitors
There are various methods of checking if a capacitor is good or not. I went with the most basic, visually checking.
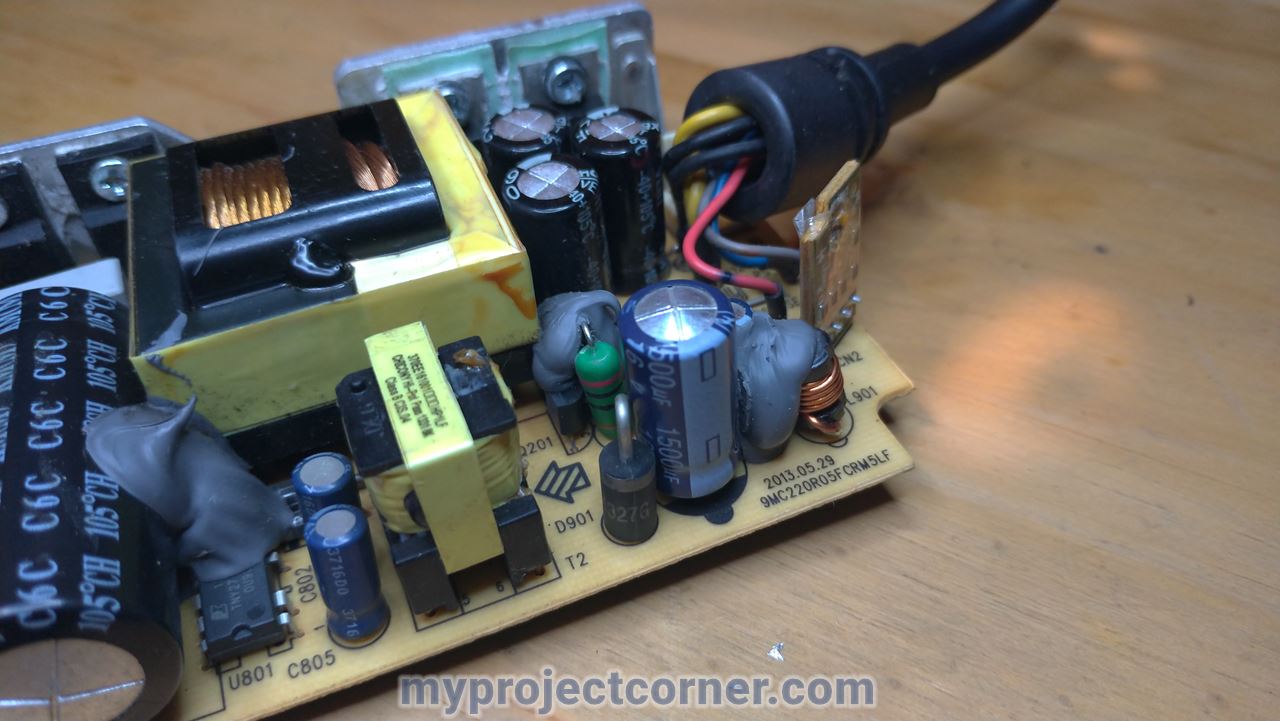
Examine the top end of the capacitors and if, as shown in the image below, they are bulged out then you want to replace them.
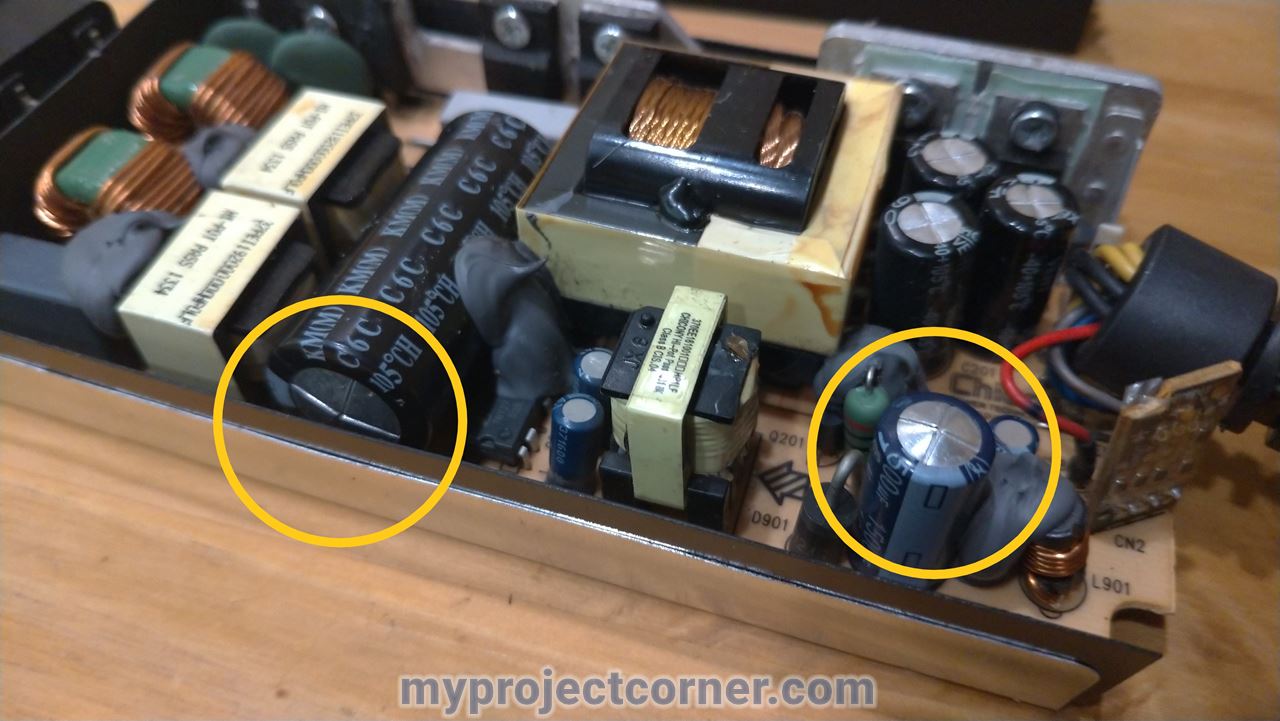
The first time that I repaired this PSU, it was the three grouped capacitors that needed replacing. That was about a year ago, I’ve got another Xbox One which is 4 years more recent.
I haven’t had the same issue with its power supply yet, but if I do I’ll change all of the capacitors at the same time to avoid having to open it up twice.
Changing the faulty capacitors
Purchasing new capacitors
Taking the specifications from the existing capacitors I found equivalents at RS components online.
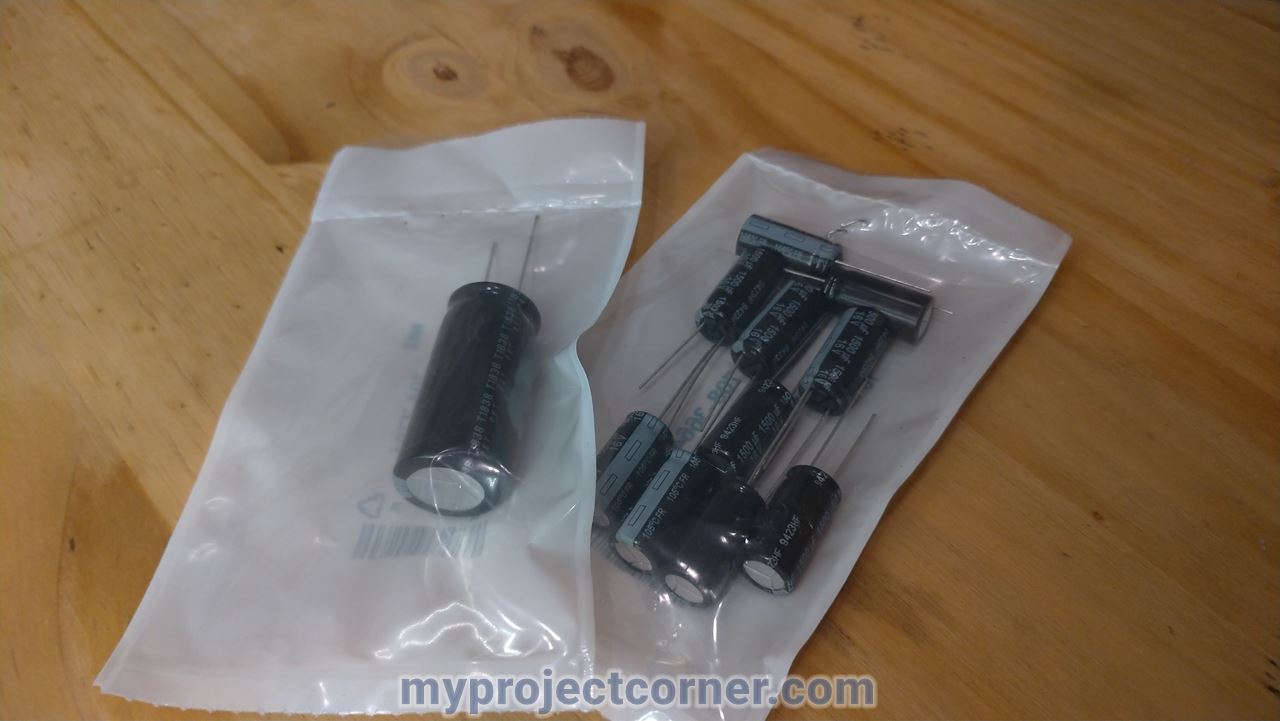
Similar articles were available from Amazon, but I prefer RS as I have more trust in the quality of their electrical components. The Xbox One PSU runs quite hot, so wouldn’t want it to catch fire because of a cheap capacitor.
Anyway, one large and 10 small capacitors from RS came to around 10€ + 6€ p&p. Delivery 48hrs, so still not expensive.
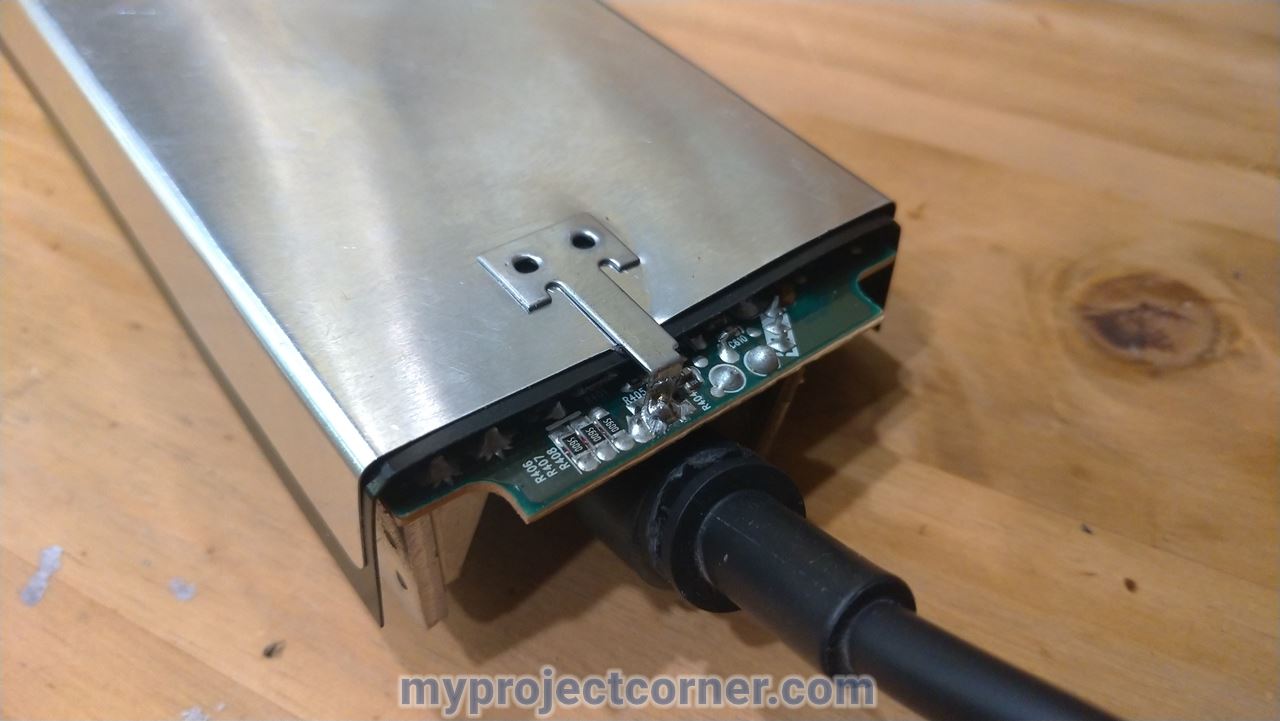
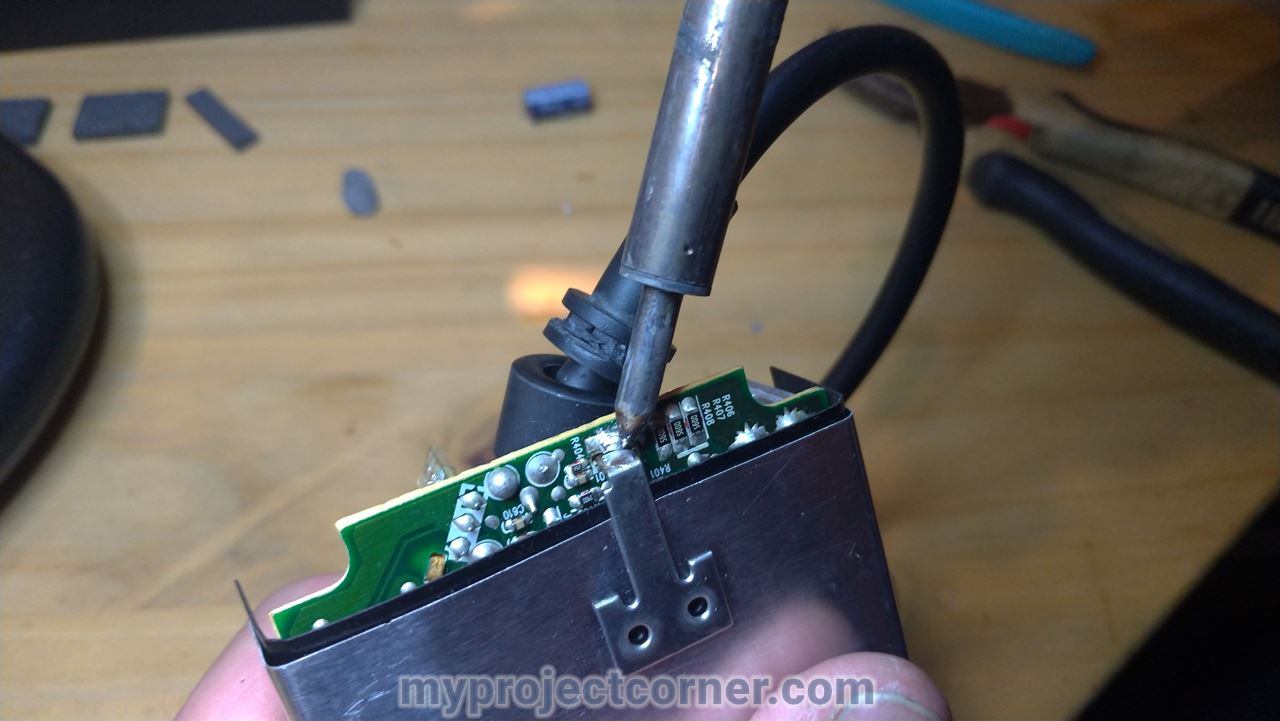
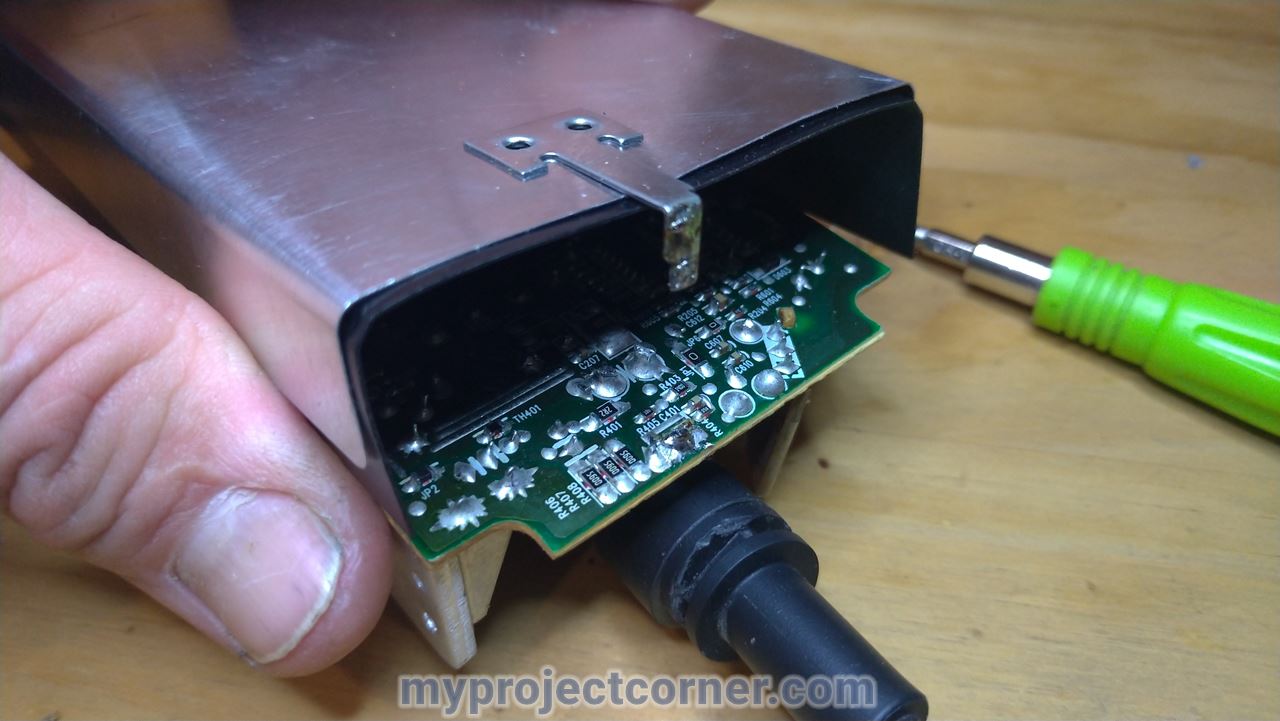
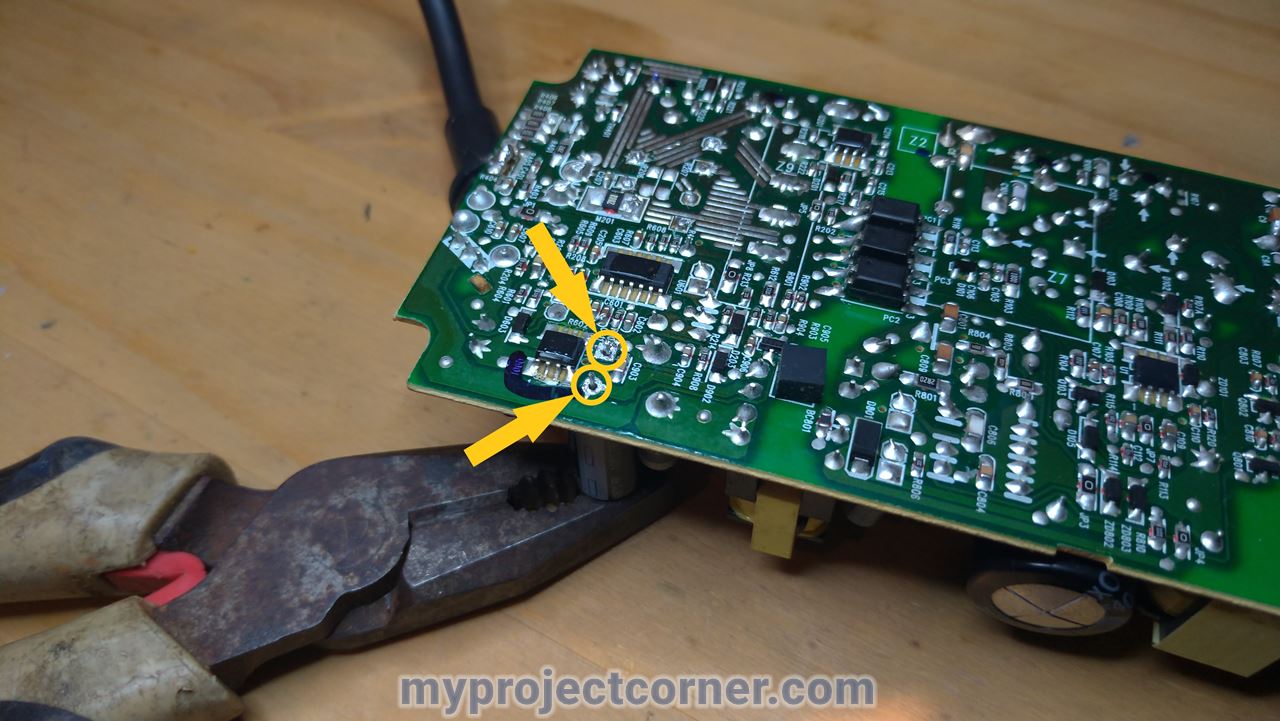
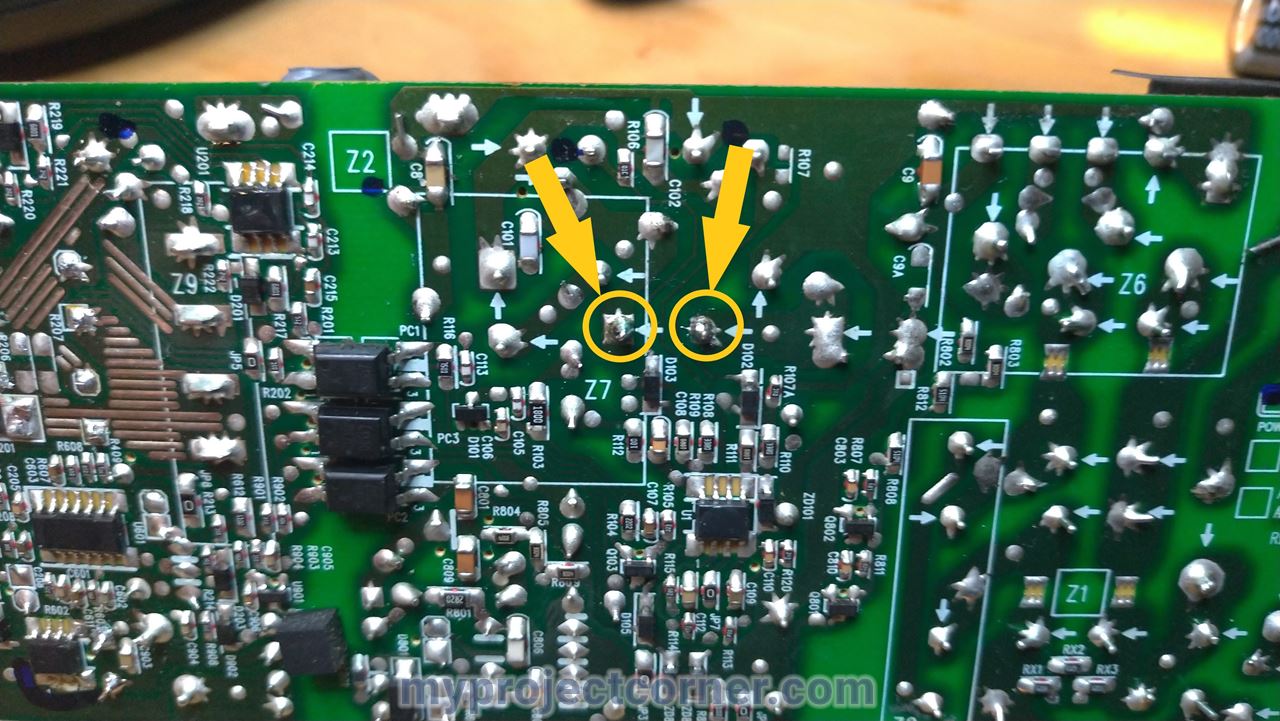
Remove the circuit board cover
Un-solder the two ends of the metal circuit board cover and set aside. I use a manual vacuum pump to suck up the molten solder.
Then remove the foam rubber pads.
Replace the PSU capacitors
I started with the small capacitor,
- Un-solder and remove.
- Using it as a model, cut the terminals of the new capacitor to length.
- Solder the new one in place
Follow the same sequence for the large capacitor, then fold to its horizontal position.
Attention!! Make sure that the capacitors are orientated correctly using the vertical stripe on their sides
Re-assemble the Xbox One PSU
Now that the faulty capacitors have been replaced, it’s just a matter of putting it back together.
Don’t, like me, forget the pieces of foam rubber on the back of the printed circuit board. I only noticed once I had soldered the cover back on!
Once re-assembled, plug it in and start playing.