Ideal Temperature to Scald Chickens
For over 20 years we have been rearing our own chickens for food. As part of the butchering process, we have come to realize that it is particularly important to have the right water temperature for scalding chickens before the plucking begins.
So, what is the ideal water temperature for scalding chickens before plucking? We find that a temperature of between 69°C and 72°C coupled with an immersion time of 30 to 40 seconds is ideal. This results in a clean pluck for a chicken with a live weight of between 3 and 4kg.
Why is the scalding temperature important?
If the temperature of the water is too low and/or the immersion time is too short, then this will make it difficult and more time consuming to pluck the chicken. And when using a plucking machine will mean spending more time finishing the plucking process by hand.
The overheating of the water and/or too long an immersion time can start to ‘cook’ the surface of the chicken, turning to flesh pale white and causing the skin to tear while plucking. Not ideal at all.
We quickly realized the importance of maintaining a constant water temperature and immersion time to ensure a perfect pluck. I came up with my Arduino Temperature and timer unit to monitor and control the scalding process.
Which heat source to choose?
When it comes to heating the water to the desired scalding temperature, the choice comes down to one of three, gas, electricity, or fire. Personally, most of the time we use a large gas burner but have occasionally switched to a fire pit.
I find that the gas burner gives the best temperature control, it heats up the water quickly and can be regulated to maintain the temperature. Using a fire pit certainly saves money compared to gas, but temperature control can be a challenge and to be honest I’ve got enough going on the day to need to look after the fire as well!
I have never considered using an electric immersion water heater or hot plate, but only because neither was readily available. I imagine that temperature control would be easy if combined with a thermostat, assuming that it was powerful enough to overcome the fluctuations in temperature.
How to maintain a constant temperature
During the scolding process, the water temperature fluctuates. Every time a chicken is immersed the bird takes heat from the water and the water level reduces as you remove it from the pot. So, from time to time the water level needs to be increased.
When I use a fire pit as the heat source, I keep the fire well stoked and regulate the temperature by adding cold water when it starts to rise above the ideal range. Which is quite often when the fires going well.
Using the gas burner makes life a lot simpler, once the ideal scalding temperature has been reached it is just a matter of turning the burner down and keep it ticking over. In my opinion though, it’s better to have the burner turned up slightly high and add cold water to the pot when the water temperature rises too much.
We use a large stainless steel cooking pot with a lid, has the capacity to take two birds at once. The use of the lid can also help to adjust the water temperature, covering the pot if the temperature needs to rise between immersions or removing it to let some heat escape.
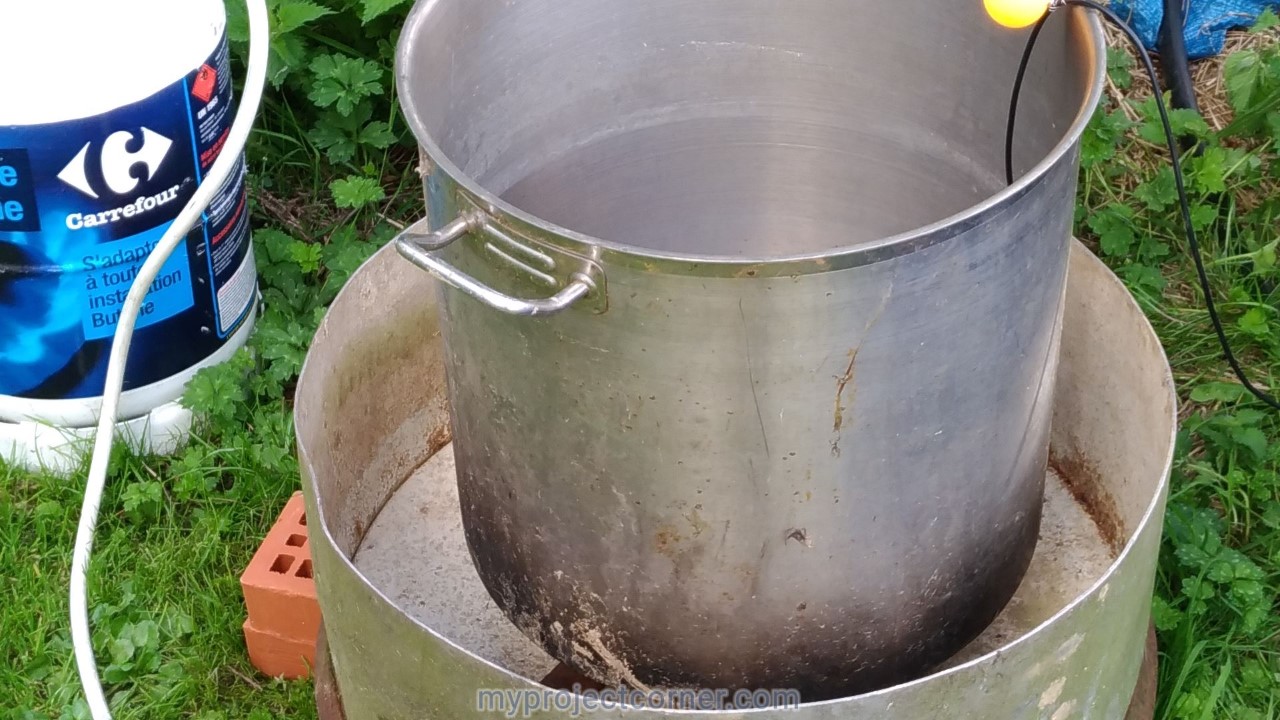
As seen in the image, the burner is housed in a cut down metal barrel. This helps to keep the heat focused on the base of the pot where it is needed.
The Scalding Process
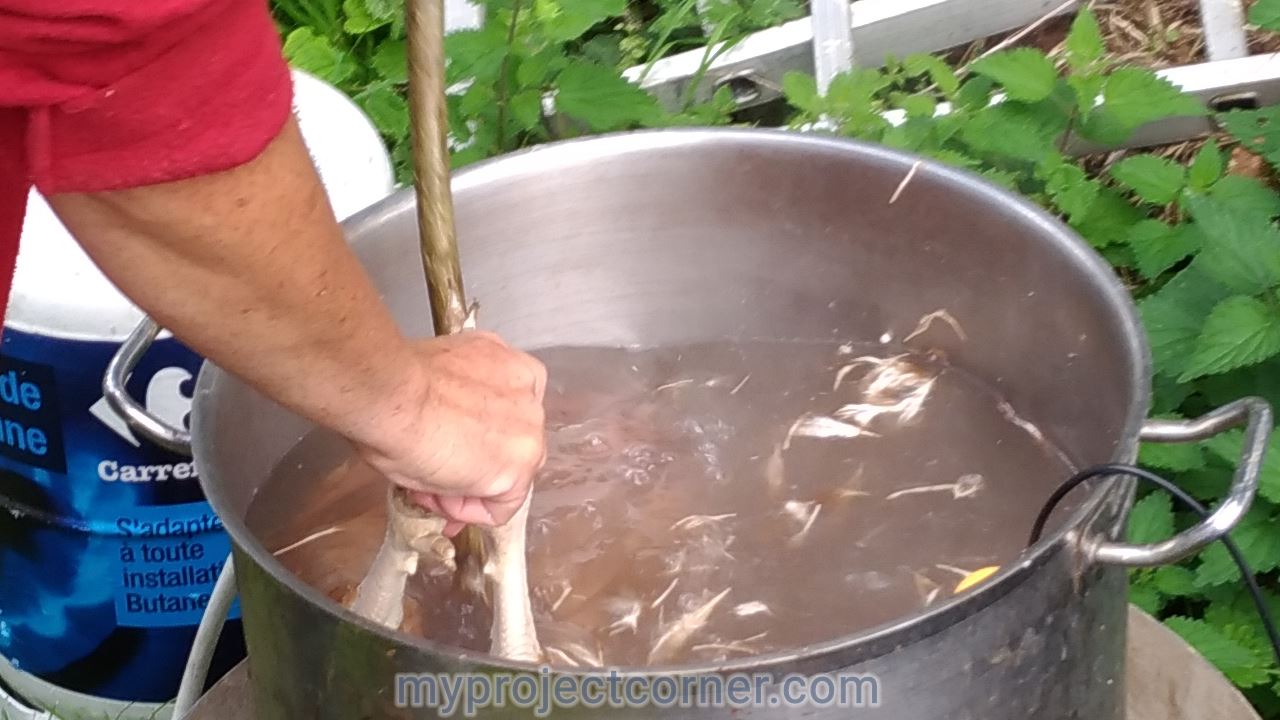
Be sure not to fill the pot too full, allow for the displacement volume of the chicken/s to be immersed. Once the temperature of the water has reached the ideal range of 69°C to 72°C, hold by both feet, and immerse the bird. It will be necessary to use a stick or other implement to push it under water as it will try to float, immerse to cover all the feathers while still holding the feet.
Keep immersed for the required time of 30 to 40 seconds before removing, draining, and moving on to plucking.
Time to pluck
For many years we had plucked our chickens by hand, after scalding the bird would be hung up by one leg and stripped of its feathers from the top down. This was certainly not the most pleasant part of the butchering process. The smell of a steaming hot dunked chicken is not the best and the wet feathers get stuck to your hands and clothes.
For the past few years, we have been using a Whizzbang drum style chicken plucker, which is amazing. Speeding up the plucking process and therefore the whole butchering day. Why not have a look at my Homemade chicken plucker build